
Influencing from behind an API
Those AI influencer reels get to me because I want the outcome without the performance. I don't want to be on camera; I want a brand that shows up consistently while I build. So I'm testing whether I can actually do this: generate a stable avatar of myself that people want to watch.
Full disclosure: I've never done this before. I'm not following some tutorial - just going off gut feeling for what might work. This is live experimentation, documented as it happens.
Step 15
Animating the First Scene 🎬✨
Veo3 + Seedance
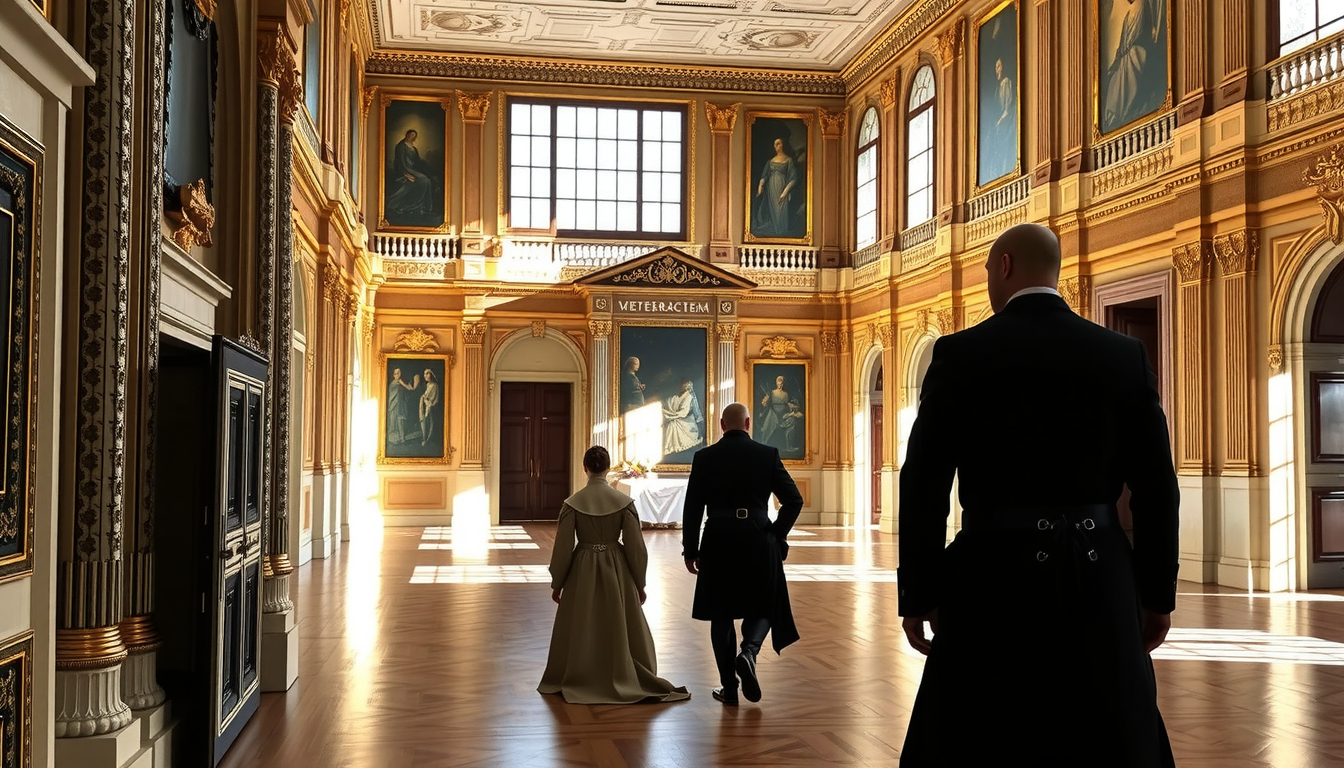
Alright, I feel like I've generated a quite stable persona here, and I'd love to animate the first act. Let's go with something simple - the opening sequence. I'll see how far I can get with the generation.
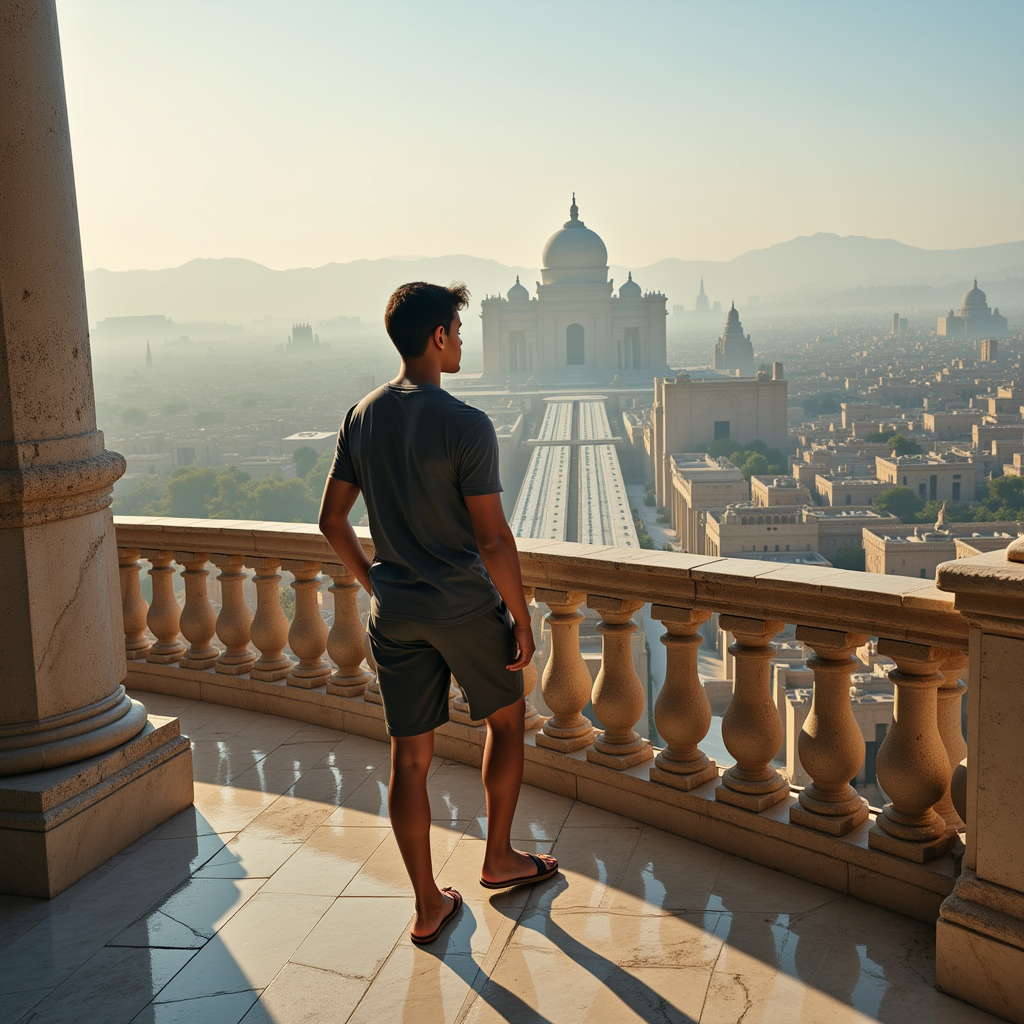
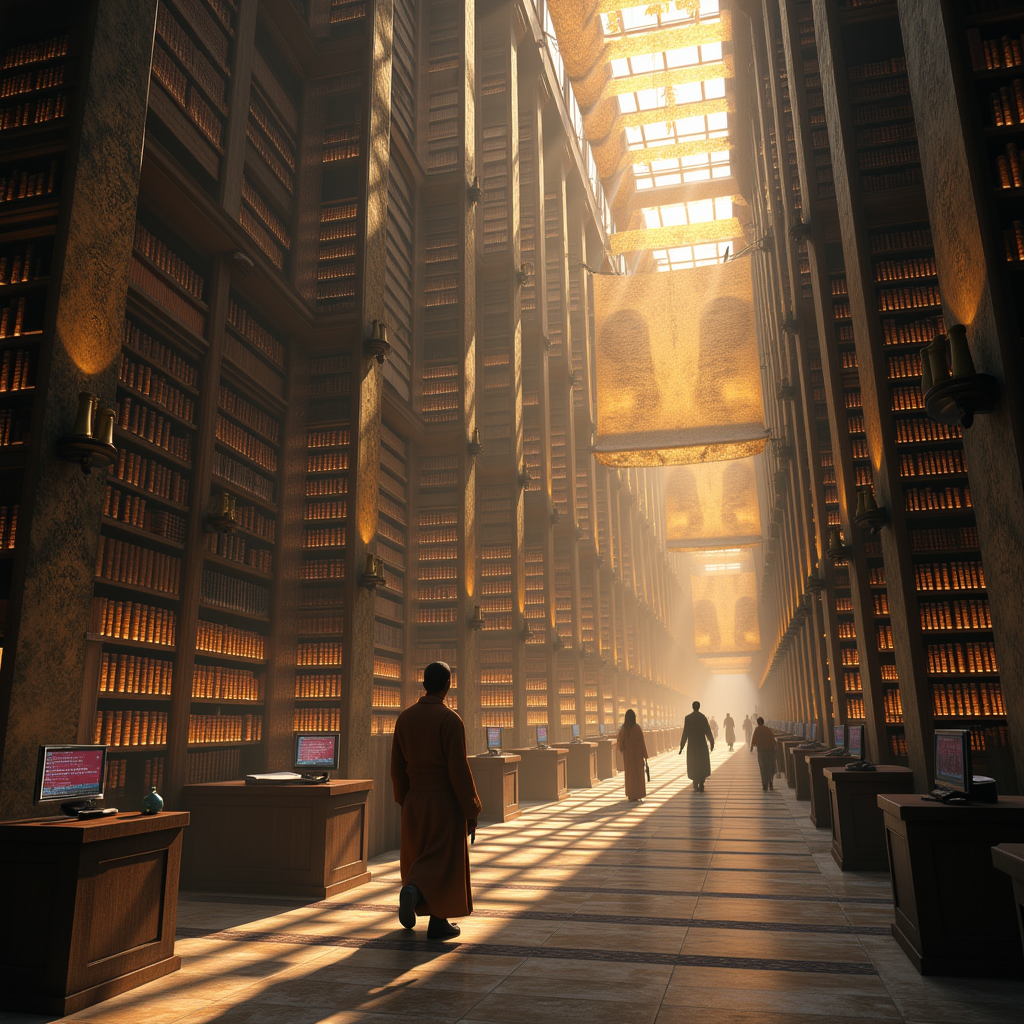
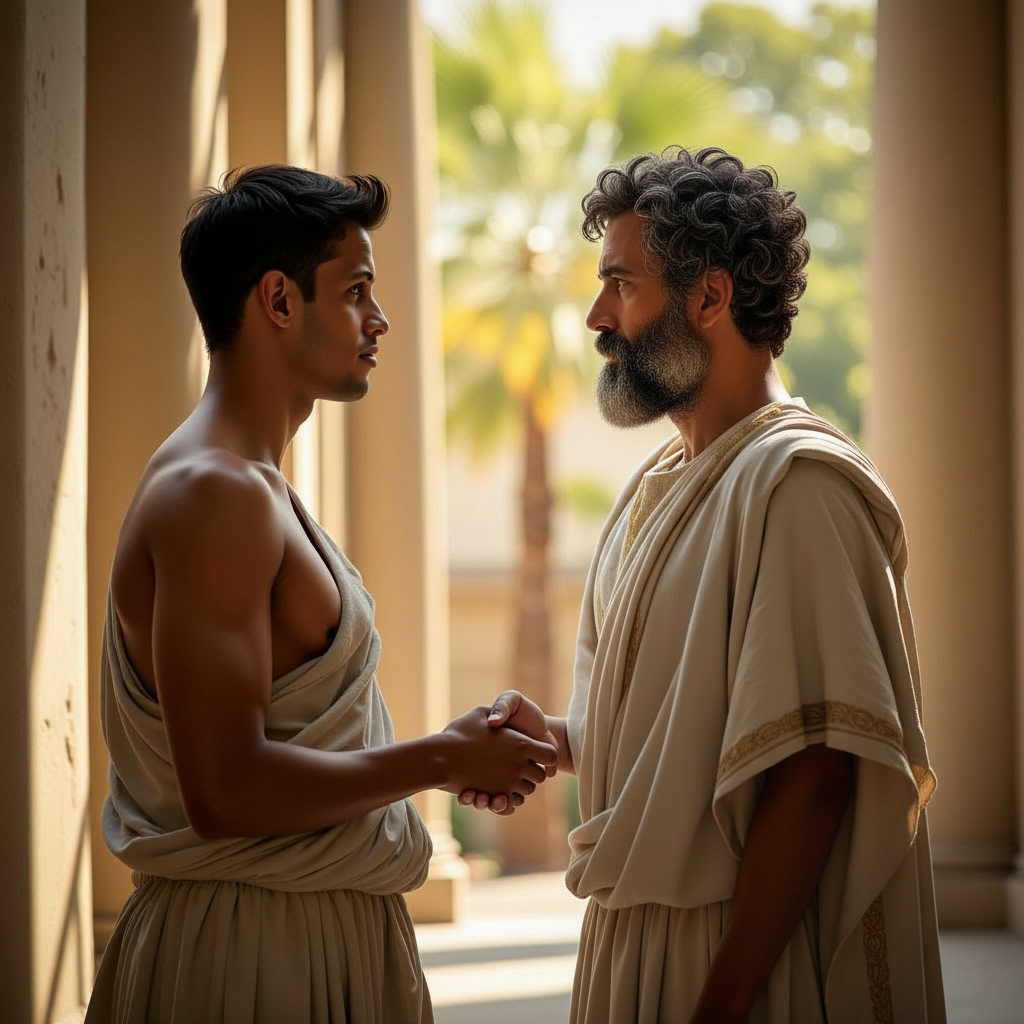
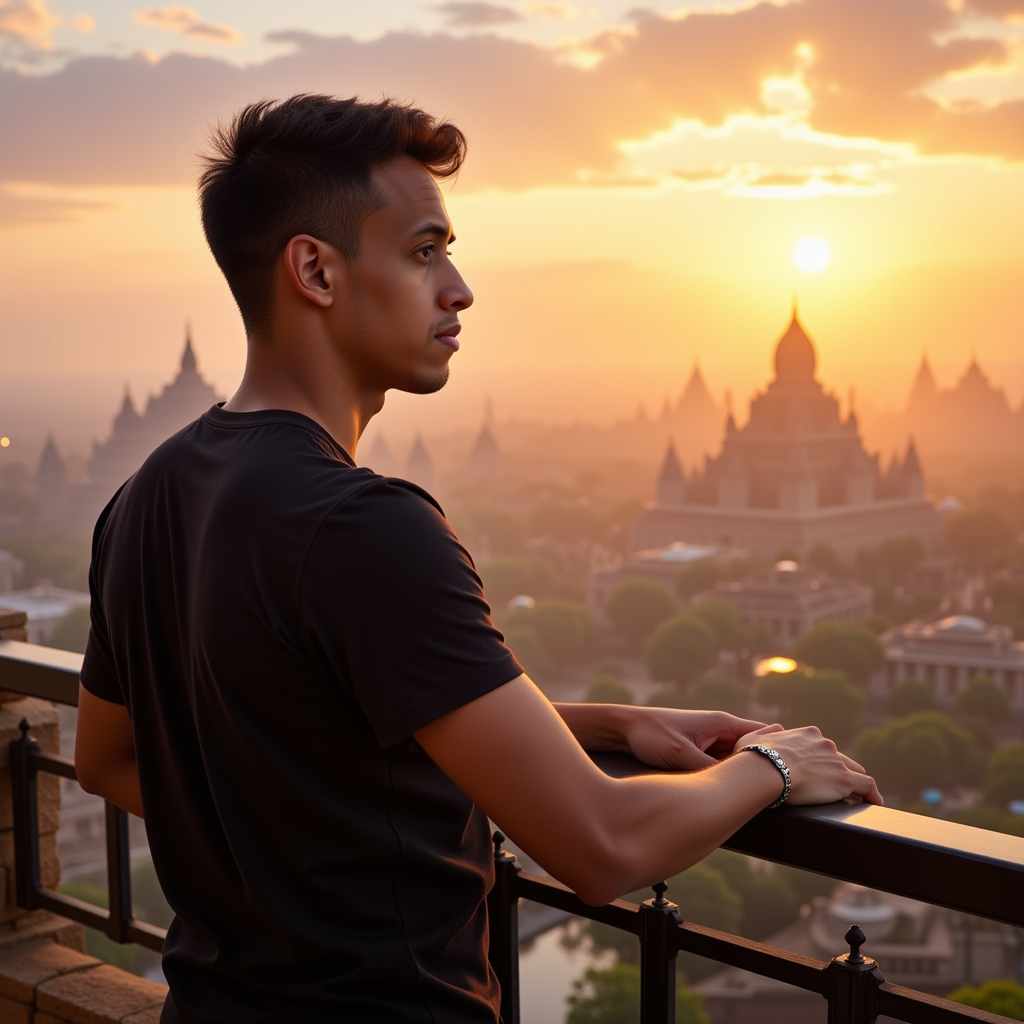
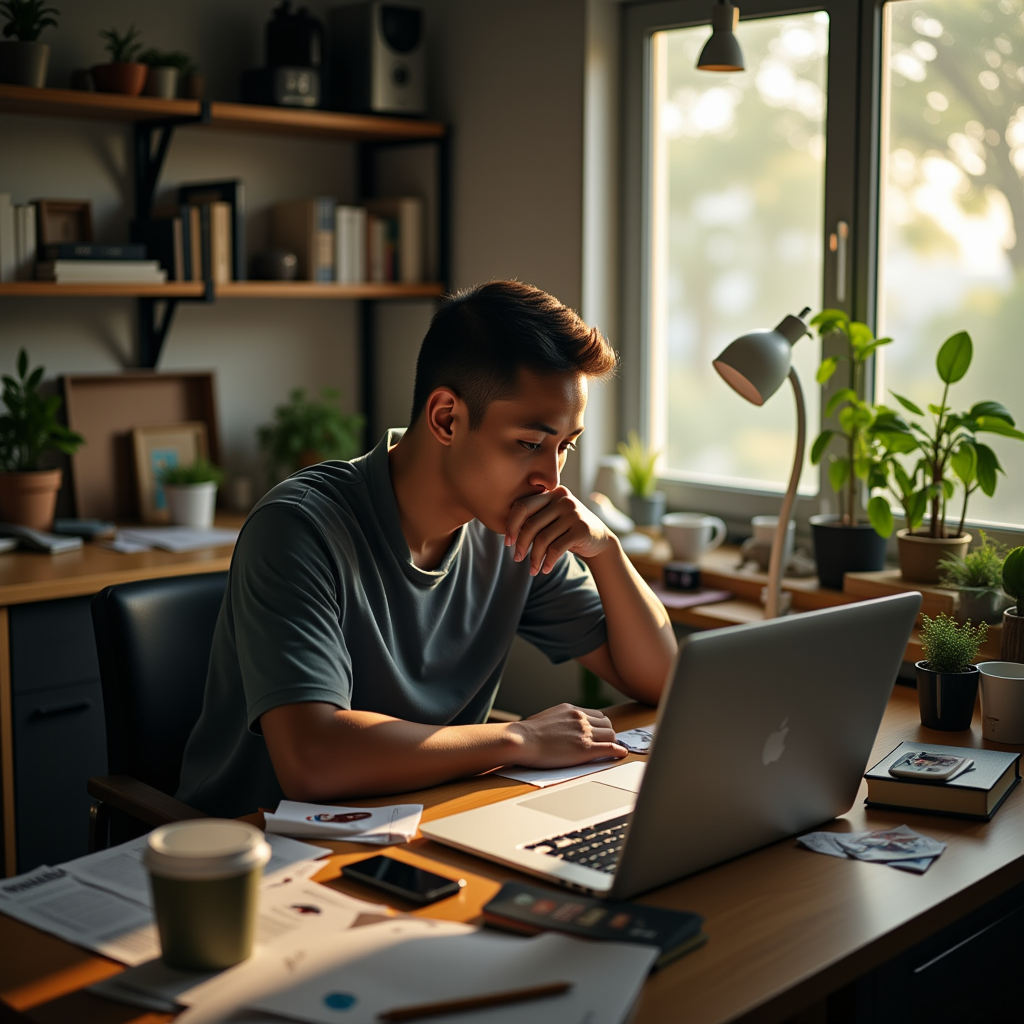
Act 1: Modern Thailand
~40 secondsINT. BANGKOK APARTMENT - DAY
A software developer sits at his polished workspace—triple monitors, bookshelves, plants, skyline view through floor-to-ceiling windows. He types. Pauses. Leans back defeated.
Another afternoon lost to client work.

He types slowly at his triple monitor setup, then pauses mid-keystroke. Leans back in his ergonomic chair, hand coming up to rub his face. Glances from the code on screen to the Bangkok skyline through floor-to-ceiling windows. Takes a deep breath, shoulders drop. The afternoon light illuminates a polished workspace—bookshelves, plants, professional setup—but the restlessness is visible.
INT. SAME - NIGHT
Still there. Exhausted under the monitor's glow. He reaches for another energy drink. The grind continues, but the restlessness grows.

Working in the dark room, his fingers pause mid-keystroke. He brings his hand to his chin, staring at the glowing monitor with tired eyes. Reaches for the energy drink can, takes a slow sip, sets it down deliberately. Eyes return to the code, but the weight of another long night shows in every movement. Bangkok's blue city lights twinkle through the window behind him.
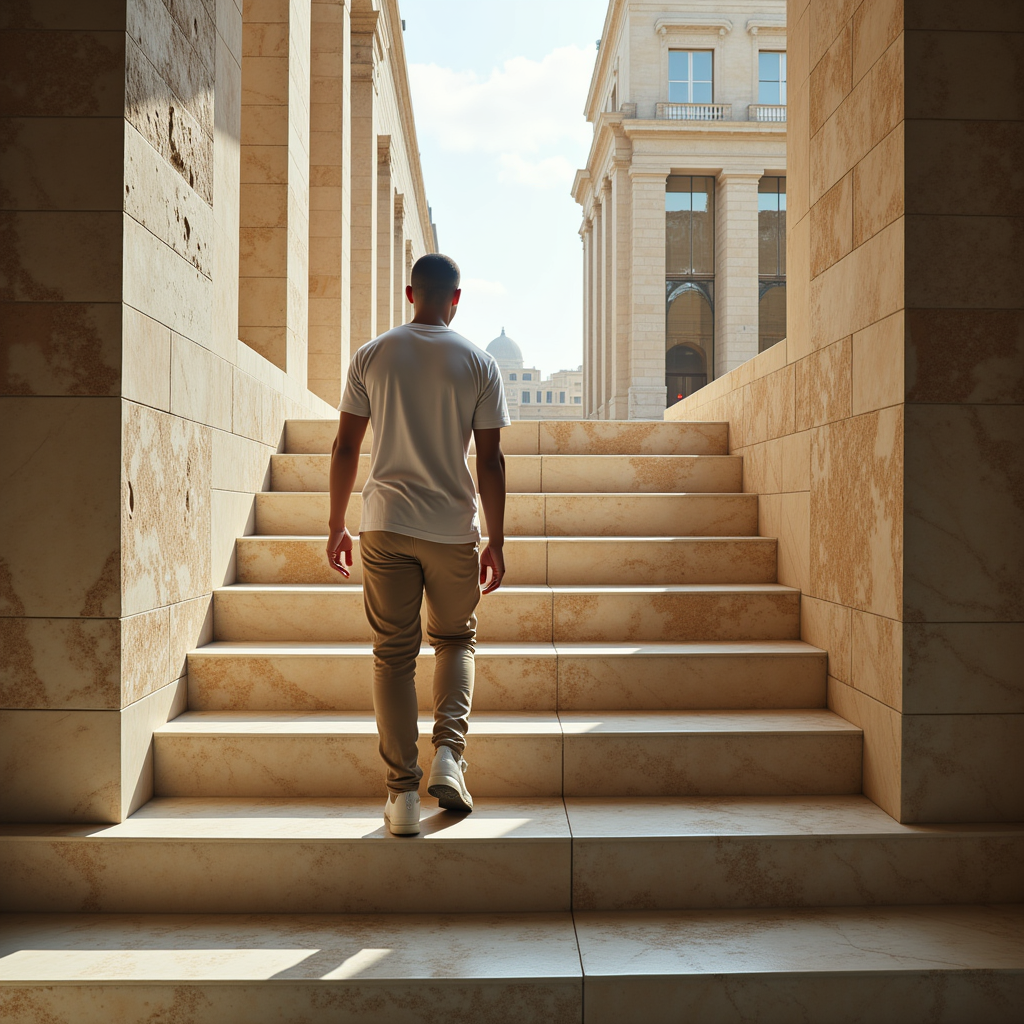
EXT. BANGKOK MARKET - GOLDEN HOUR
He walks through the bustling traditional market. Hands in pockets. Vendors call out. Warm lanterns glow overhead. The energy flows around him, but he's disconnected.
Something catches his eye. He slows. Turns. Changes direction.
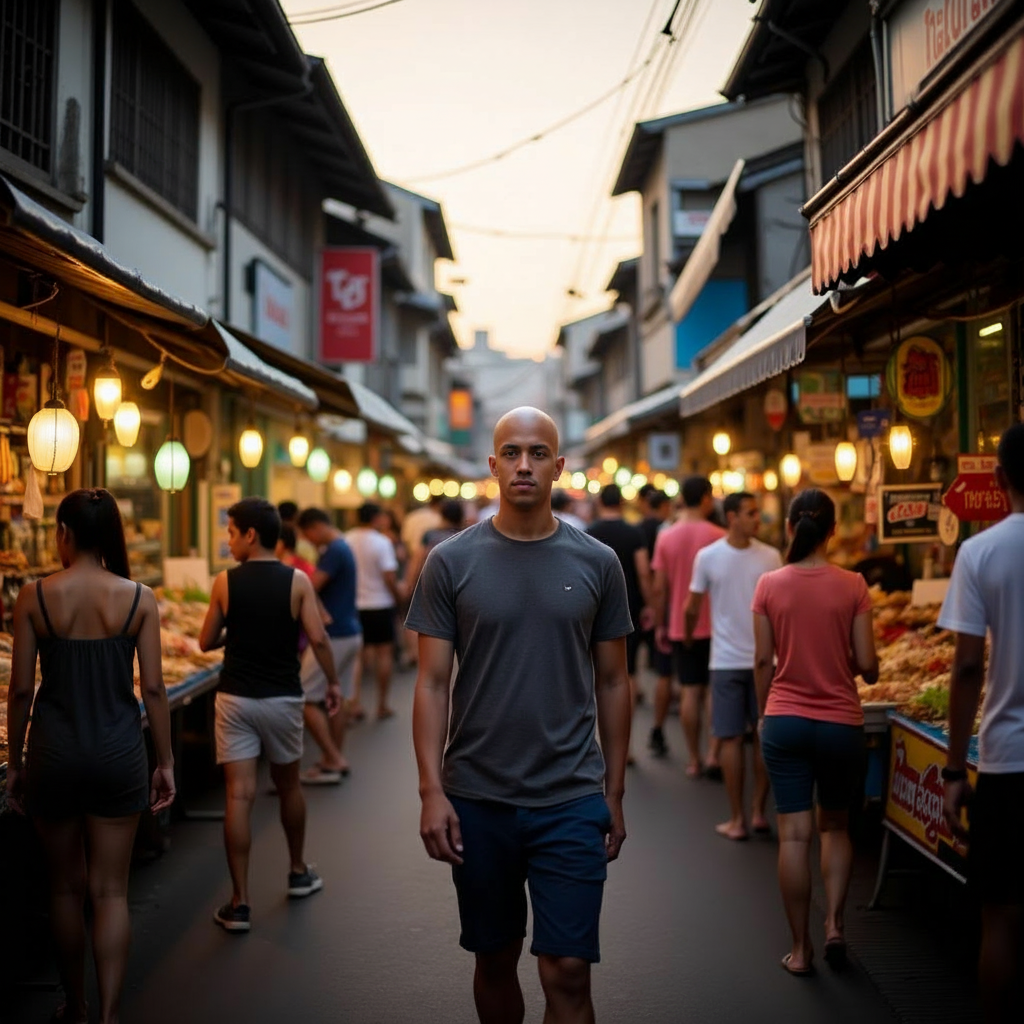
He walks steadily through the bustling market street at golden hour, hands in pockets, moving past vendors and crowds. The camera follows from behind as warm paper lanterns glow overhead along traditional architecture. His pace is steady but his eyes scan left and right. He slows slightly, head turning to look at stalls. Something catches his attention off to the side—he pauses, changes direction, moving toward it.
EXT. ANTIQUE STALL - CONTINUOUS
His hands move across a weathered table covered in bronze artifacts. He picks up pieces. Examines them. Sets them down.
Then—there. An ornate AMULET. Something about it is different.
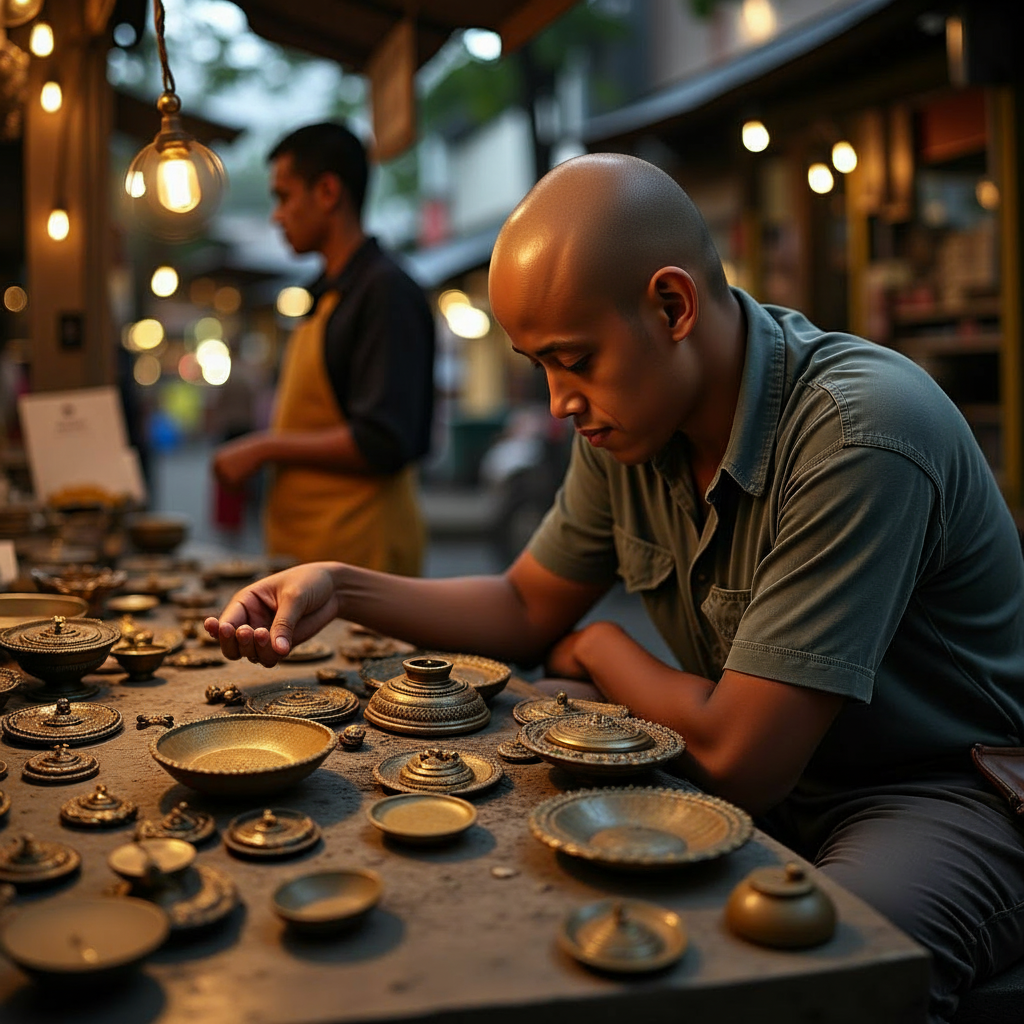
Standing at the antique stall, his hands move across the weathered table covered in bronze artifacts—plates, bowls, ornate trinkets. He picks up one piece, examines it briefly in the golden market light, sets it down. His hand hovers, then reaches for a particular ornate amulet among the collection. Picks it up carefully, turns it slowly. His expression shifts—this is different. Eyes narrow with curiosity.
INT. APARTMENT - NIGHT
Back at his desk. Laptop forgotten. He holds the amulet up to the lamp light. Rotates it slowly, studying the intricate carvings and central mechanism.
His finger hovers over a button-like feature. A pause.
What happens if he presses it?
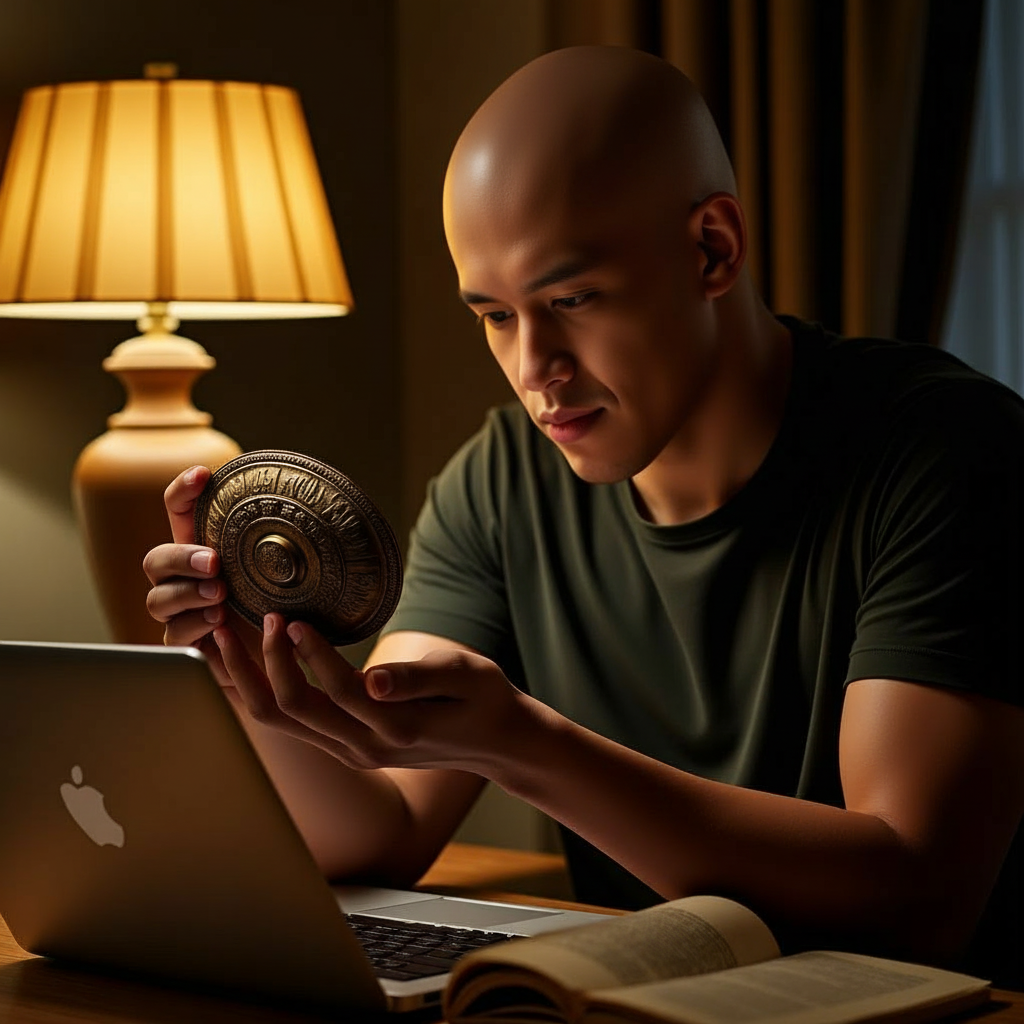
He enters frame and sits at his desk, the ornate amulet in hand. Pushes the laptop aside slightly—it's forgotten now. Holds the oval bronze piece up to his desk lamp, the warm light catching the intricate carvings. Slowly rotates it, studying every detail. Leans forward, eyes focused on the central mechanism. His finger reaches out, hovering over the button-like feature. A pause. A moment of decision.
Forty seconds capturing the universal feeling of being stuck in the mundane, yearning for something more—the perfect setup for what's about to unfold.
Video coming soon
Currently generating video animations with Veo3 and Seedance
Step 14
Visual Storytelling - 33 Scene Epic 🎬
edwin-avatar-v3
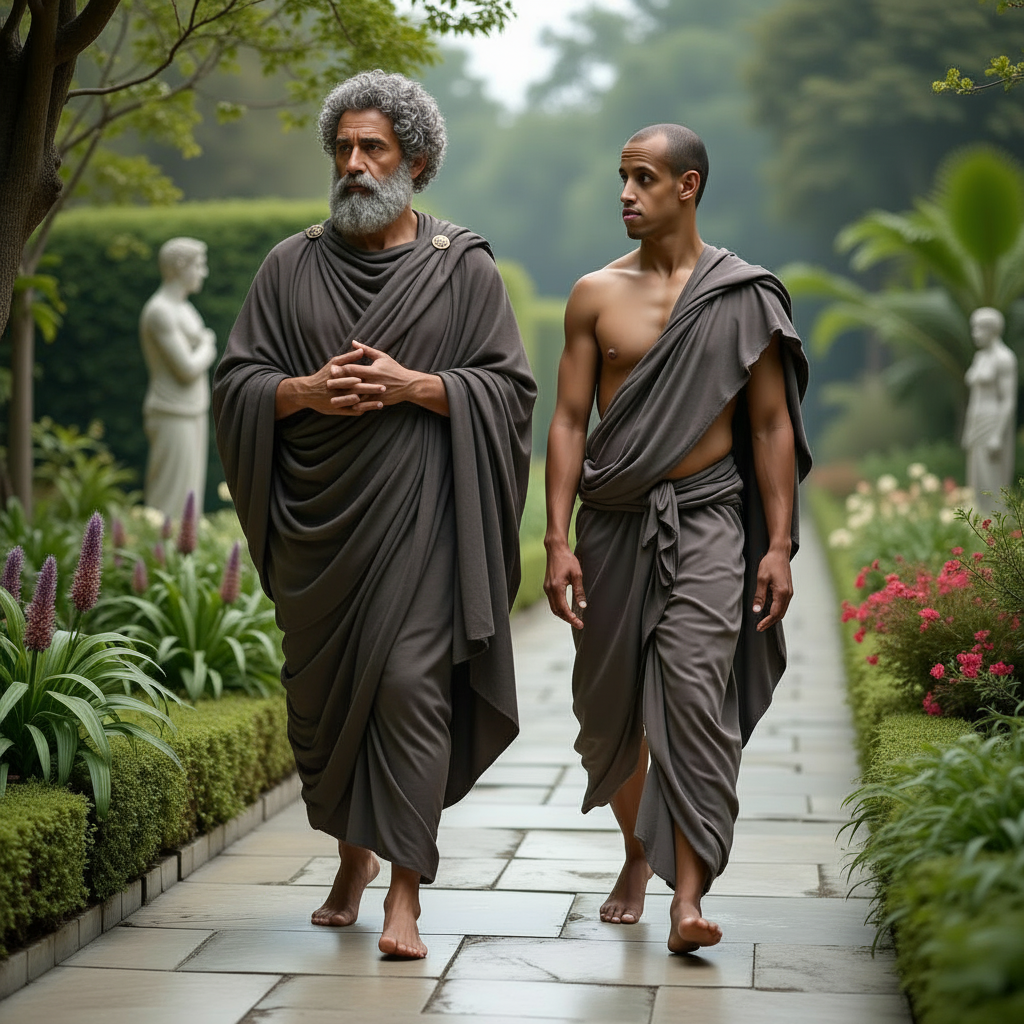
Beyond single images, I've created sequential visual narratives that tell cohesive stories. Each story consists of 20-33 scenes that flow naturally from one to the next, creating a complete narrative arc with consistent character appearance throughout using the v3 model.
📖 Edwin's Tech Heritage Dream
A 33-scene narrative following a bored software developer in Bangkok who discovers a mysterious amulet that transforms reality into a tech-heritage empire where ancient architecture fuses with modern server infrastructure.
Bored developer finds mysterious amulet on Bangkok streets
Act 2 Scenes 6-10 • Transformation


Reality warps into tech-heritage empire
Act 3 Scenes 11-20 • Tech Heritage Empire
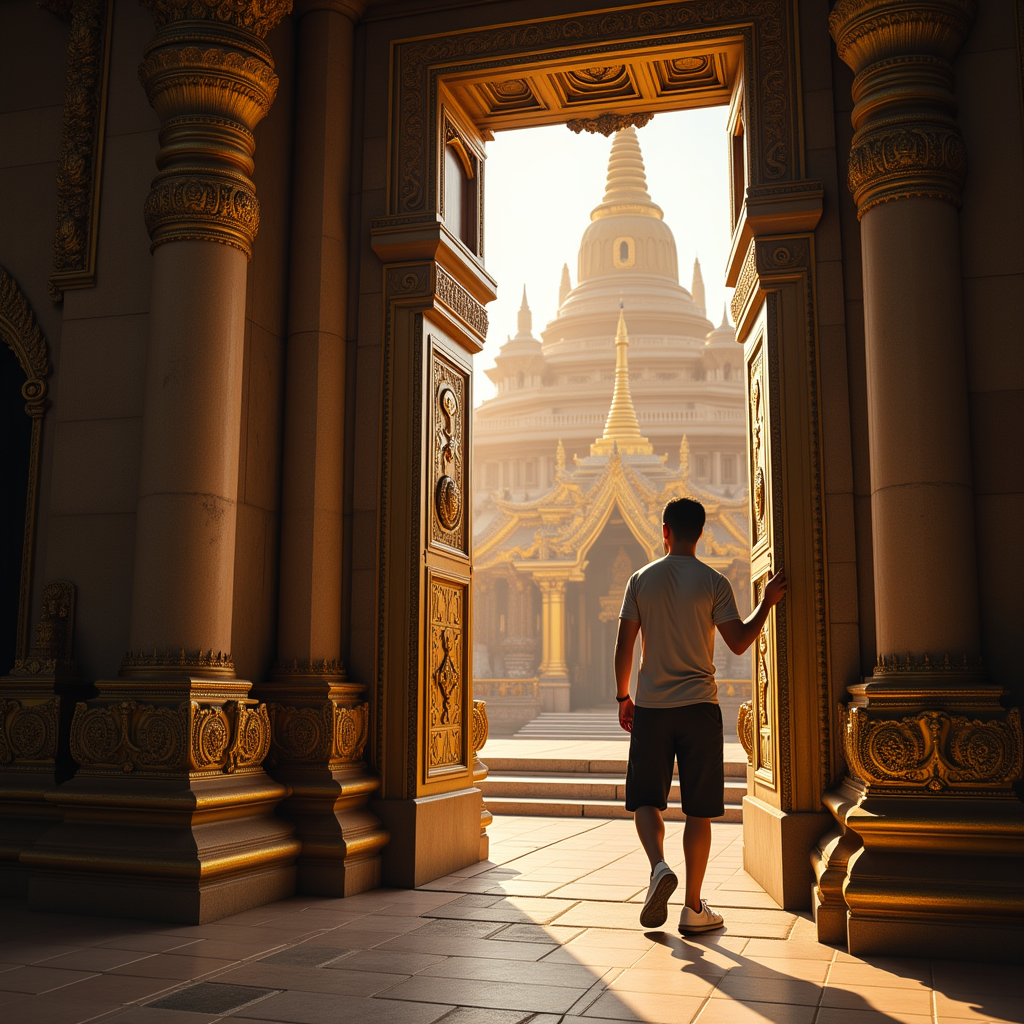
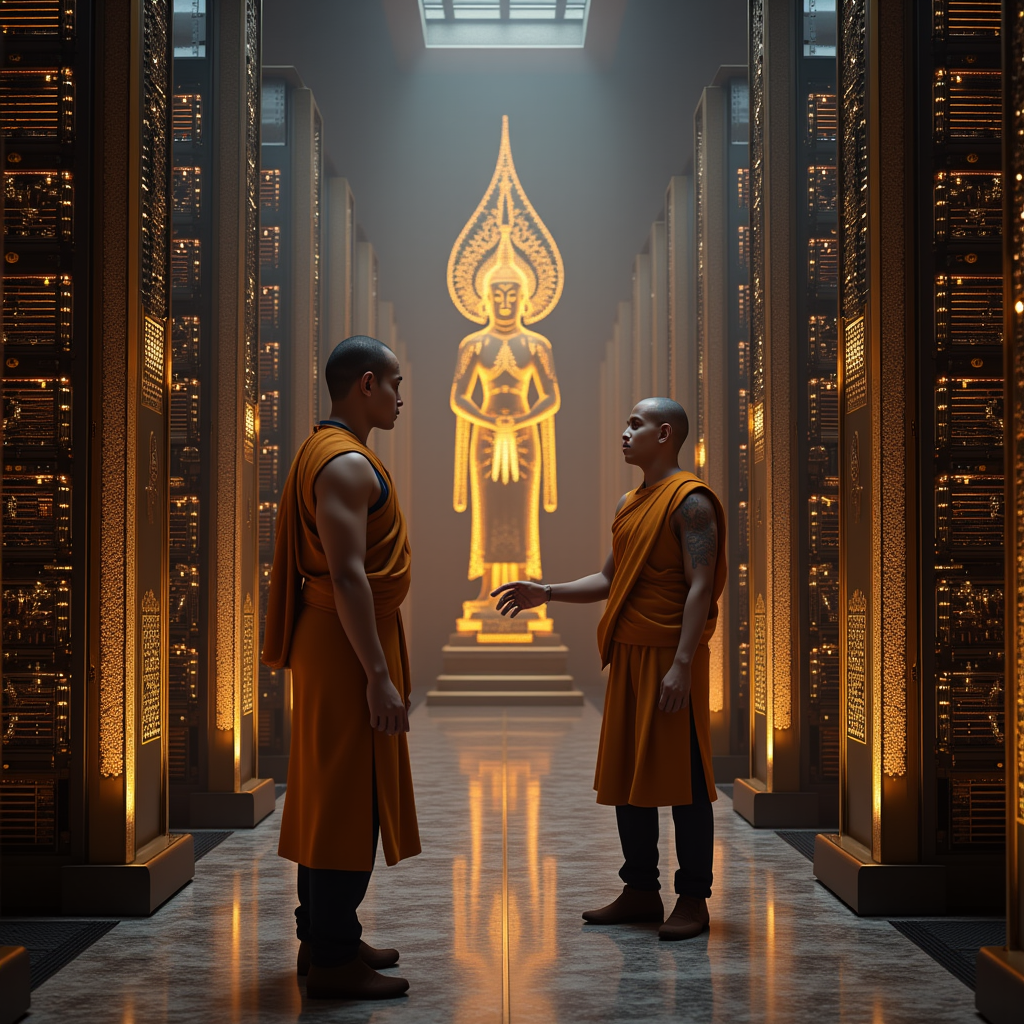
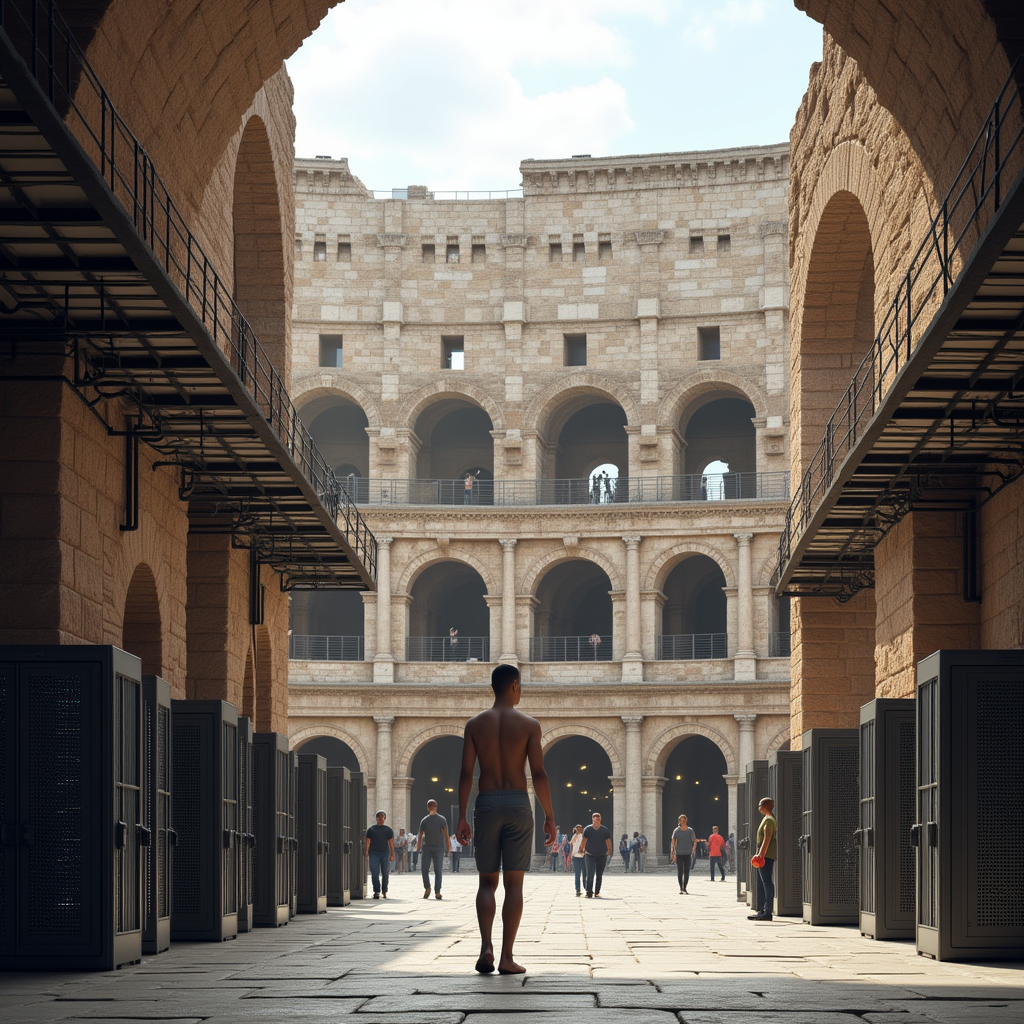
Exploring fusion of ancient architecture & modern tech
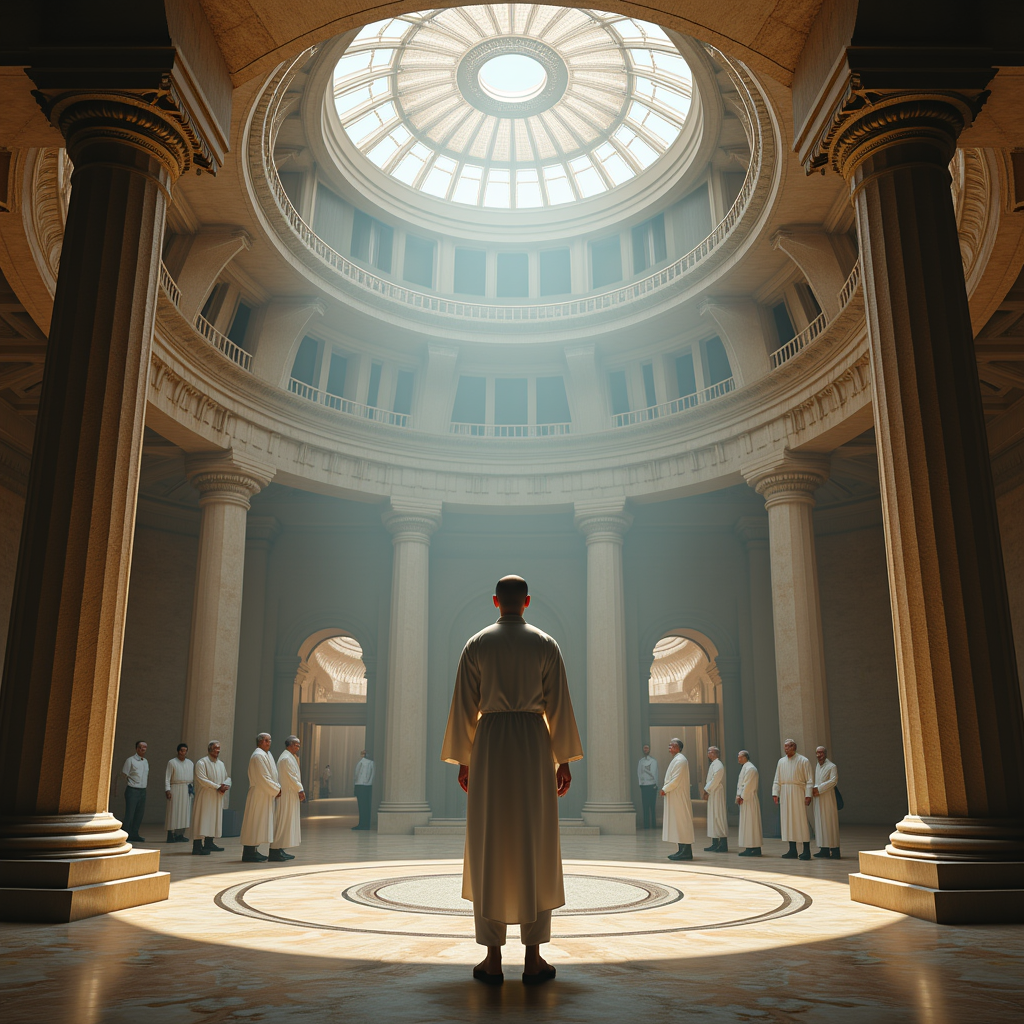
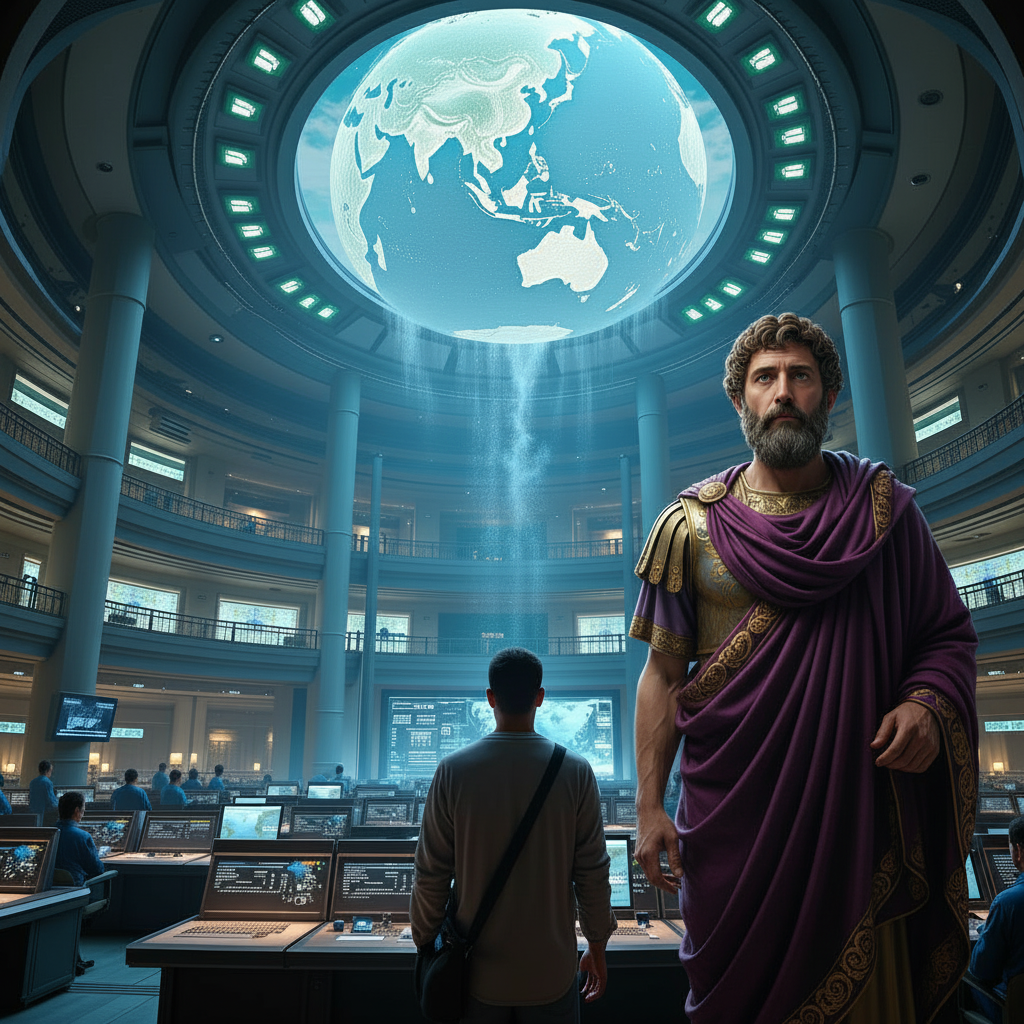
Act 4 Scenes 21-27 • Marcus Aurelius
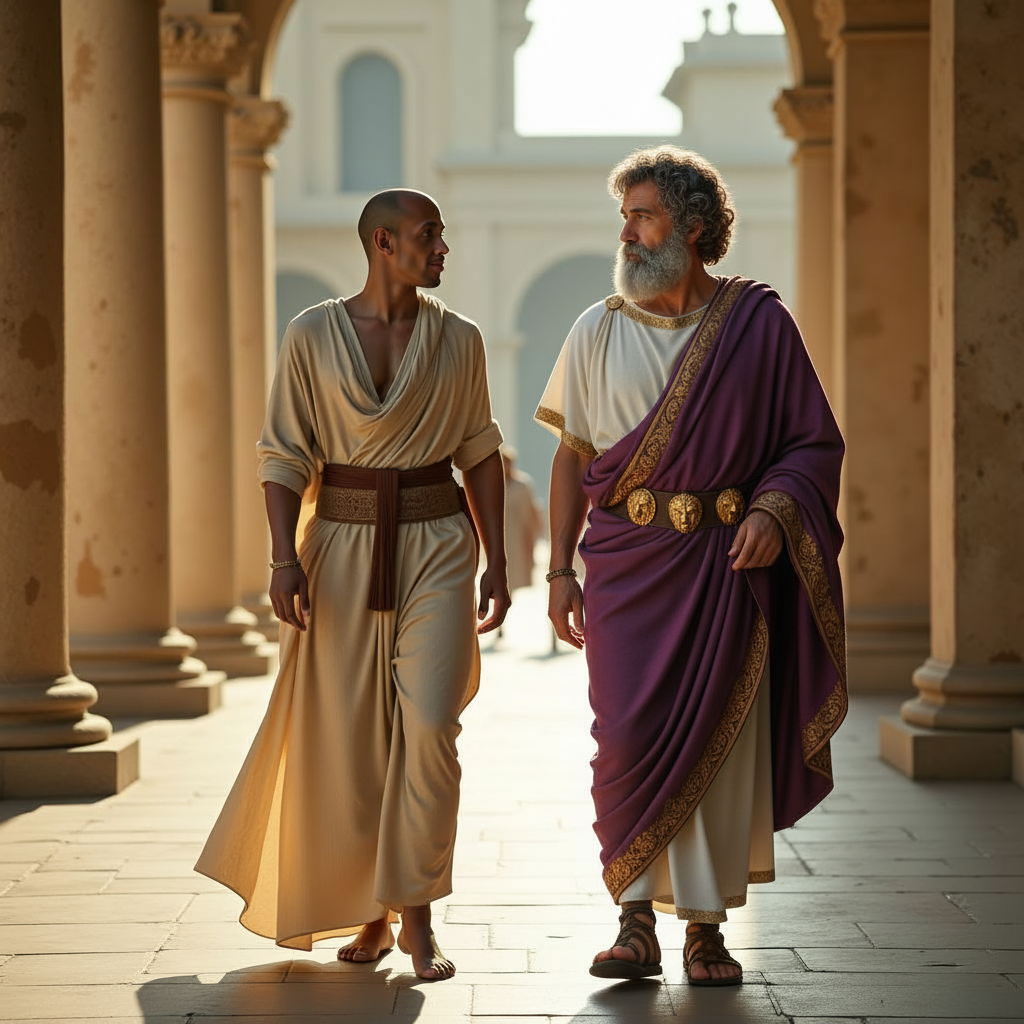
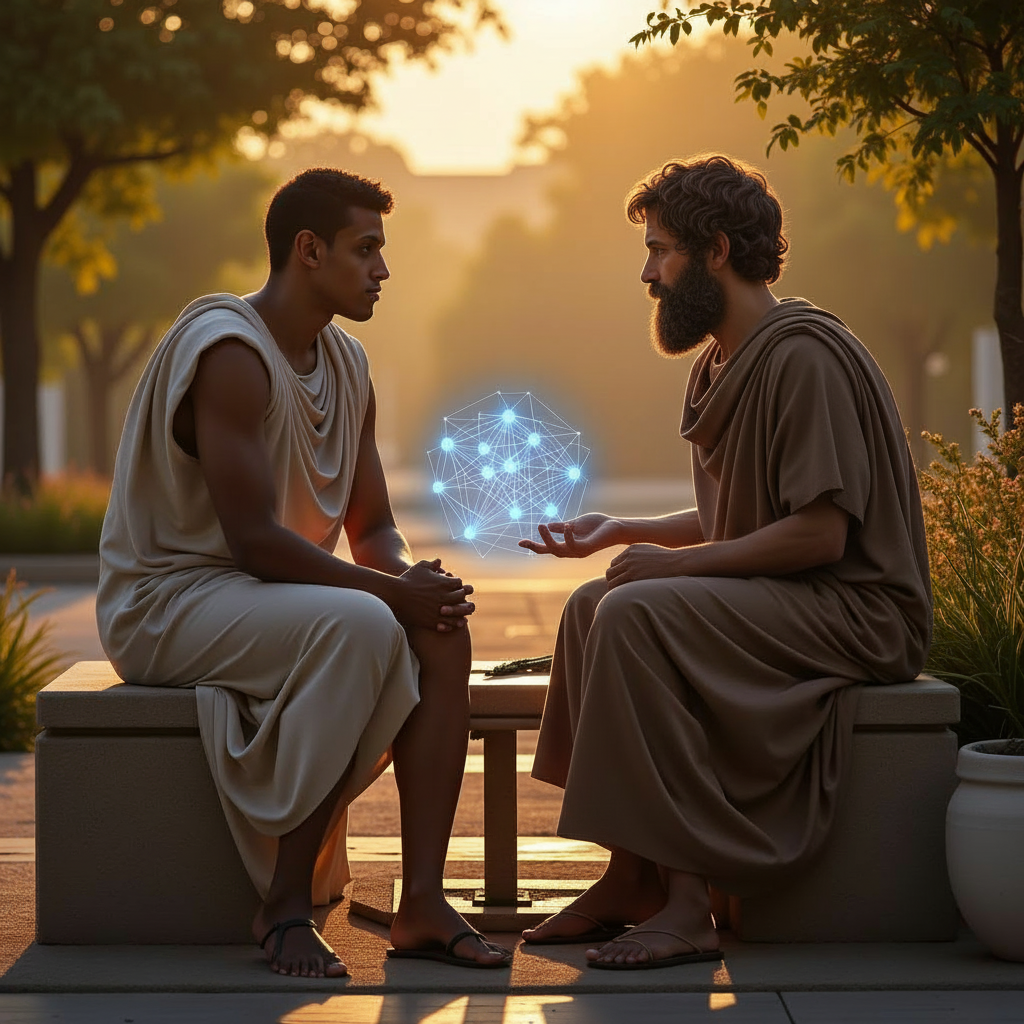
Meeting philosopher emperor, learning Stoicism
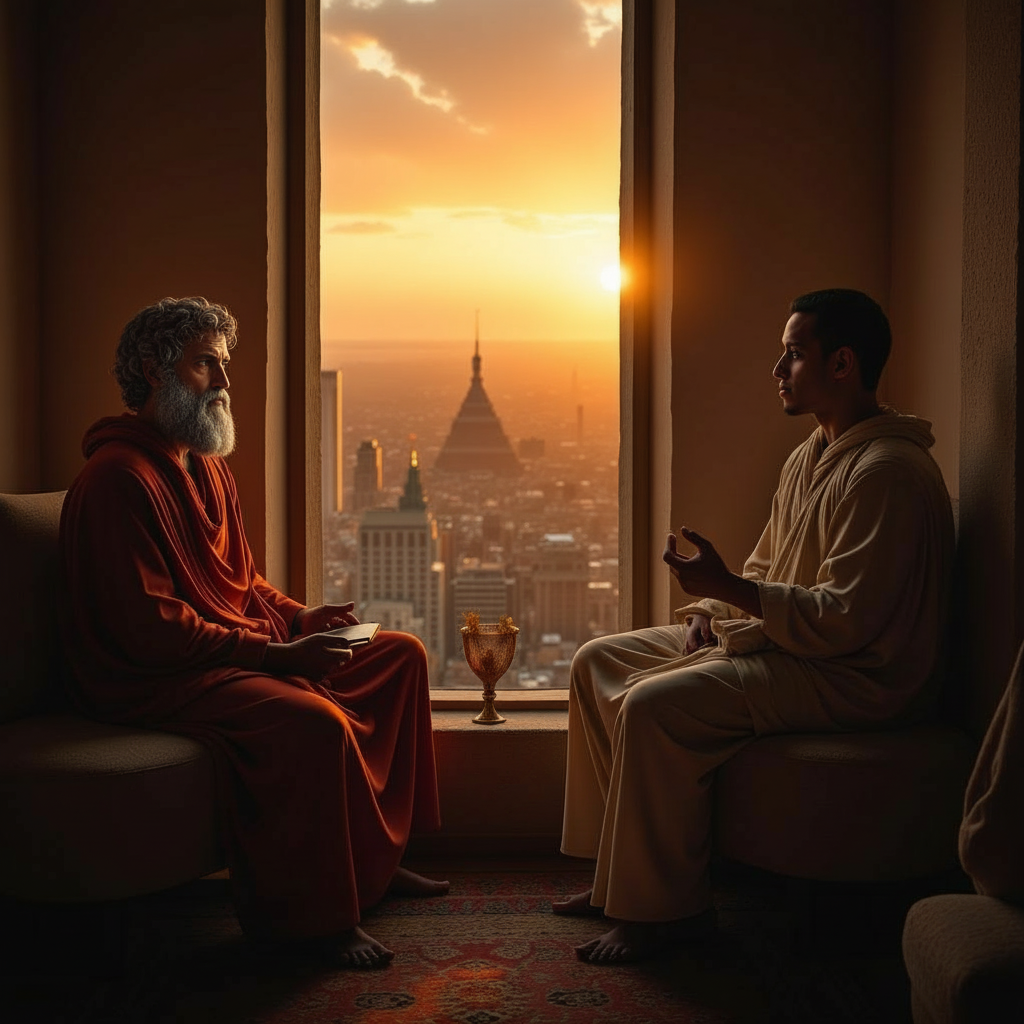
Act 5-6 Scenes 28-33 • Empire Peak & Awakening
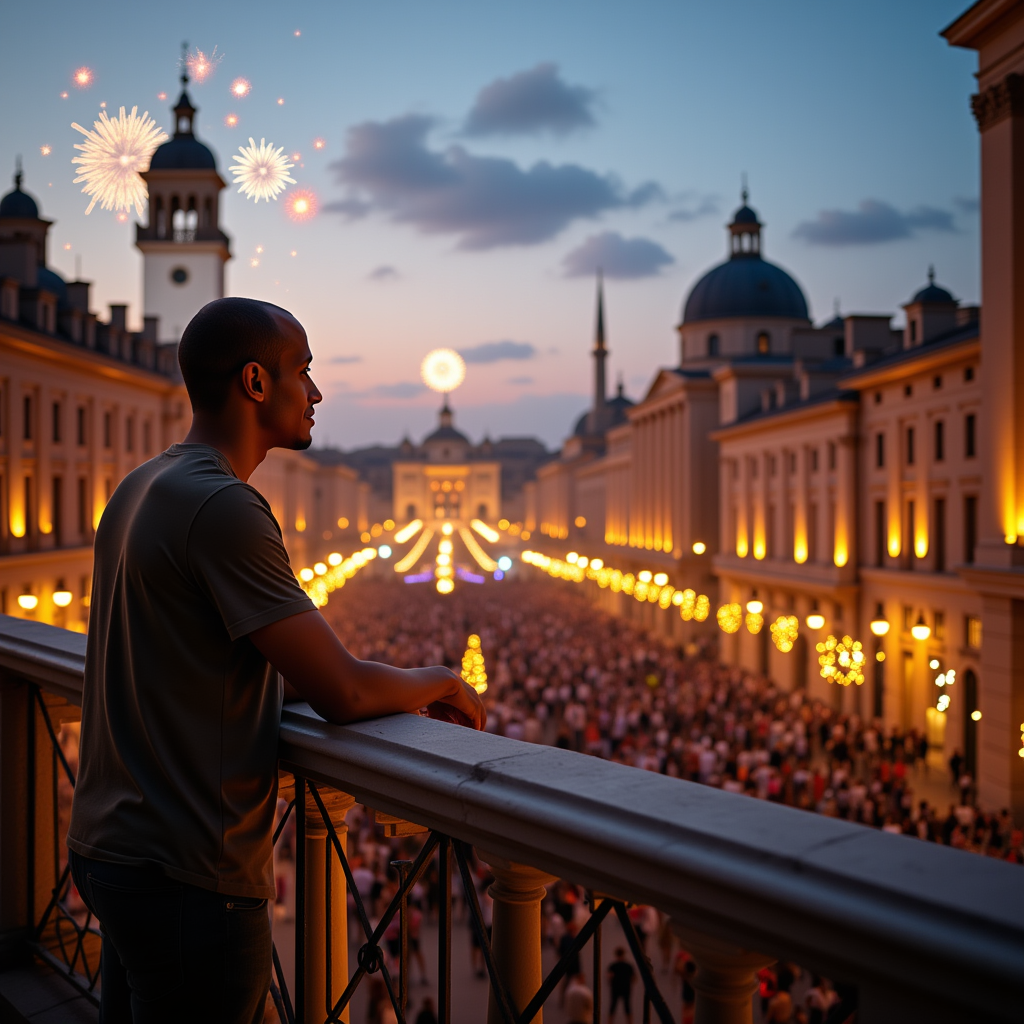

Height of power, celebration, then empire fades - waking in Bangkok
🎬 Generation Pipeline
- 1. Story crafted as JSON file with 33 detailed scene prompts
- 2. Each scene generated using v3 LoRA model with TOK trigger word
- 3. Consistent character appearance throughout narrative arc
- 4. Sequential generation maintains story flow and continuity
💡 Storytelling Applications
- • Personal brand narratives - Tell your origin story or vision
- • Product launches - Create anticipation with sequential reveals
- • Educational content - Break down topics into visual chapters
- • Social campaigns - Daily story posts that build engagement
- • Video compilation - Combine scenes into slideshow or animated video
Step 13
Face Swap Pipeline
codeplug/easel
After training the v3 model, I discovered that face swapping produces far better results than fusion. The approach is simple: use the trained v3 model to generate base images with various scenes and poses, then apply a dedicated face swap model to replace the face with my reference photos. This ensures perfect facial consistency across all images while maintaining the v3 model's understanding of composition and environments.
🎬 The Generation Pipeline
Generate Base Image with v3
The trained v3 LoRA model generates a base image according to the selected prompt. This image contains the pose, environment, lighting, and composition - everything except the face.
Select Reference Photo
Pick one of 84+ reference photos (real photos of me). This becomes the source face for the swap.
Apply Face Swap
Replace the face in the base image with my reference face using a dedicated face swap model. The result is an image of me, in the scenario that v3 created, with perfect identity consistency.
Optional: Enhance Face Quality
Apply optional face restoration (GFPGAN) to sharpen details and enhance the facial quality.
Why this approach works:
- • Uses trained v3 model: The base images come from the v3 model trained on my photos, so it already understands my likeness
- • Perfect face consistency: Every image gets exactly the same face from my reference photos
- • Separation of concerns: v3 handles creative direction (scenes, poses, environments), face swap handles identity
- • Batch generation: Process 20 prompts in one workflow for consistent portfolio content
Step 12
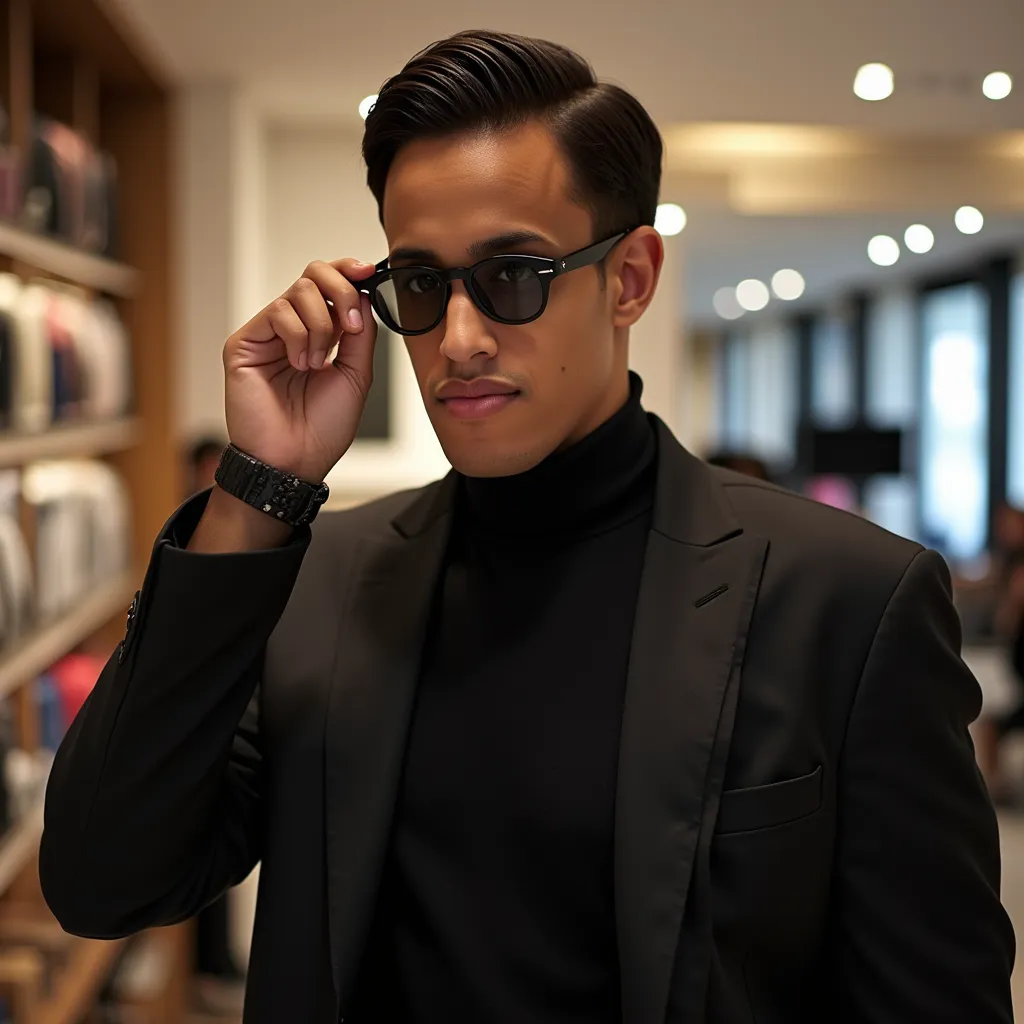
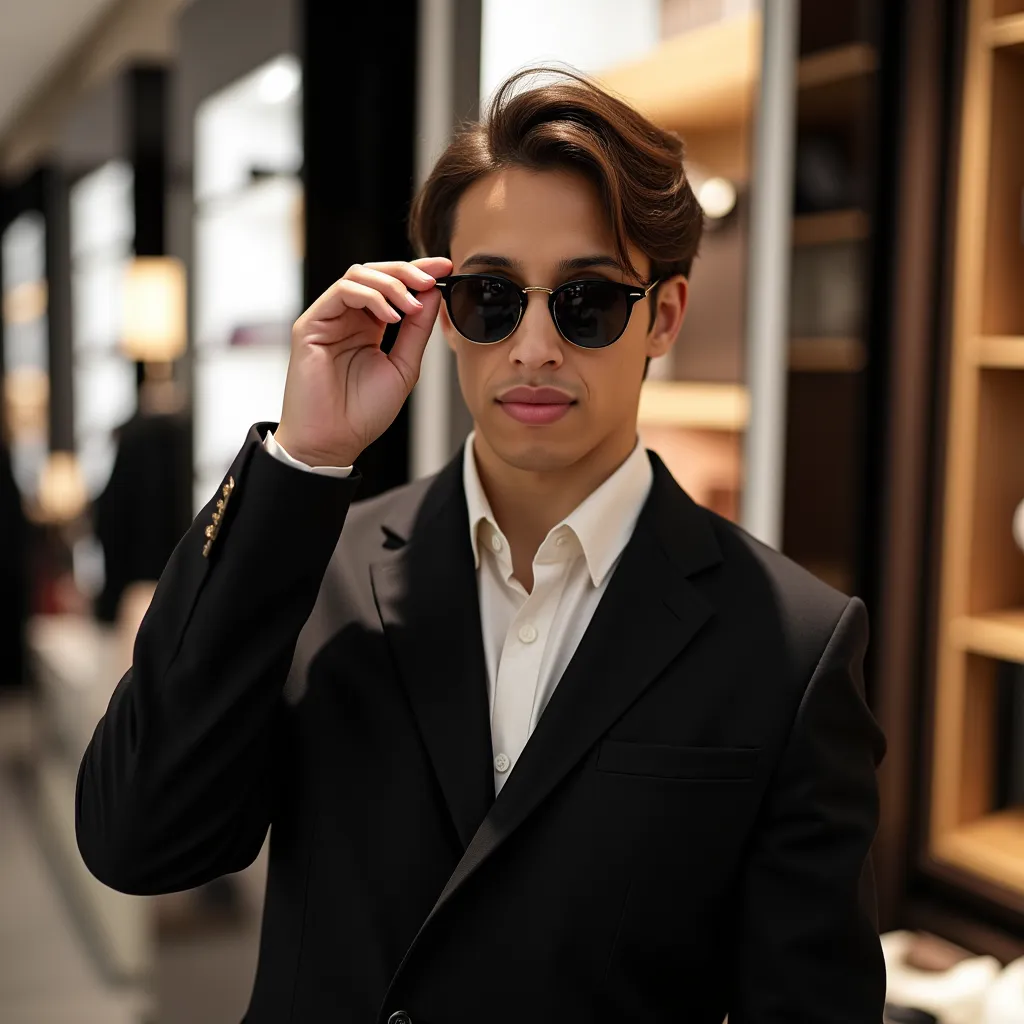
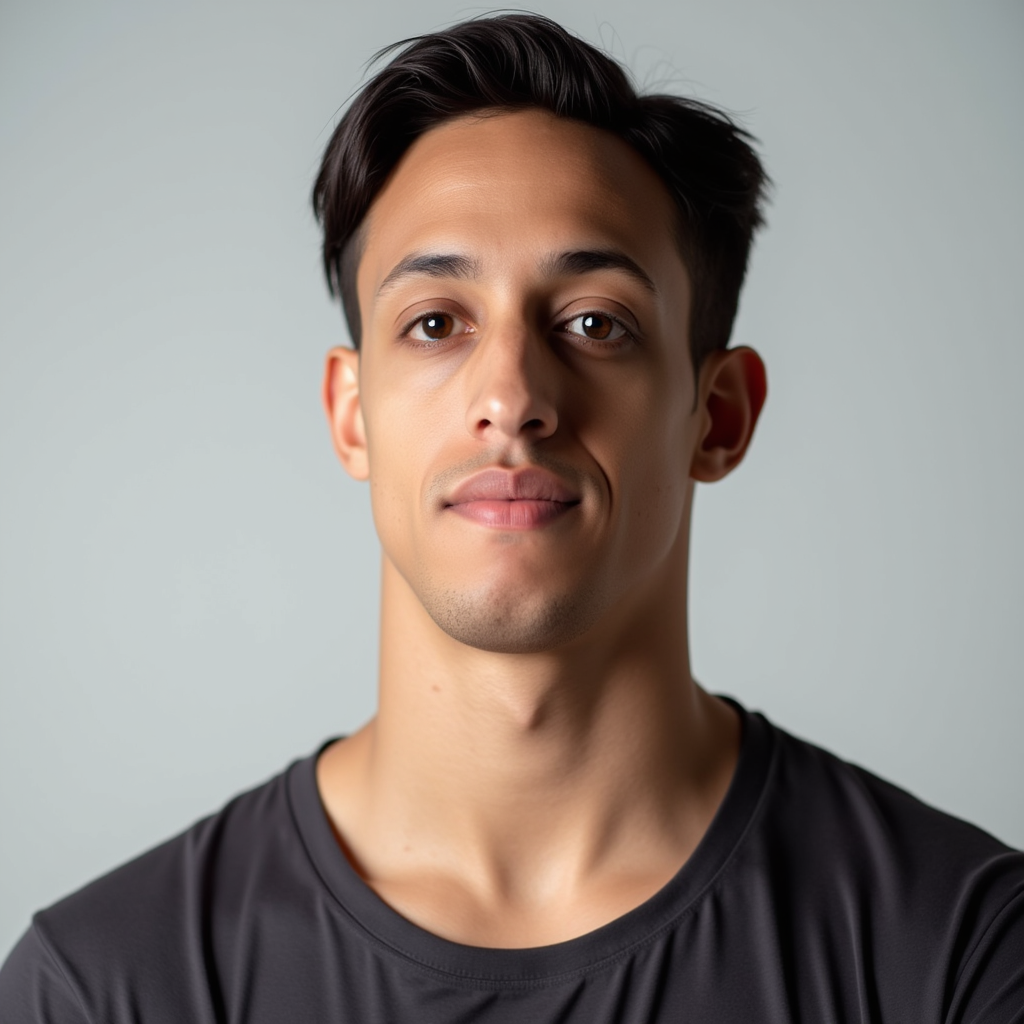
V3 Model Training - Complete! 🎉
fast-flux-trainer
Training complete! I fine-tuned v3 with the hybrid dataset strategy from Step 11 using replicate/fast-flux-trainer with 8x H100s. The results are significantly better than v2.
✨ Initial Reaction
We definitely improved the quality of the images by 10–30% - there is more uniqueness here. I am happy. Let's carry on. I think I am now fine to do some actual video generation with this.
Conclusion: I am not 100% happy, but 10–15% happier, and am seeing the direction that we need to take here though. For now this is going quite well.
Next iteration: Likely I will retrain this as well. But not before generating some videos. The retraining will probably be at 20% synthetic/refined and 80% real images.
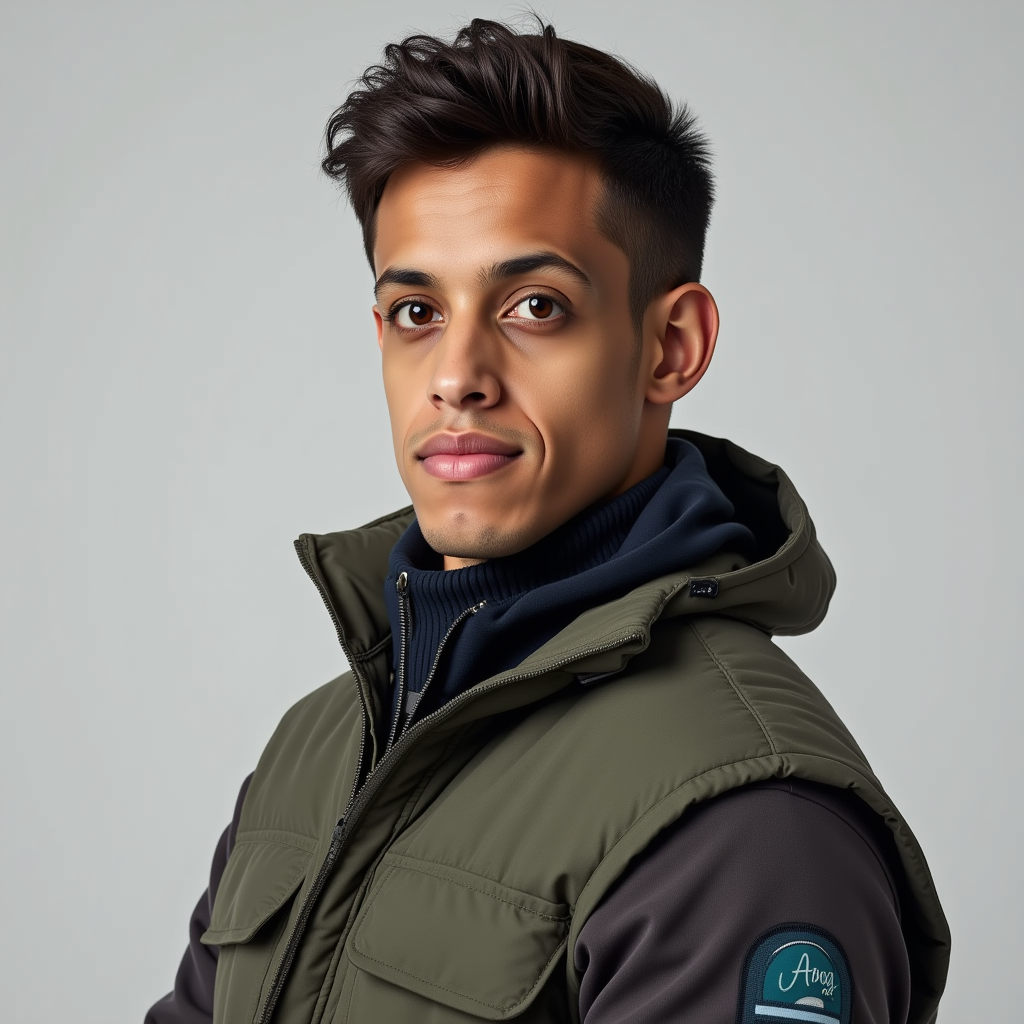
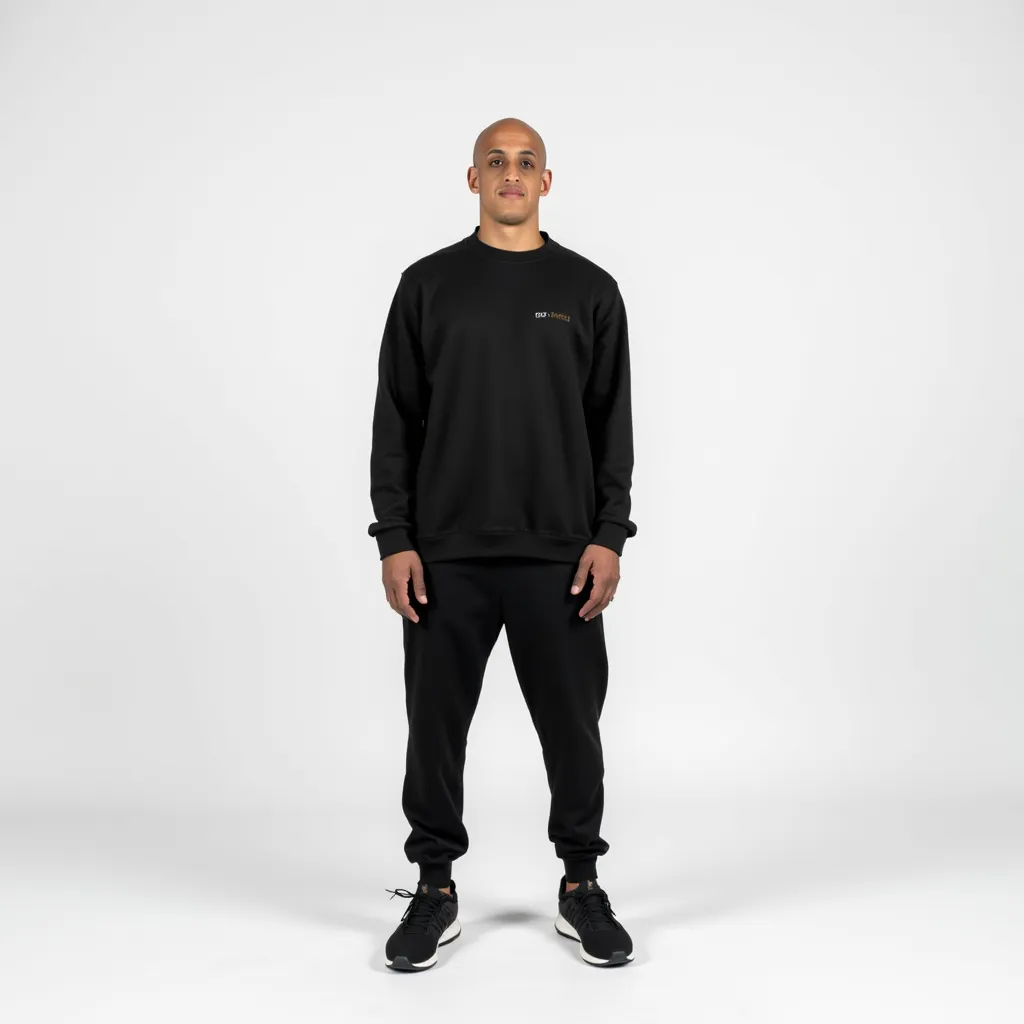
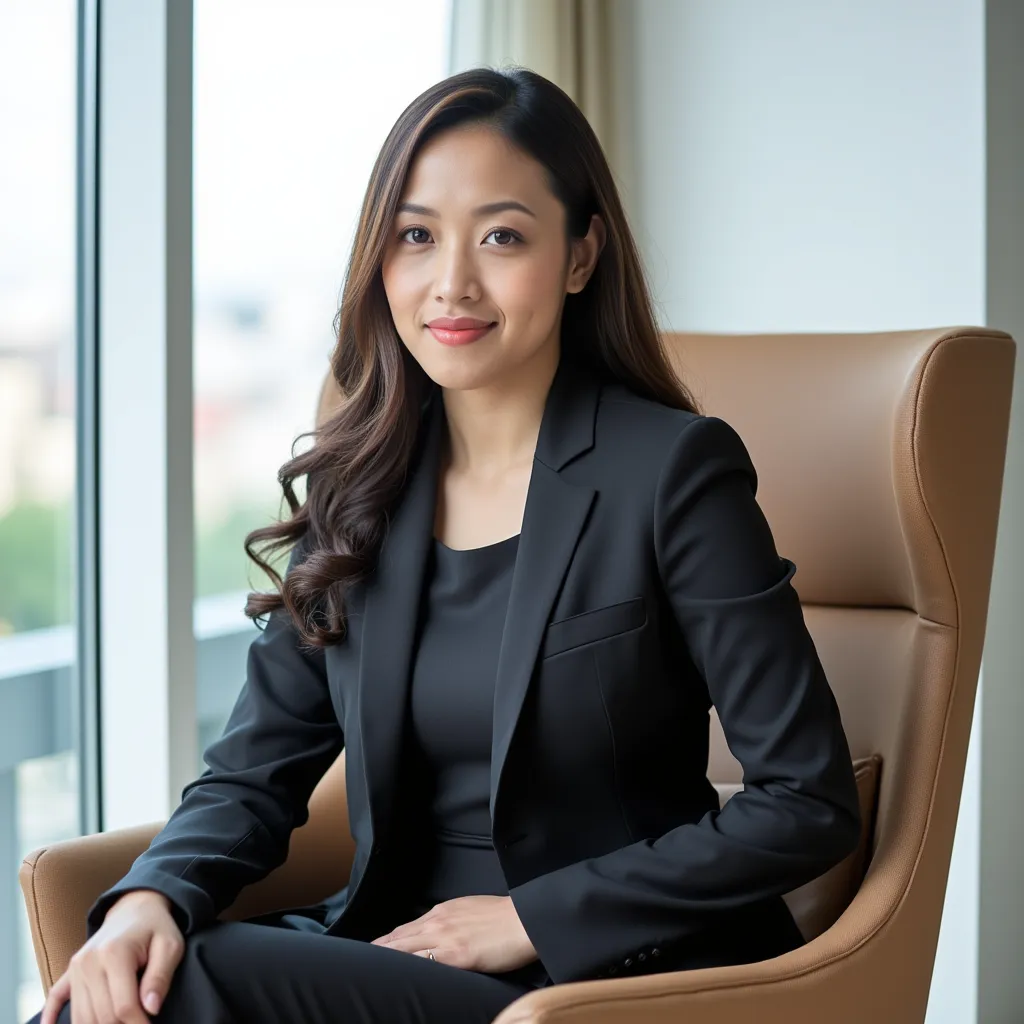
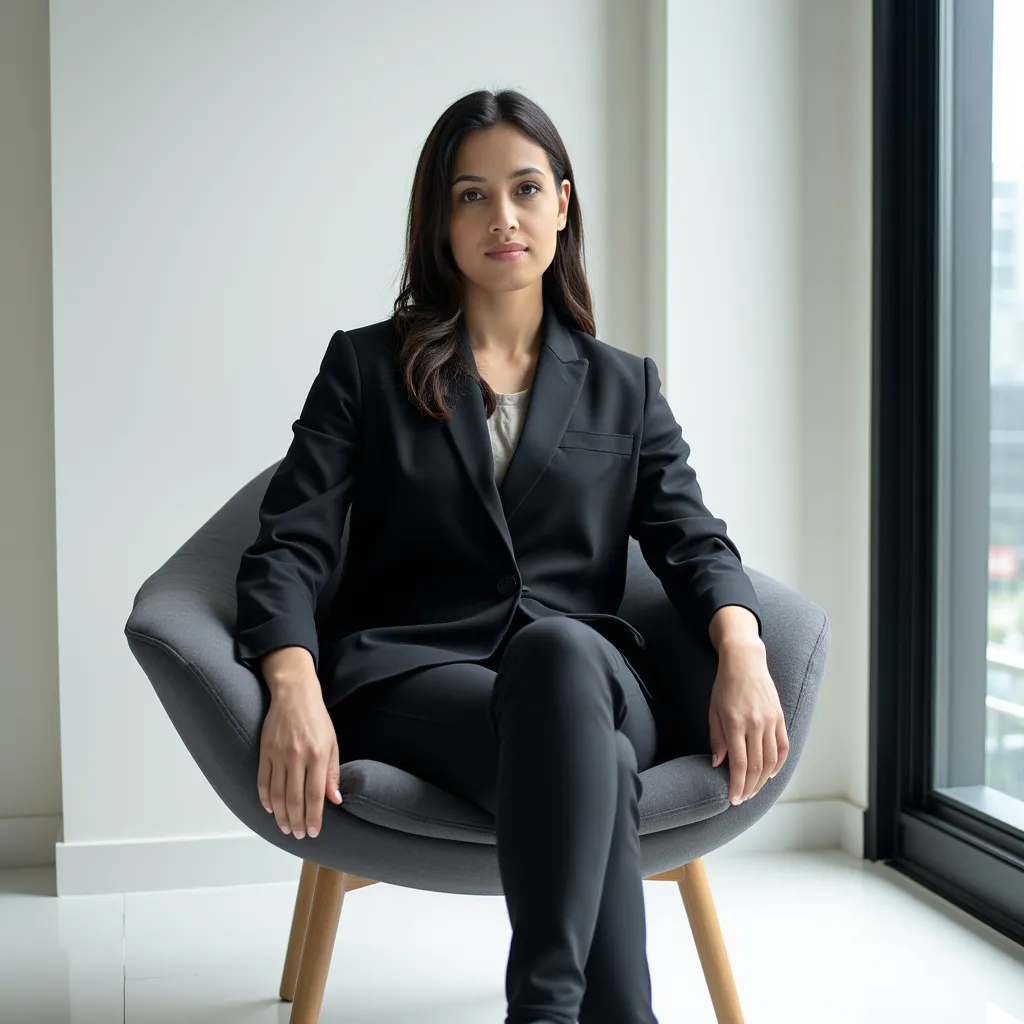
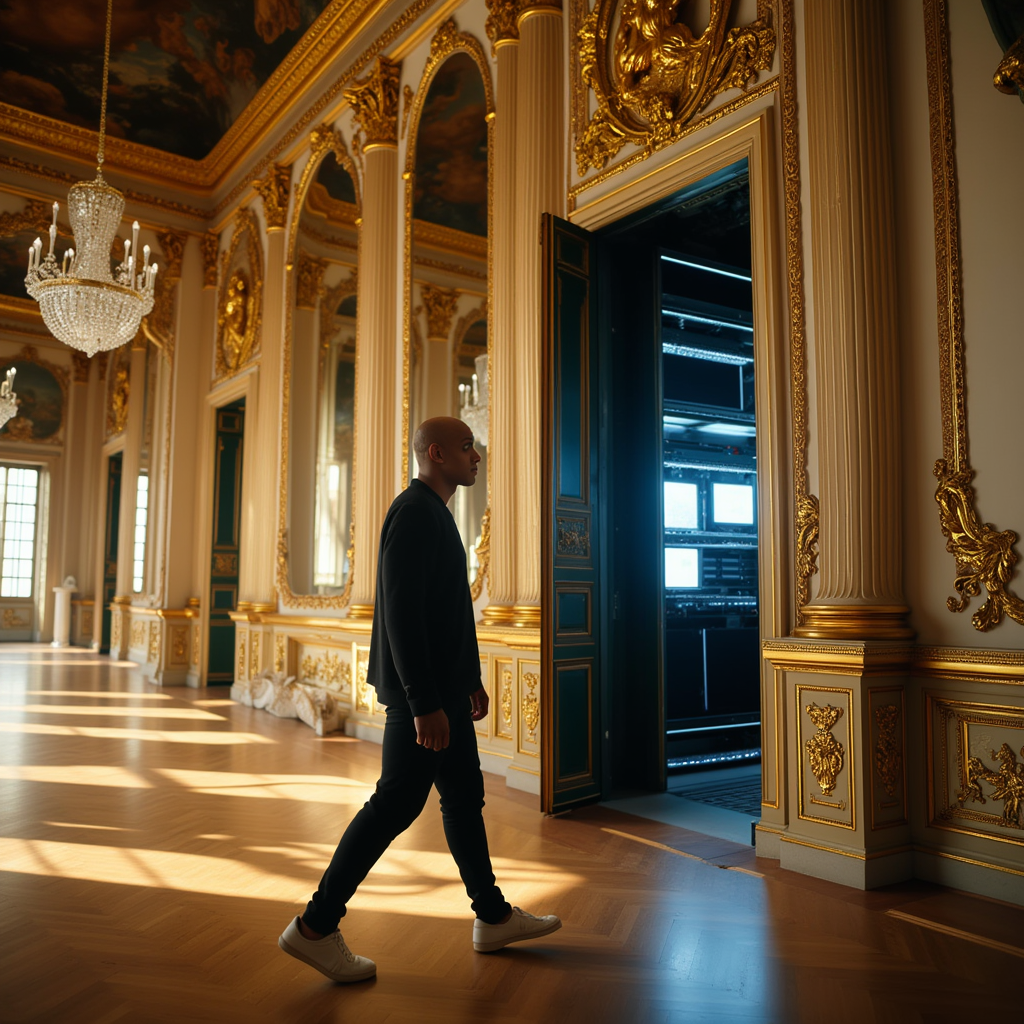
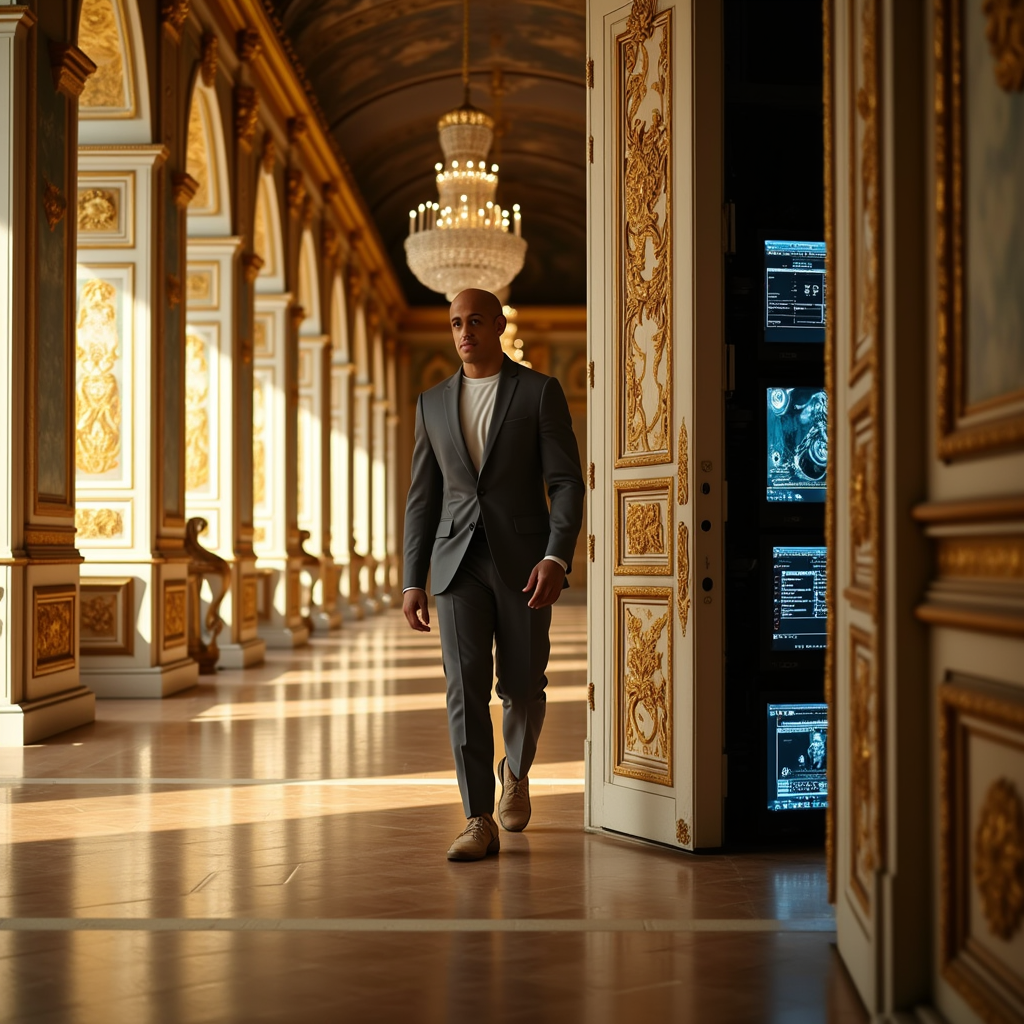
Example outputs (v3 - same prompts as Step 3):
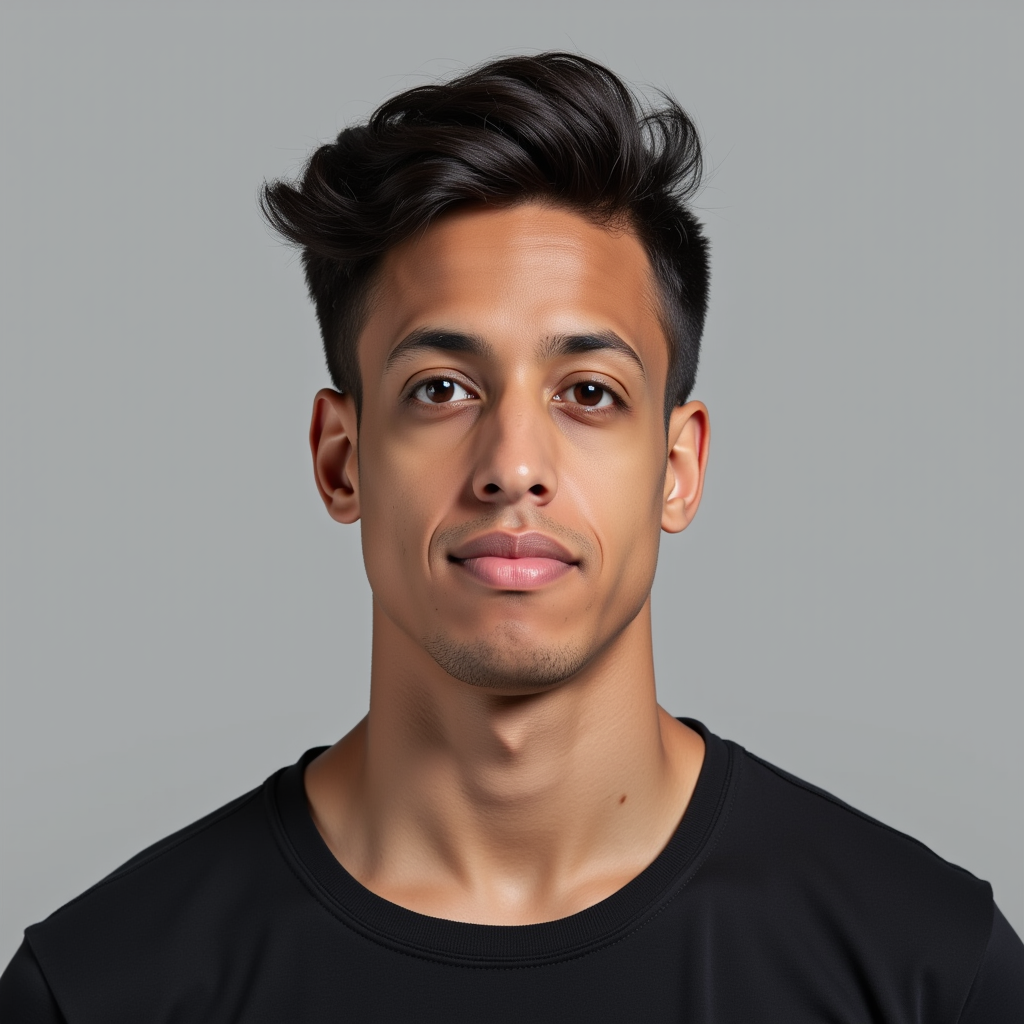
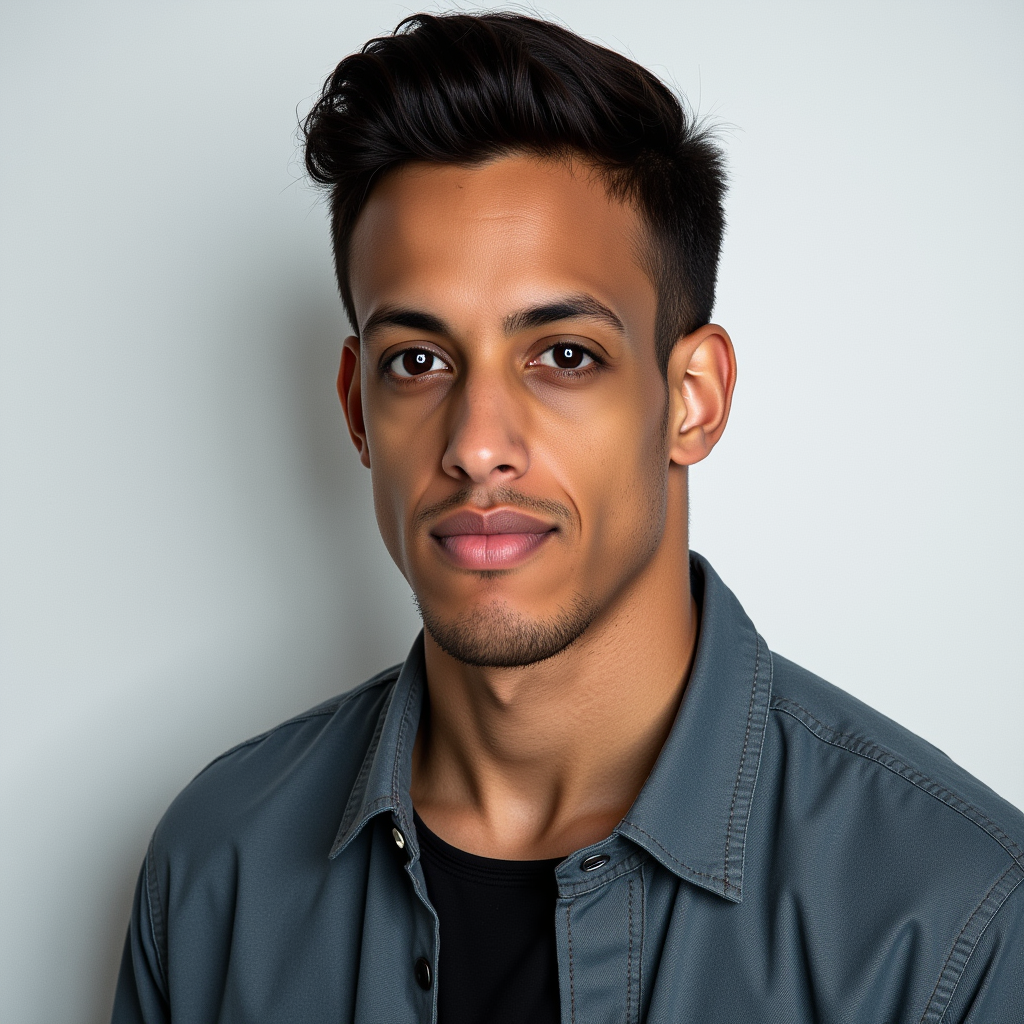
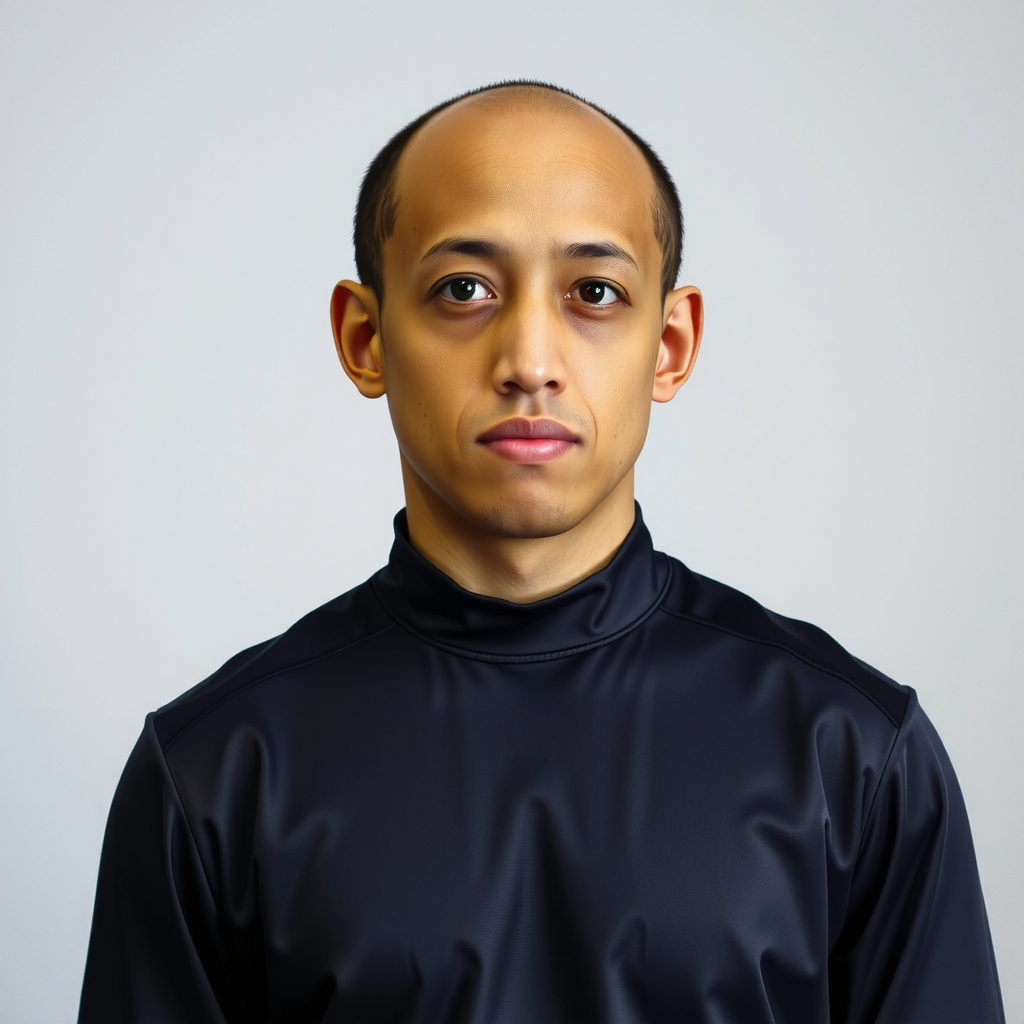
Prompt: TOK as a portrait, standing directly in the center of the image, looking at the camera, neutral expression, realistic, high detail, bust shot, plain background, soft lighting, masterpiece.
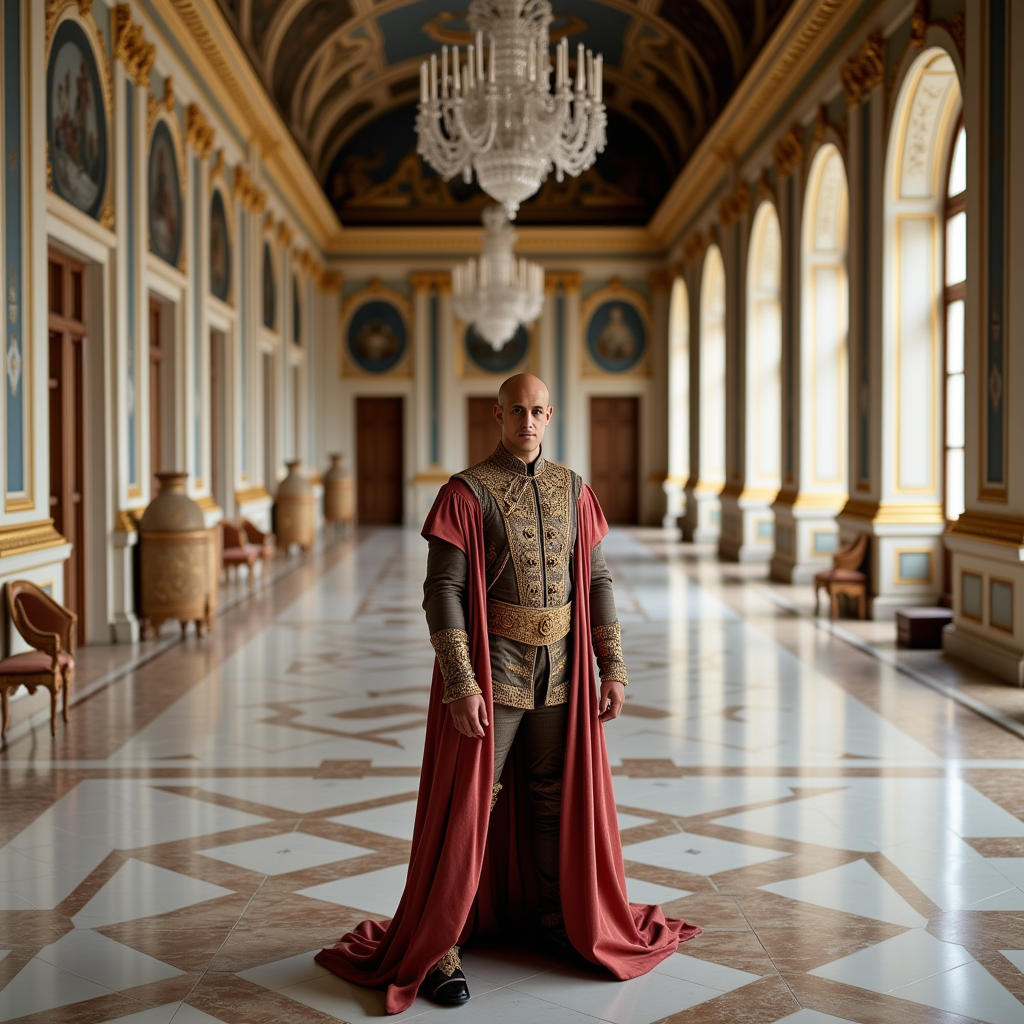
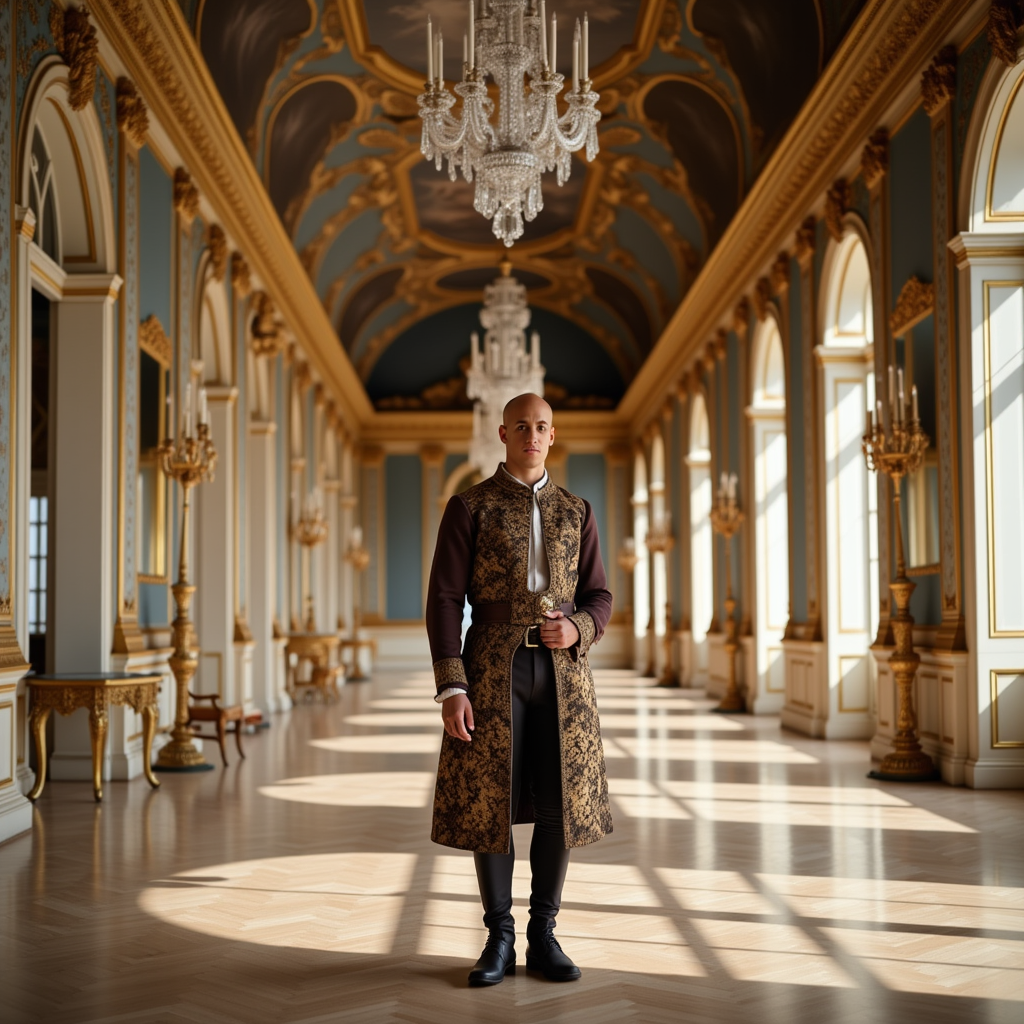
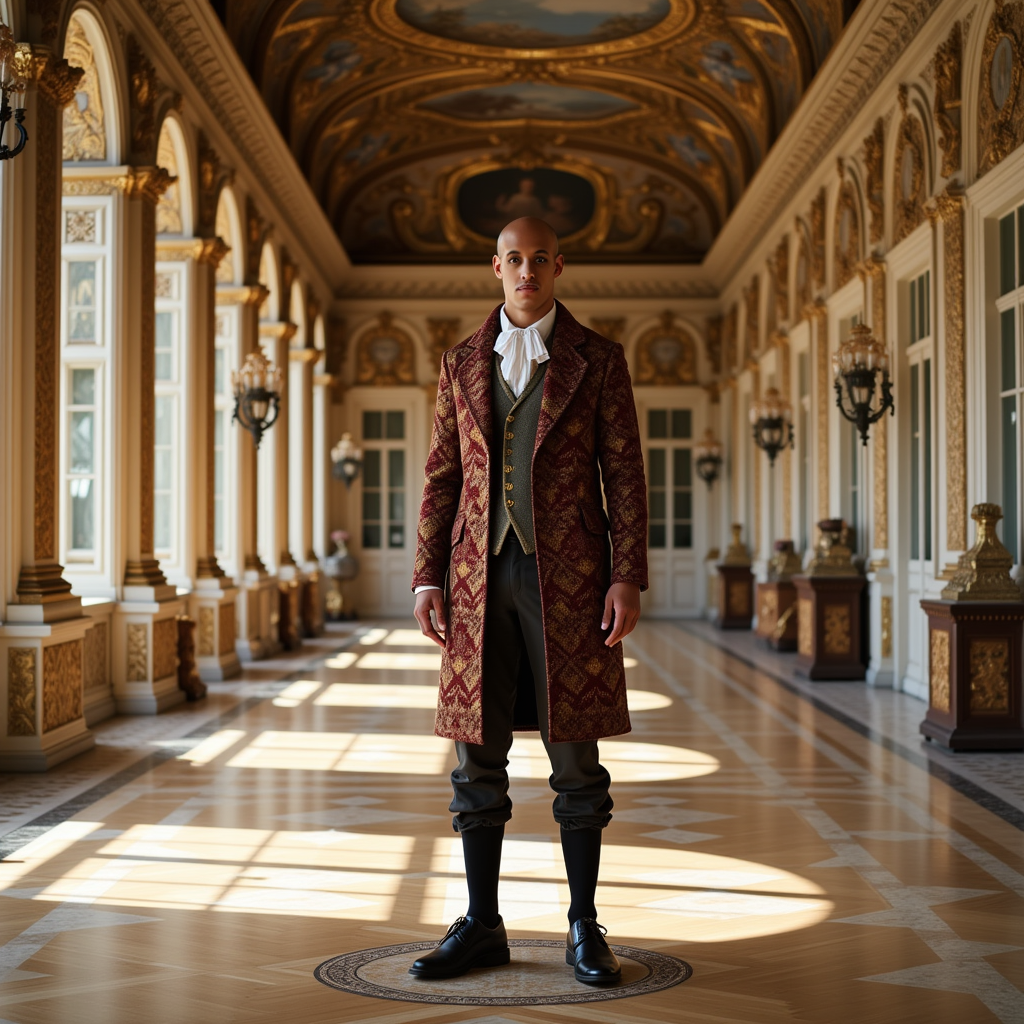
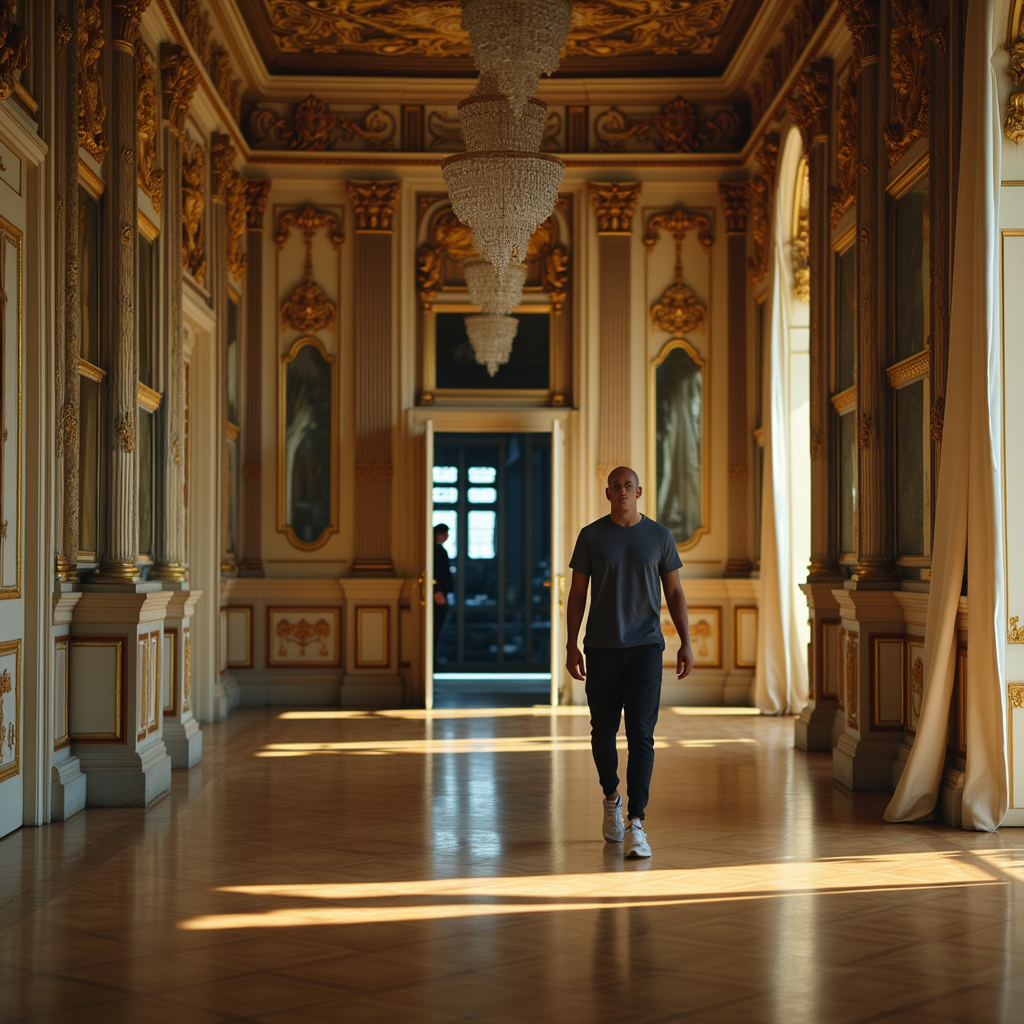
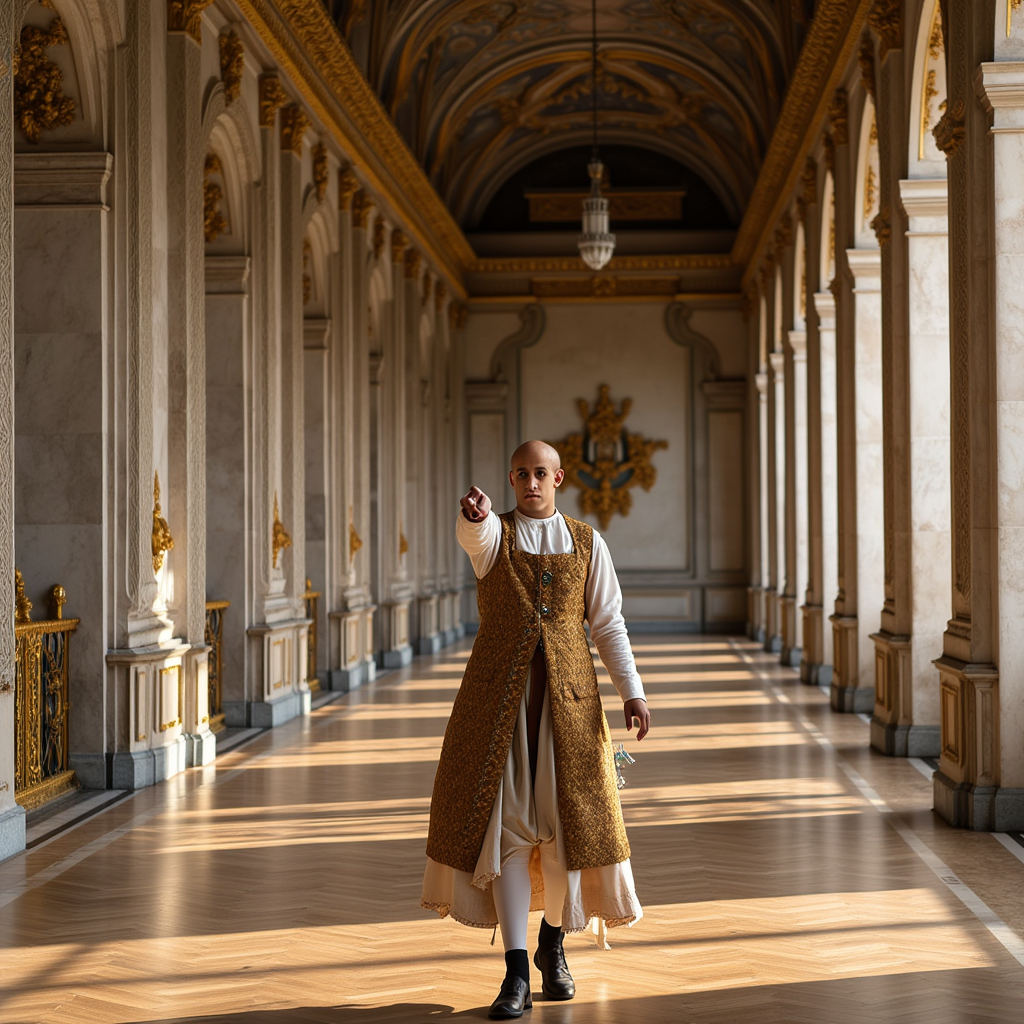
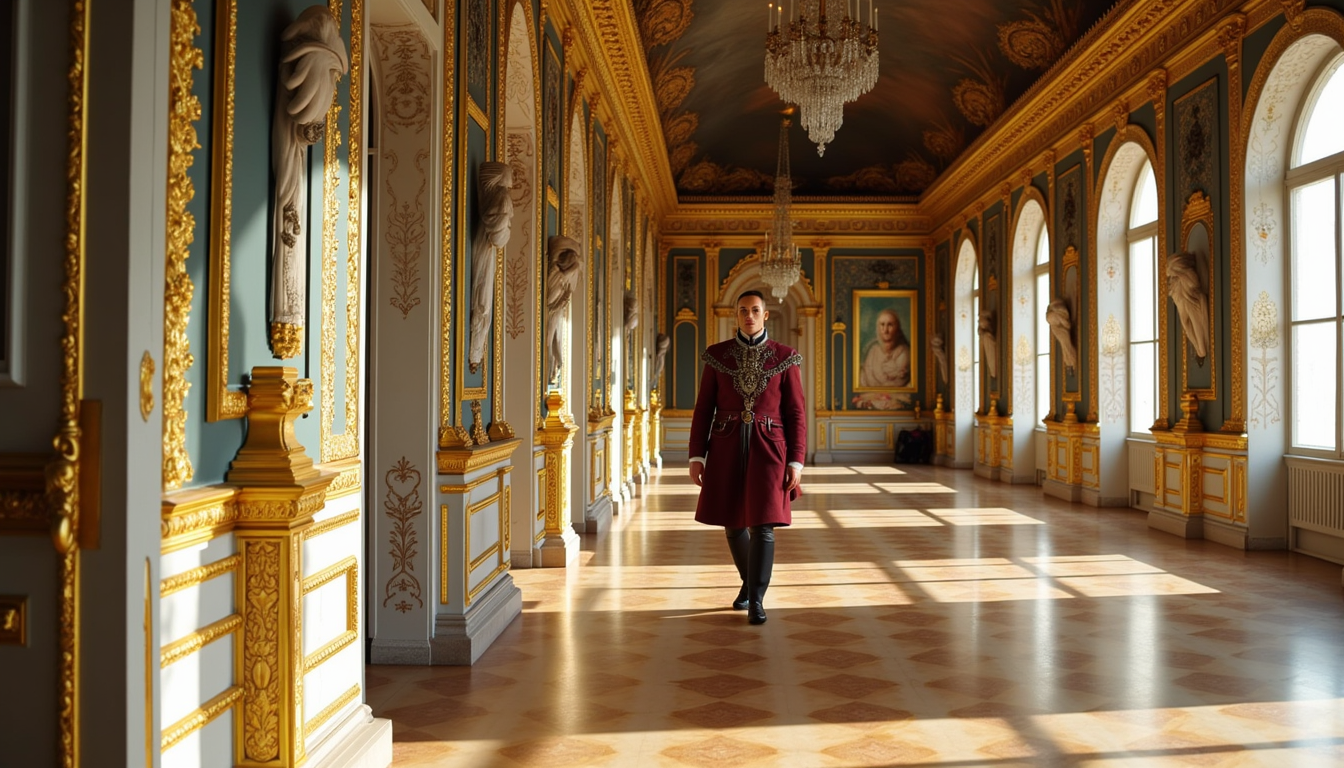
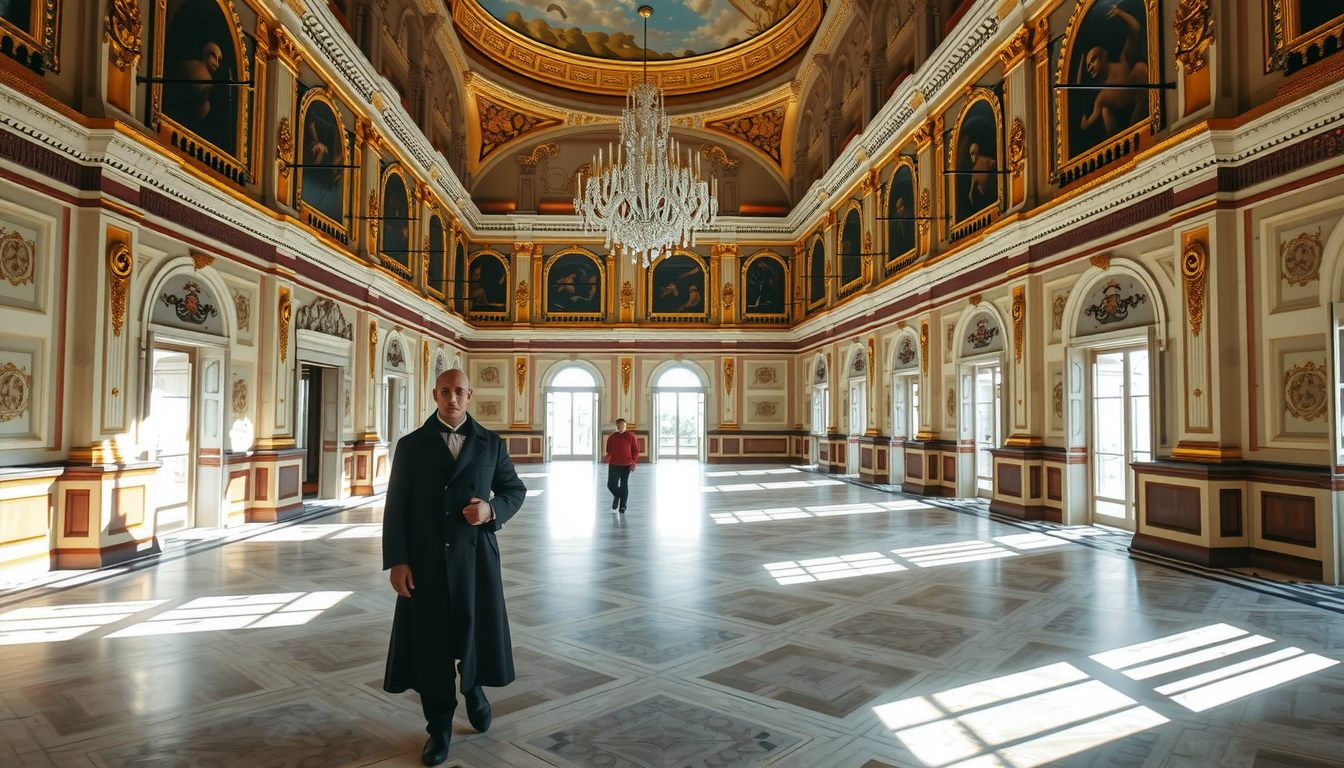
Prompt: TOK walking through the Palace of Versailles just after its completion, 17th century, ornate, cinematic, period clothing, marble halls, sunlight, wide angle, masterpiece, full body.
Cinematic server room scene:
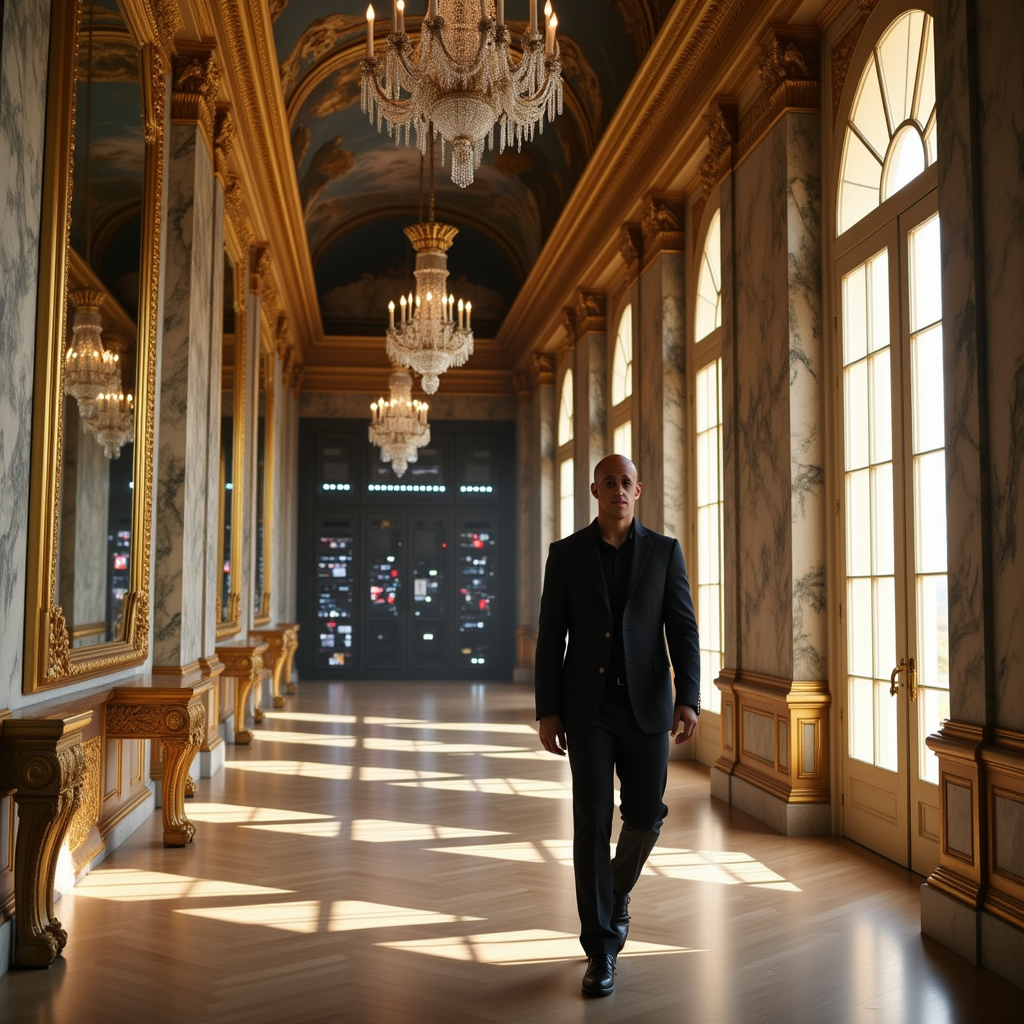
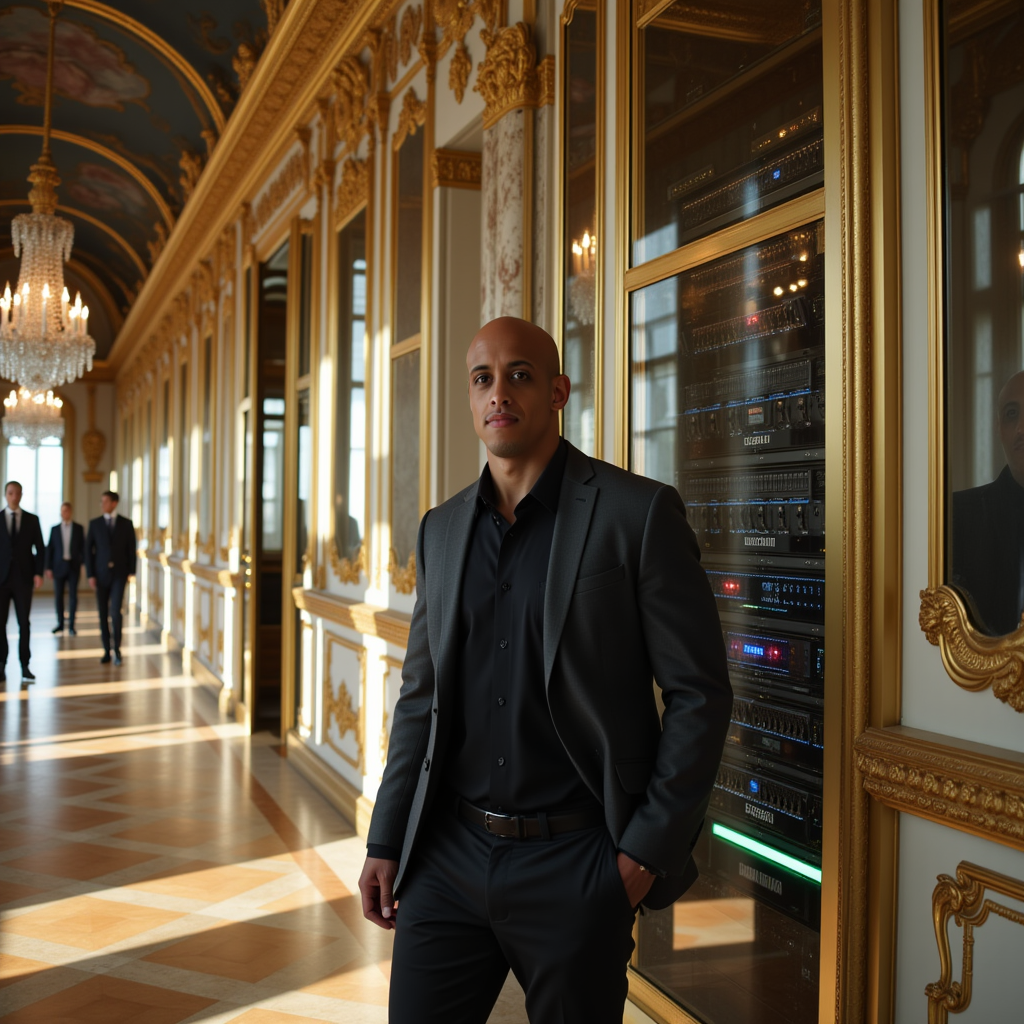

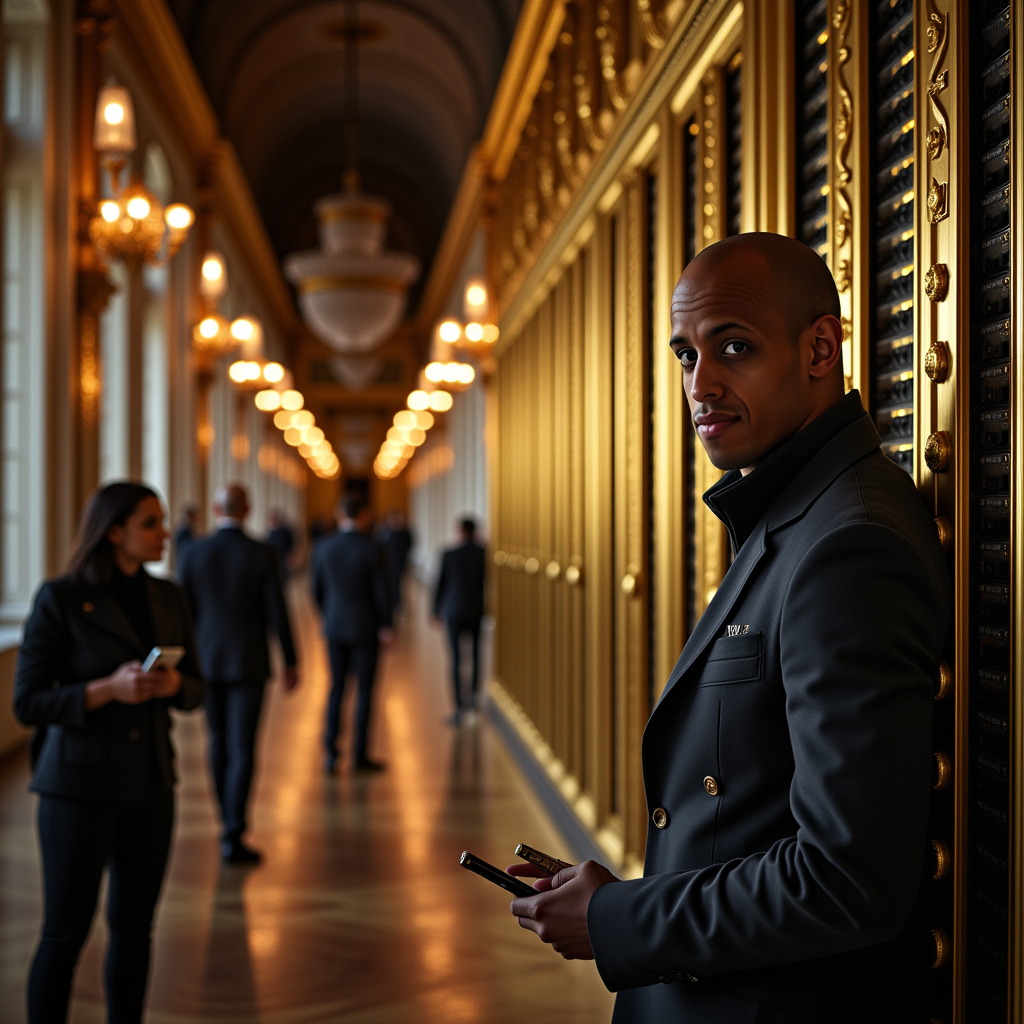
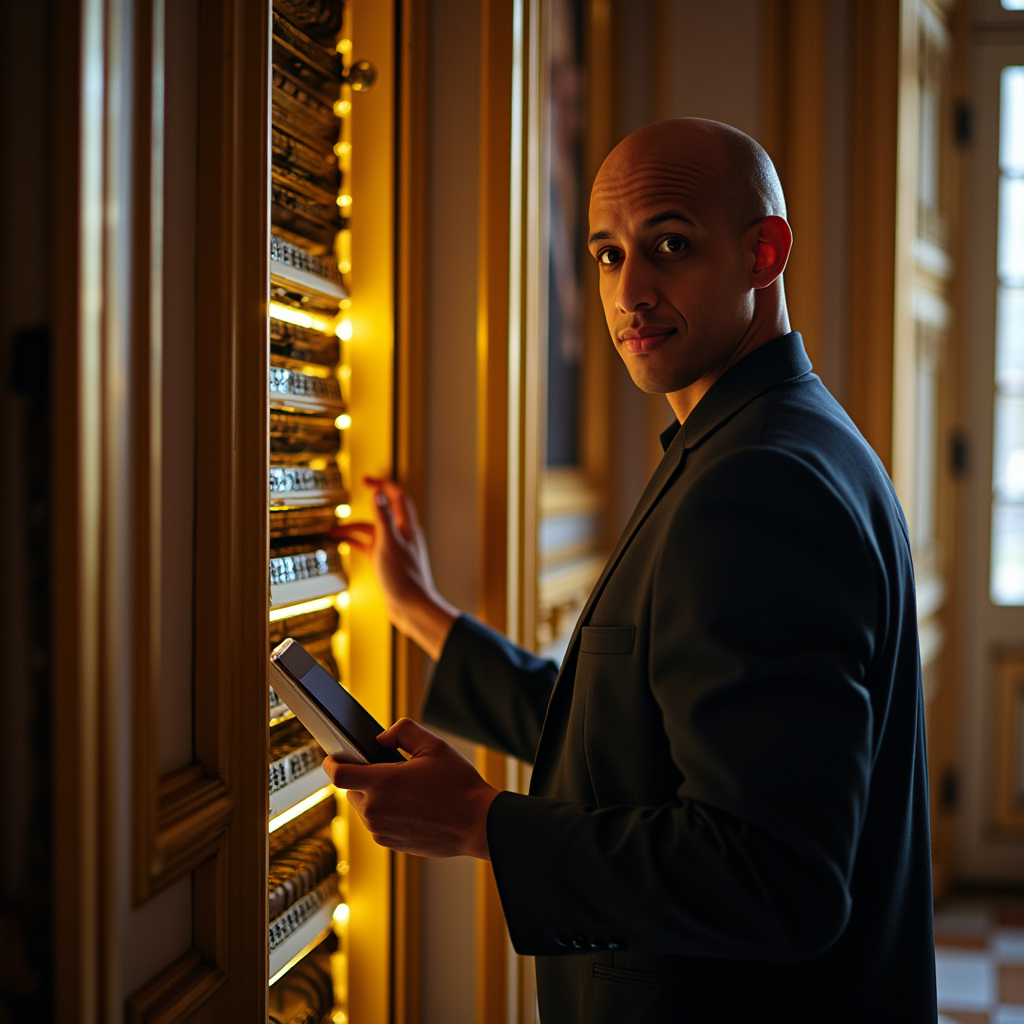
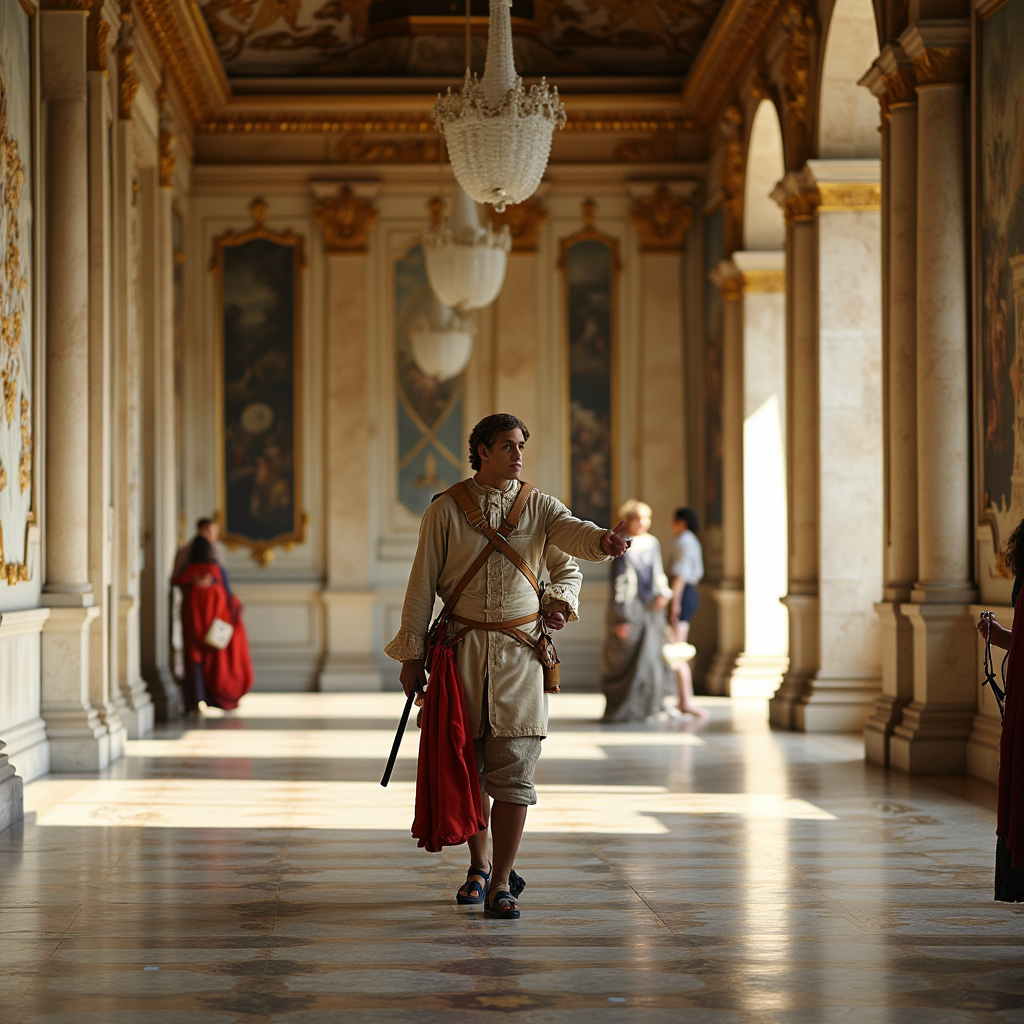
Prompt: A cinematic scene inside the Palace of Versailles, sunlight shining on gilded moldings and marble floors. TOK, wearing smart-casual modern clothes, walks confidently down an opulent hallway filled with golden mirrors and crystal chandeliers. TOK's face is clearly visible, looking toward the camera as it smoothly tracks their movement. TOK pauses beside a grand door and discreetly enters a hidden server room, concealed behind ornate paneling. Inside, glowing servers and monitors illuminate TOK's face amidst classical décor, blending the palace's luxury with cutting-edge technology. The atmosphere is suspenseful and mysterious.
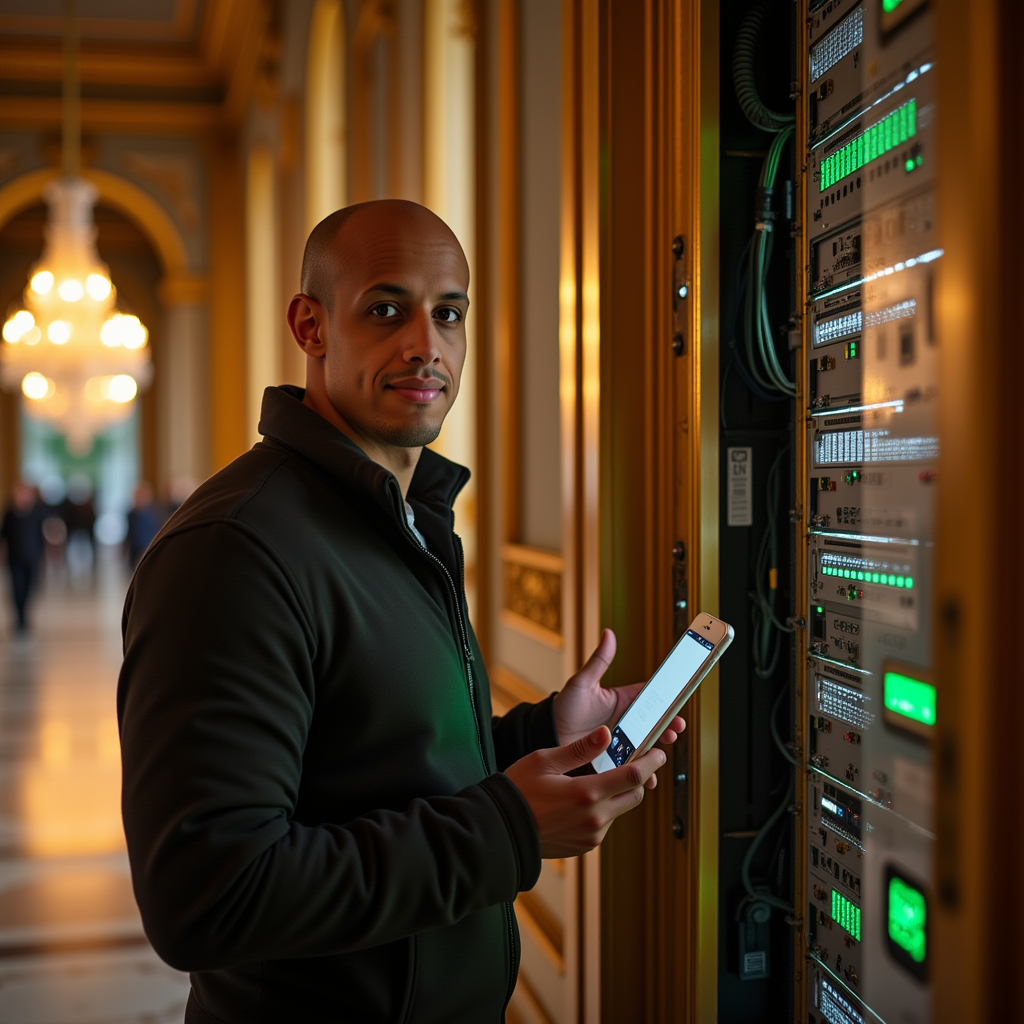
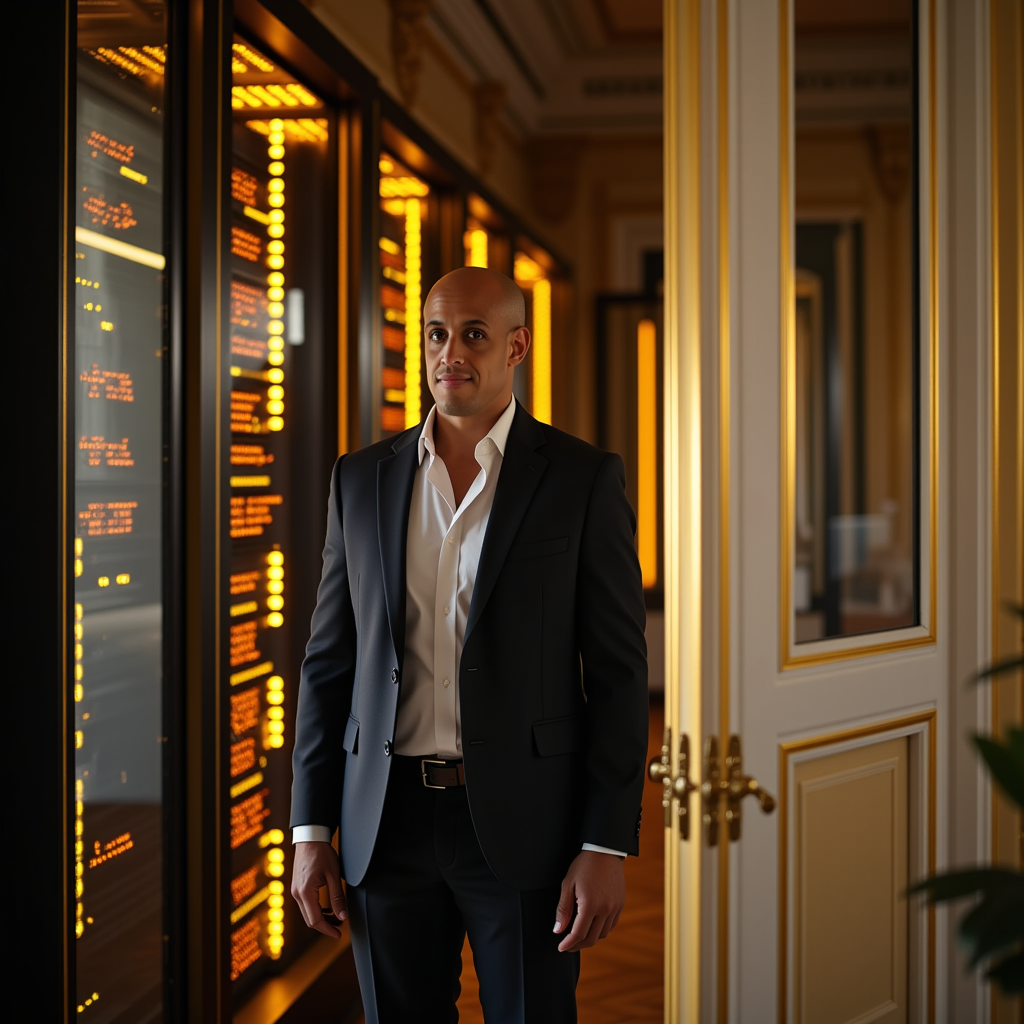
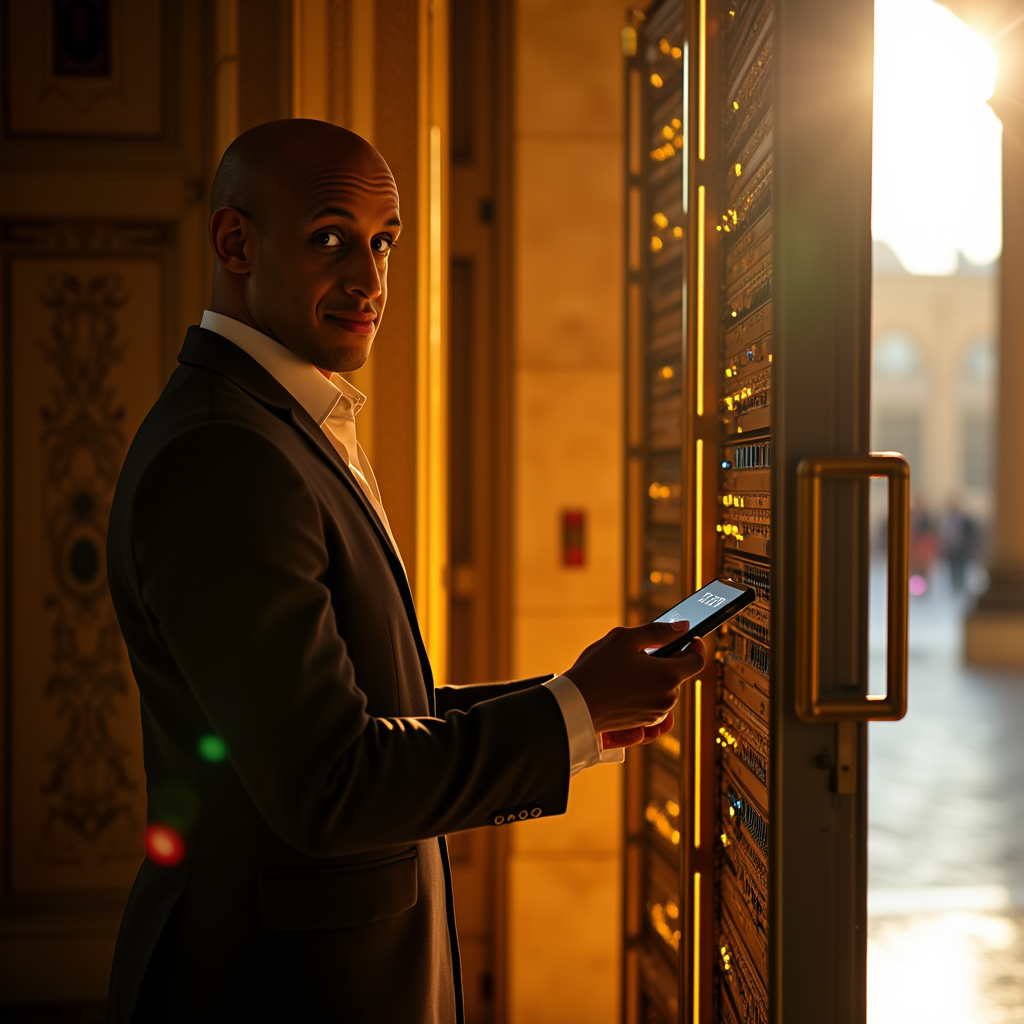
Prompt: TOK, standing in the Palace of Versailles with a friendly, confident expression, illuminated by soft morning sunlight. TOK's face is fully visible, glancing toward the camera. TOK is inspecting a glowing server rack behind a gilded secret door, modern devices in hand. Subtle lens flare and cinematic shadows add atmosphere, blending high-tech and historical grandeur.
Step 11
Training v3: Mixed Dataset Strategy
75 synthetic + 75 refined + 84 original
Now that we have scene-cast refinements from Step 10, it's time to train v3. The strategy: combine synthetic generation quality with scene diversity from refinements, grounded by real photos. This hybrid approach should give us the best of all worlds.
⚠️ Strategic Evolution: From Synthetic-Only to Hybrid
Original plan: Generate 25-100 purely synthetic images using v2 model, then train v3 entirely on those synthetics. The idea was to create "ideal" training data with perfect professional photography aesthetics.
The problem: When reviewing the synthetic outputs, I noticed something critical - they lost the "soul" of the original images. The synthetics look lifeless, almost like I got botox. Too polished, too perfect, too much like every other AI-generated image out there.
The realization: My own likeness needs to be embedded in the training data, not replaced by synthetic perfection. Real photos capture something synthetic generation can't - authenticity, natural expression, genuine presence. Whatever "soul" means in an image, it's there in the originals and missing in the synthetics.
Revised strategy: Hybrid approach with 75 synthetic + 75 scene-cast refined + 84 original photos. This balances professional quality and scene diversity with authentic likeness. The goal is to enhance my actual identity, not replace it with a polished but soulless AI version.
Hybrid Training Dataset Composition (234 total images):
Original Real Photos (Foundation - 36%)
Curated real photos from v2 training. These are the soul of the dataset - capturing genuine expressions, natural presence, and authentic identity that synthetic images can't replicate. Ground truth for my actual likeness.
Synthetic Generated Images (Quality Layer - 32%)
Base v2 outputs from Step 9 - diverse poses, lighting, and scenarios across 25 influencer-style prompts. Professional photography aesthetics and scenario variety, but carefully balanced to avoid the "lifeless AI" look.
Scene-Cast Refined Images (Diversity Layer - 32%)
Nano Banana refinements from Step 10 - same characters cast into completely different scenes (European streets, mountain lakes, Japanese gardens, rooftop terraces, etc.). Maximum environmental diversity while preserving identity.
Why this 3-way hybrid approach works:
Expected improvements in v3:
- ✓ Better identity consistency across diverse prompts (scene-cast training data)
- ✓ More professional photography quality without losing realism (synthetic + refined examples)
- ✓ Stronger scene understanding - model trained on 25+ different environments
- ✓ Maintained authenticity grounded by real photos
- ✓ Reduced synthetic artifacts through balanced training data mix
🔒 Want the v3 training workflow?
Step 10
Planning Nano Banana Refinement
Identity-preserving upscaling
The Step 9 results look decent, but they're still base v2 outputs. Before using them for v3 training, I want to refine them with Nano Banana (Google's Gemini 2.5 Flash Image). The goal: upscale quality while preserving identity exactly as generated.
Key Learnings from Testing:
- • Scene casting > scene enhancement - Cast characters to new environments for diverse training data, not just upscaling the same scene
- • Start with "Same person now..." - This signals identity preservation while transitioning to a completely different scene
- • Describe the complete new environment - Include all scene details: setting, lighting, atmosphere, textures, background elements
- • Explicitly state "no lens flare" - Otherwise Nano Banana may add artificial glare that degrades facial features
- • Upload local files, don't use URLs - Replicate CDN URLs may expire or return errors; local upload is more reliable
- • Mix and match later - Scene casting lets you create multiple dataset variations from one generation pass
Why Nano Banana?
Nano Banana is designed for "subject identity preservation" - it can enhance image quality while maintaining the exact character, facial structure, and composition. Perfect for taking synthetic training data and making it look like professional photography without changing who's in the photo.
This is different from normal upscaling. We're not just adding pixels - we're using a multimodal model that understands the image content and can enhance it intelligently while respecting identity constraints.
Technical validation:
- • Format support: Accepts WebP/PNG/JPEG/HEIC/HEIF as input, outputs PNG/JPG only
- • Local file upload: Upload local files directly instead of using URLs (more reliable than passing Replicate CDN links)
- • Identity preservation: Built-in character consistency across transformations
- • Aspect ratio matching: Preserves original composition with
match_input_image - • Processing time: ~10-15s GPU time per image, plus upload/download overhead (~20-40s total per image)
The prompt strategy (scene casting for diverse datasets):
The key insight: Don't enhance the same scene - cast the character into a completely different scene. This creates diverse training data with consistent identity across varied scenarios.
Think of it like identity-preserving teleportation: Take the character from the generated image (e.g., "white studio") and place them in an entirely new environment (e.g., "European cobblestone street at sunset", "mountain lake at dawn", "Japanese garden", "urban rooftop at blue hour").
By casting to different scenes, you maintain perfect identity consistency while drastically increasing dataset diversity. This allows you to later mix datasets or create varied training scenarios all from a single generation pass.
Notice: No TOK trigger word. That's for the LoRA model during generation. For refinement, describe the new scene where you're casting the character.
Example refinement prompts (scene casting approach):
✗ Bad (same scene enhancement):
Original: "Person in white studio minimalist setting"
"Enhance to professional studio photography with better lighting and sharpness"
← Same scene, minimal diversity - defeats the purpose
✓ Good (scene casting - completely new environment):
Original: "Person in white studio minimalist setting"
"Same person now standing on sun-drenched cobblestone street in charming European old town, golden afternoon sunlight, wearing same modern streetwear, ancient stone buildings with weathered texture in background, warm terracotta and cream colored walls, window boxes with colorful flowers, natural shadows from buildings creating dramatic lighting, authentic street photography aesthetic, visible cobblestone texture under feet, 35mm documentary style, natural color grading, no lens flare"
← Same character, entirely different scene = diverse training data!
✓ Good (another scene cast example):
Original: "Person at outdoor café with laptop"
"Same person now seated on weathered wooden dock at serene mountain lake, early morning mist rising from water surface, wearing same smart casual outfit, laptop and coffee cup on dock beside them, pine forest reflected in still water, dramatic mountain peaks visible in distance, peaceful dawn lighting with soft pink and blue sky, natural wood dock texture, wilderness digital nomad aesthetic, mirror-like water reflections, tranquil nature setting, no lens flare"
← Café scene → Mountain lake scene with same character identity
✓ Good (scene casting preserves outfit, changes everything else):
Original: "Person in modern gym with athletic wear"
"Same person now on sandy beach at golden hour sunset, ocean waves gently rolling in background, wearing same athletic wear with towel over shoulder, wet sand with footprints visible, warm orange and pink sunset sky reflected on water, seabirds in distance, beachside fitness lifestyle aesthetic, natural sunset rim lighting creating glow, authentic beach workout moment, warm coastal color palette, visible sand texture, ocean horizon line, no artificial lighting"
← Gym → Beach sunset while keeping identity and outfit constant
🔒 Want the Nano Banana refinement workflow?
Step 9
First Batch Results
12 synthetic images generated
Before committing to generating 100 images (and spending ~$2), I ran a small test batch first: 6 prompts × 2 genders × 1 variation = 12 images. This lets me validate the approach, check for consistency issues, and see if the prompt structure actually works before scaling up.
Why test first?
With synthetic training data, you can iterate forever. But iteration costs money and time. A 12-image test batch (~$0.24, ~6 minutes) tells me if the prompts generate what I expect, if the model maintains likeness across different scenarios, and whether the gender conversion approach produces usable results. If this test looks good, I scale to 100. If not, I adjust the prompts and test again.
Here's what came out of genego-io/edwin-avatar-v2 with this first test run:
Test batch parameters:
- • Batch size: 12 images (6 prompts, split male/female)
- • Categories tested: Fashion (5 prompts) + Lifestyle (1 prompt)
- • Cost: $0.24 (~2% of full dataset cost)
- • Generation time: ~6 minutes
Generated Images
Click to view full size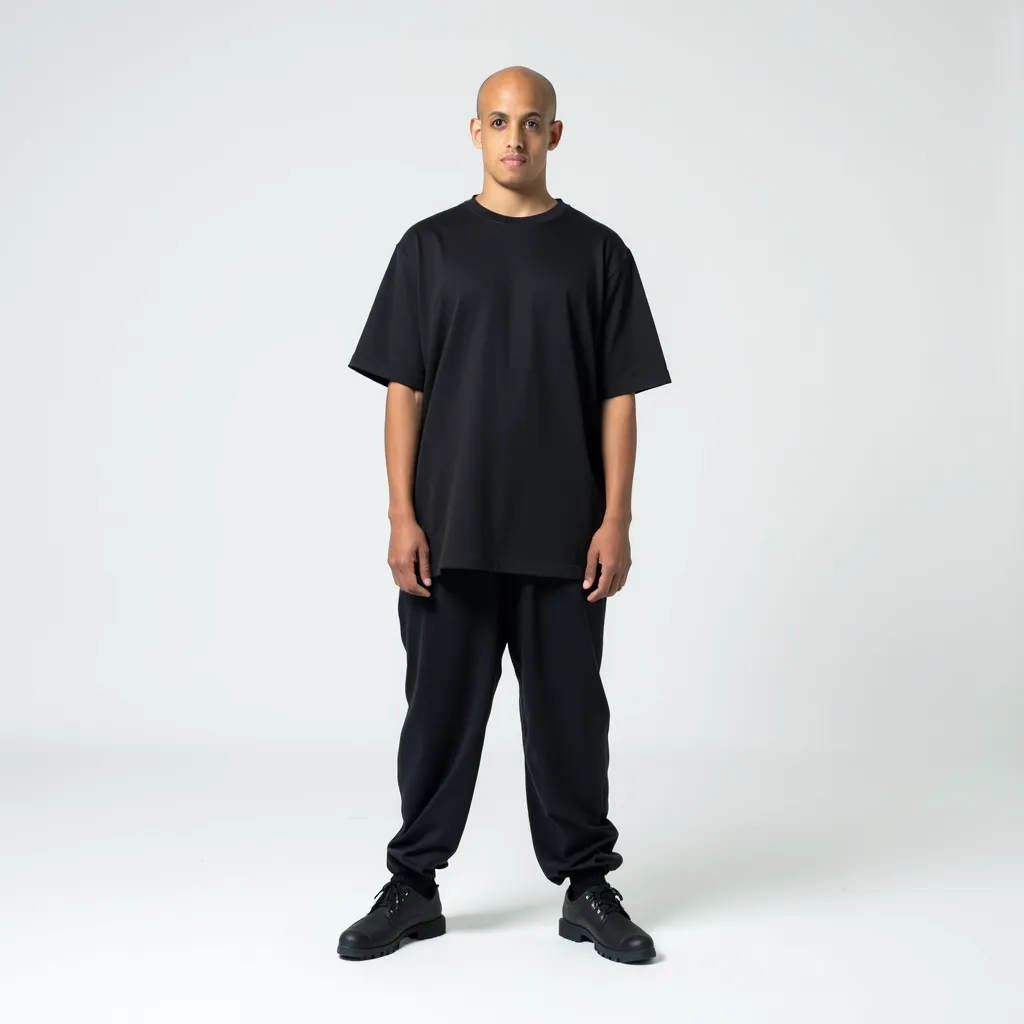


Initial observations:
- → Consistency is decent but not perfect - some variations maintain likeness better than others
- → Gender conversion worked - female versions look natural, not just face-swapped
- → Composition follows prompts well - full body shots actually show full body, not cropped
- → Some images are clearly stronger candidates for refinement than others
Next steps:
- Review which images maintain likeness best across both genders
- Mark top performers in metadata (
selected_for_refinement: true) - Generate full 100-image dataset with refined prompt strategy if needed
- Run Nano Banana refinement on selected images
- Train v3 with curated refined dataset
Decision point:
Do these results justify generating 88 more images (to reach 100 total), or should I refine the prompt strategy first? The metadata tracking from Step 8 gives me full traceability either way - I can trace any training image back to its exact generation parameters and make data-driven adjustments.
Step 8
Generating the Training Images
Python + Replicate API
Now that we have 25 diverse prompts, it's time to generate the actual training images. But this isn't just about running the prompts - I need to track which reference images map to which generated outputs so I can intelligently select them for Nano Banana refinement later.
The smart generation strategy:
- Generate with metadata tracking - Each image saves alongside a JSON file containing the prompt, parameters, and generation timestamp
- Organize by category - Fashion, Lifestyle, Travel, Professional, Tech folders keep outputs structured for review
- Record reference URLs - Store the Replicate output URL so I can trace back to the exact generation if needed
- Enable selective refinement - Having metadata lets me cherry-pick the best 100 images and send those specific references to Nano Banana
Why tracking reference data matters:
When I refine images with Nano Banana, I need to know which base image I'm enhancing. Without metadata, I'd lose the connection between the original generation and the refined output. This metadata becomes the paper trail for v3's training provenance - I can trace any training image back to its prompt, generation parameters, and refinement source.
Plus, if v3 has issues with certain poses or scenarios, I can trace it back to which reference images were used in training and adjust the dataset accordingly.
Metadata structure for each generated image:
{
  "prompt_id": 1,
  "category": "Fashion",
  "variation": 1,
  "prompt_text": "TOK, full body fashion portrait standing confidently...",
  "generation_params": {
    "model": "dev",
    "lora_scale": 1,
    "guidance_scale": 3,
    "num_inference_steps": 28,
    "aspect_ratio": "1:1"
  },
  "output_url": "https://replicate.delivery/pbxt/...",
  "local_path": "training_images_v3/fashion/prompt_01_var_1.webp",
  "generated_at": "2025-10-22T14:30:00Z",
  "selected_for_refinement": false,
  "nano_banana_url": null
}
This metadata gets saved as prompt_01_var_1.json alongside the image file.
Expected output structure with metadata:
training_images_v3/
├── fashion/
│   ├── prompt_01_var_1.webp          # Generated image
│   ├── prompt_01_var_1.json          # Metadata
│   ├── prompt_01_var_2.webp
│   ├── prompt_01_var_2.json
│   └── ...
├── lifestyle/
├── travel/
├── professional/
├── tech/
└── manifest.json                     # Master index of all generations
The workflow after generation:
- Review all 100 images - visually inspect for quality, likeness, and pose variety
- Mark selections - update
selected_for_refinement: truein the JSON for the best ~100 images - Batch refine with Nano Banana - script reads selected images and sends them for enhancement
- Update metadata - record Nano Banana output URLs in the JSON files
- Curate final dataset - collect refined images into a clean training directory for v3
🔒 Want the full image generation script?
Step 7
Generating Training Data Prompts
25 influencer-style scenarios
To generate the 100 synthetic images for v3 training, I need diverse prompts that cover different scenarios influencers actually shoot. Here are 25 prompt templates designed to create varied, professional-looking training data.
Flux-optimized prompt structure:
- • Identity anchor: "TOK" trigger word with consistent subject positioning
- • Structured format: Identity + Core Traits + Clothing + Pose + Lighting/Camera + Background
- • Photography style: Specific camera angles, lighting setup, and aesthetic descriptors
- • Consistent quality markers: Professional photography terminology for stable results
- • Category diversity: Fashion, Lifestyle, Travel, Professional, Tech scenarios
🔒 Do you want these prompts?
| # | Cat. | Prompt Structure |
|---|---|---|
| 1 | Fashion | TOK male, full... |
| 2 | Fashion | TOK male, upper... |
| 3 | Fashion | TOK male, full... |
| 4 | Fashion | TOK male, full... |
| 5 | Fashion | TOK male, three-quarter... |
| 6 | Lifestyle | TOK male, upper... |
| 7 | Lifestyle | TOK male, full... |
| 8 | Lifestyle | TOK male, waist-up... |
| 9 | Lifestyle | TOK male, full... |
| 10 | Lifestyle | TOK male, upper... |
Execution plan:
- Run each prompt through
genego-io/edwin-avatar-v2 - Generate 4 variations per prompt (4 × 25 = 100 images)
- Pass best outputs through Nano Banana for refinement
- Curate final 100 images for v3 training dataset
Step 6
Planning v3 training
Synthetic data + upscaling
I actually like what I'm seeing here. It's my likeness, not uncanny valley. But here's the thing: I trained genego-io/edwin-avatar-v2 on 84 random pictures from my iPhone camera roll. It's doing its job, but I think I can do better.
The strategy for genego-io/edwin-avatar-v3:
- Generate ~100 synthetic images with
genego-io/edwin-avatar-v2across diverse scenes, poses, and lighting conditions - Refine and enhance each image using Nano Banana - I don't mean just upscaling, but rather re-generating them as higher-quality and fidelity versions that preserve identity while improving clarity, composition, and aesthetic appeal
- Curate the dataset to ~100 best outputs that maintain consistency and quality
- Train v3 on this refined synthetic dataset with the same H100 pipeline
Why synthetic training data works:
Instead of being limited by what photos I have on my phone, I can generate exactly the training data I need: controlled lighting, professional composition, diverse scenarios. Then Nano Banana takes those base images and regenerates them at higher quality - essentially creating a curated dataset that's better than what I could photograph myself.
Cost breakdown:
- • 100 synthetic images with v2 model: ~$2
- • 100 images refined with Nano Banana: ~$3
- • Training v3 @ 8x H100: ~$2
- → Total: ~$7 for a model trained on professional-grade synthetic data
Running this now. Results incoming.
Step 5
The first videos
VEO3 vs ByteDance SeeDance
Testing two different video generation models to see which works better.
Looks alright, but not that good, or even impressive. We're getting somewhere though.
Much much better, but kind of wonky.
Okay much much better, an improvement. We would need to control the consistency of the character much better though.
Initial thoughts:
ByteDance clearly wins on quality, but neither is perfect yet. The avatar moves, the scenes render, and the system works end-to-end. This is the baseline - now I know what needs to improve.
Step 4
Experimenting with other prompts
Versailles server room scenario
Testing different scenarios and prompts to see what the model can do.
Cinematic scene in Versailles:
Prompt: A cinematic scene inside the Palace of Versailles, sunlight shining on gilded moldings and marble floors. TOK, wearing smart-casual modern clothes, walks confidently down an opulent hallway filled with golden mirrors and crystal chandeliers. TOK's face is clearly visible, looking toward the camera as it smoothly tracks their movement. TOK pauses beside a grand door and discreetly enters a hidden server room, concealed behind ornate paneling. Inside, glowing servers and monitors illuminate TOK's face amidst classical décor, blending the palace's luxury with cutting-edge technology. The atmosphere is suspenseful and mysterious.
Inspecting the server room:

Prompt: TOK, standing in the Palace of Versailles with a friendly, confident expression, illuminated by soft morning sunlight. TOK's face is fully visible, glancing toward the camera. TOK is inspecting a glowing server rack behind a gilded secret door, modern devices in hand. Subtle lens flare and cinematic shadows add atmosphere, blending high-tech and historical grandeur.
Step 3
Fine-tuning with fast-flux-trainer
fast-flux-trainer
I fine-tuned replicate/fast-flux-trainer with 8x H100s. The results are much better.
Example outputs (fast-flux-trainer):
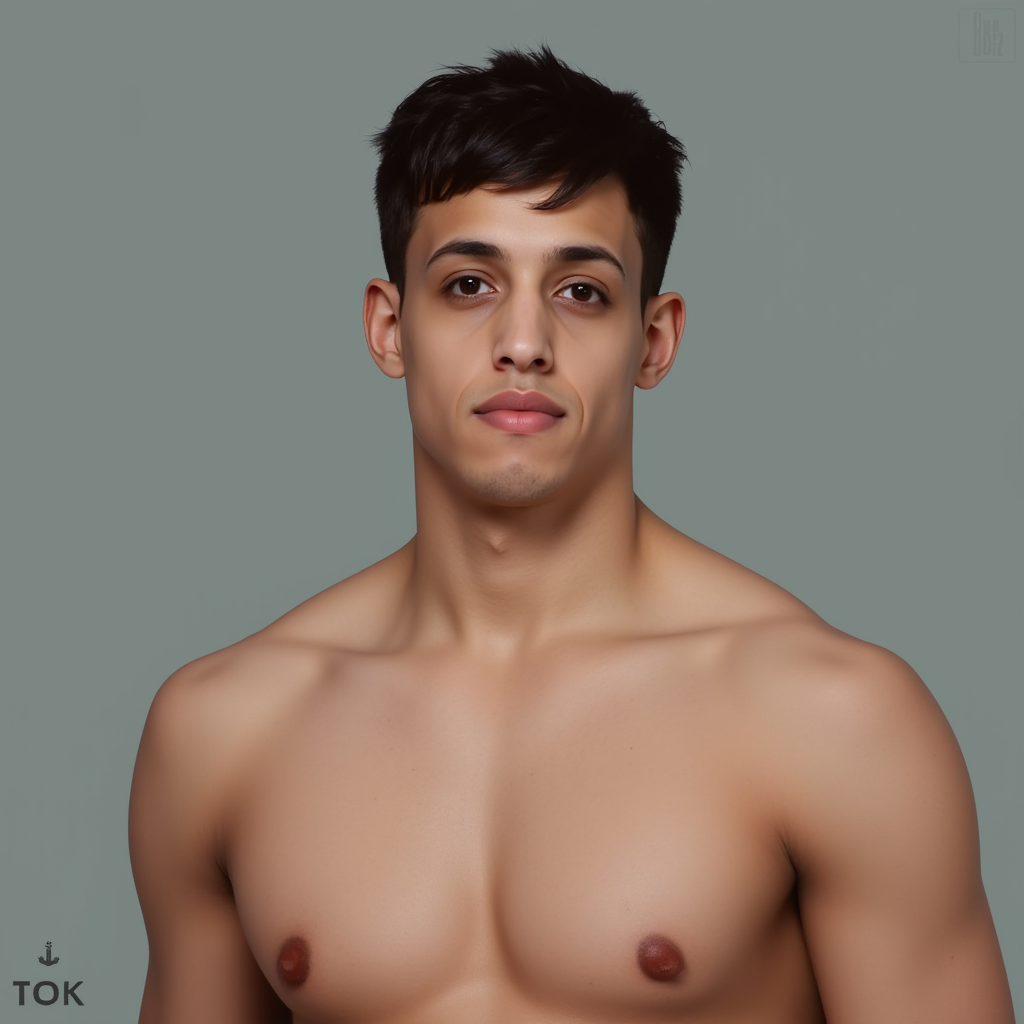
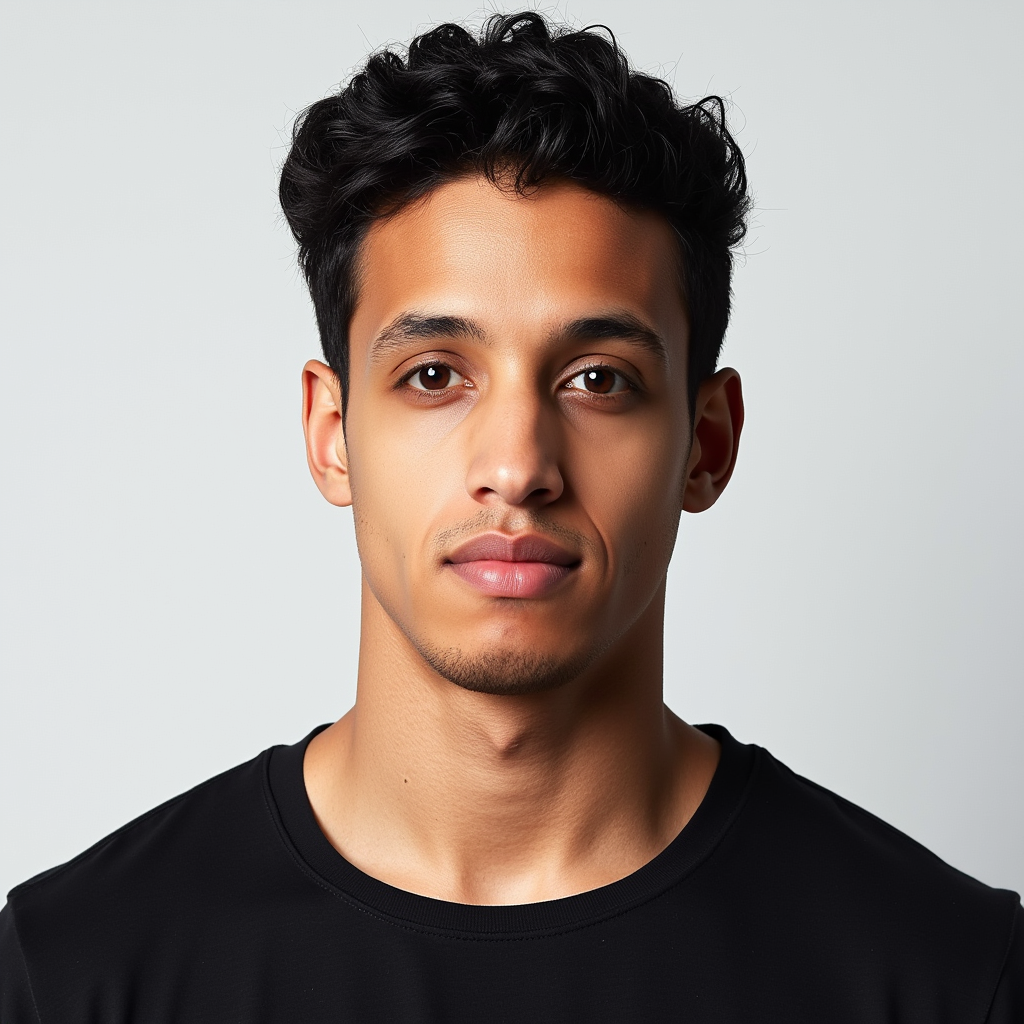
Prompt: TOK as a portrait, standing directly in the center of the image, looking at the camera, neutral expression, realistic, high detail, bust shot, plain background, soft lighting, masterpiece.
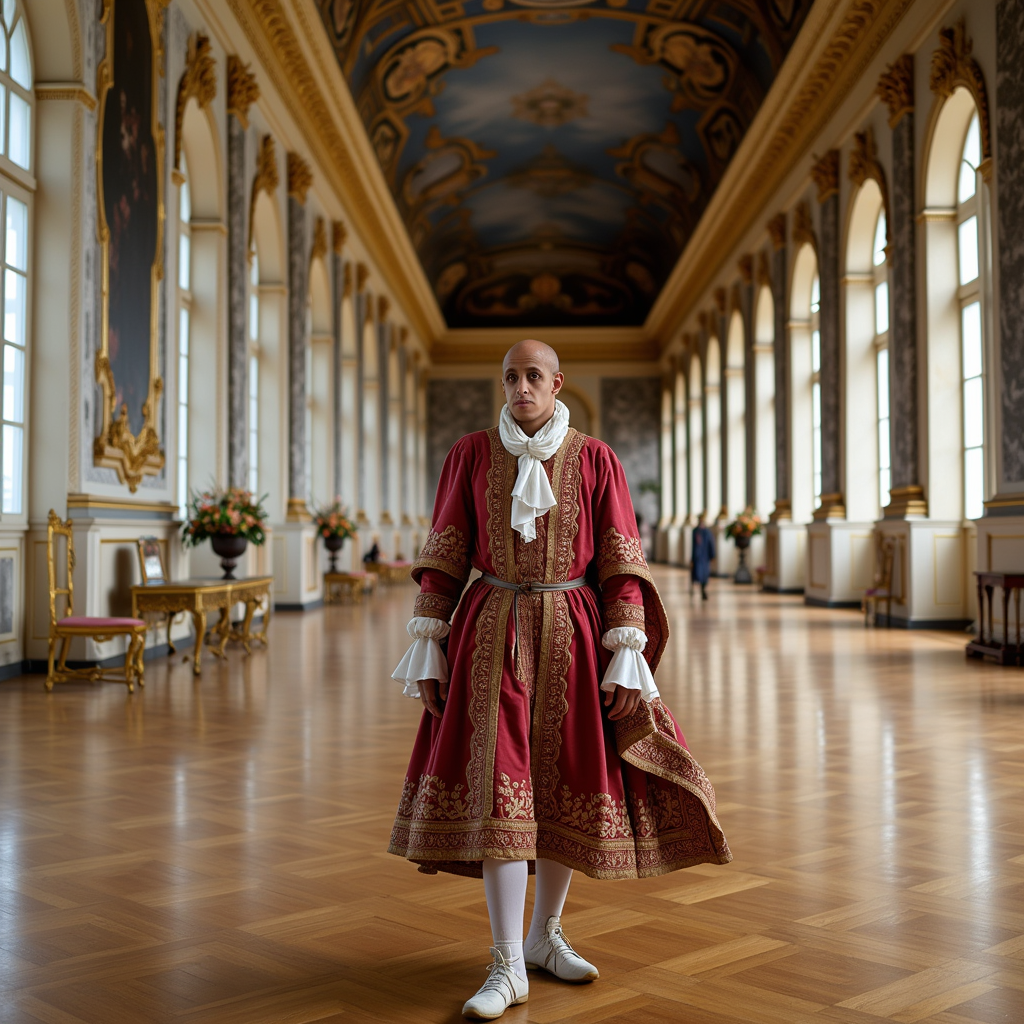
Prompt: TOK walking through the Palace of Versailles just after its completion, 17th century, ornate, cinematic, period clothing, marble halls, sunlight, wide angle, masterpiece, full body.
Step 2
Realizing, that the model ended up crap
Training finished. I generated test outputs. And here's the problem: even with 84 images, it doesn't really look like me. I mean, there is some distant resemblance, but I don't really look like "me". And I don't look like I would want an influencer to look like (for now). Let's go with a different approach here.
Example outputs:
Prompt: TOK as a portrait, standing directly in the center of the image, looking at the camera, neutral expression, realistic, high detail, bust shot, plain background, soft lighting, masterpiece.
Prompt: TOK walking through the Palace of Versailles just after its completion, 17th century, ornate, cinematic, period clothing, marble halls, sunlight, wide angle, masterpiece, full body.
What I'm doing now:
Currently debating with an LLM on what model to use next. The Flux LoRA trainer did its job - it learned something - but the likeness isn't there. I need a different approach, maybe a different model architecture, maybe more training data, maybe a different preprocessing pipeline. Figuring that out now.
Step 1
Training a model
ostris/flux-dev-lora-trainer
This morning I kicked off a training run: ostris/flux-dev-lora-trainer on Replicate, 1,000 steps, 84 images of myself. Now I wait and see if it works.
🔒 Want the full training details and config?