Context
I've been experimenting with AI video generation - training custom models and generating videos from my AI brand avatar project. While the technology is impressive, the economics are brutal: a single second of AI-generated video costs between $0.15–$0.40 depending on the model and settings.
The Problem
Traditional filmmaking uses storyboards before shooting. In AI video generation, it's a financial necessity - without it, you burn credits experimenting at $0.15-$0.40 per second.
The Solution
AI image generation costs 10-100x less than video. Generate 100 storyboard images for $0.10–$10, test compositions, iterate prompts - all before committing to expensive video.
The Storyboarding Concept


In traditional cinema, creative teams spend weeks or months on storyboards before the expensive part begins. Storyboards capture scenes visually - including camera angles, lighting direction, time of day, and actor positioning. This aligns the entire team (director, cinematographer, actors, lighting crew) on the vision before anyone steps on set.
AI storyboarding works the same way. Instead of nervously prompting an API while credits drain, start with image generation. These images cost $0.001–$0.10 per generation (depending on quality). This is where you adjust, re-prompt, and catch what doesn't work - before moving to video.
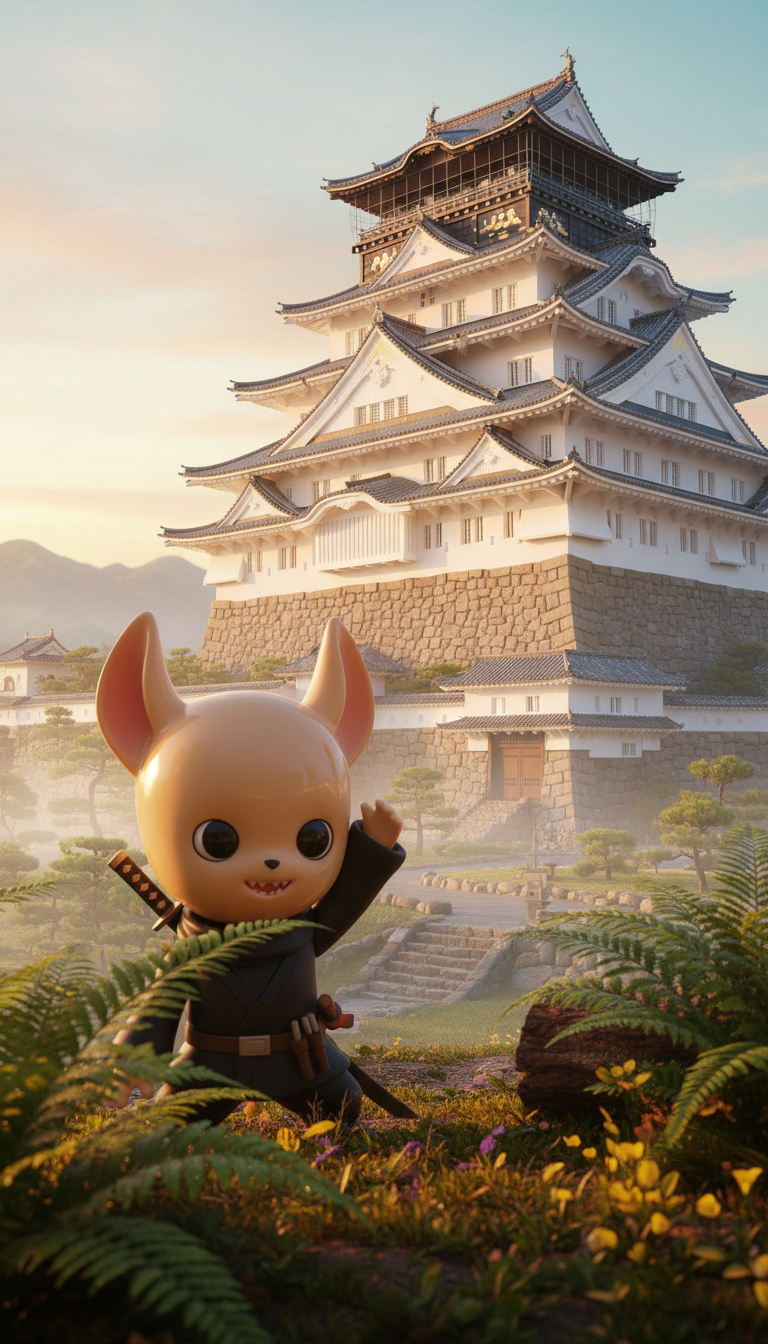
Think of it as visual screenplay development. Instead of writing "Labubu climbs the castle wall," you generate a photorealistic image showing exactly that - the 3-inch ninja toy spread-eagled on massive stone blocks, low-angle perspective emphasizing the danger, morning sun creating dramatic shadows.
This approach serves three critical functions:
- Validates narrative flow: See your entire story before generating expensive video. Does Scene 7 transition naturally to Scene 8? Is the pacing right across acts?
- Tests visual consistency: Keep character appearance, color palettes, and lighting coherent across completely different environments
- Refines prompts cheaply: A scene that doesn't work costs $0.035 to regenerate as an image vs. $1.20-$3.20 as video (34-91x savings)
Storyboarding → Image to Video
Once your storyboard is complete (say, 20 scenes), feed those images directly into image-to-video models like Veo 3, Sora 2, SeeDance, and Hailuo. They'll animate your exact composition instead of starting from scratch.
Advanced: Start + End Frame Generation
Since you have both scene start and end frames, use start + end frame video generation. Provide the first and last frame, add a prompt, and the model generates everything in between. Complete control over transitions.
The Economics
Spend $0.10–$10 on a high-quality 4K storyboard covering 30 seconds of content, then animate it. Or prompt-and-reprompt your way through video generation, spending $10+ just to get a few usable seconds? The choice is clear.
Cost Economics: Images vs Video
Image Generation
Video Generation
Example: Testing 20 scene compositions with images costs $0.02–$1.10. The same test with 5-second video clips: $15–$40. That's 100-750x cheaper for iteration.
Reality check: While we're comparing 100 images to a 10-second clip, you'll realistically only need 10-20 images for 10 seconds of video. This includes reprompting, editing, and post-processing before video generation from the image.
* These are API costs. With your own hardware ($3,000-$15,000 upfront), image generation drops to effectively $0.000001 per image (electricity only). The trade-off: hardware investment, maintenance, and managing your own infrastructure.
How Storyboarding Actually Works
How Storyboarding Actually Works
Real Example: "The Crystal Heist"
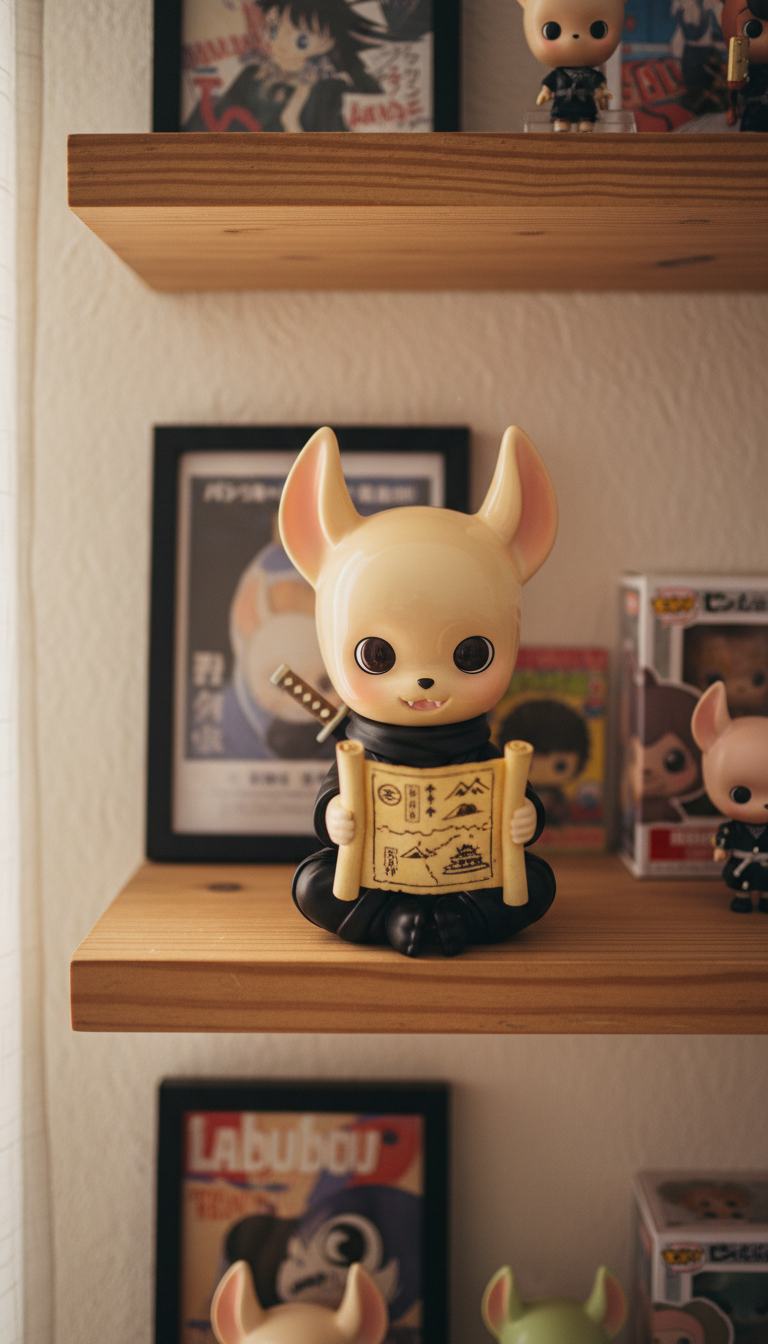
19 scenes showing a miniature ninja toy's time-travel heist adventure. Cost: $0.67 • Generated in 12 minutes
5 acts: Modern room → time portal → feudal Japan castle → escape → home
Character: 3-inch ninja toy shown against massive castles and samurai
Consistency: Character looks the same across all 19 completely different scenes
First Generation - Unpolished Demo
These images are the first automated generation - entirely unpolished. The framework supports multi-variance generation (multiple versions of each scene) and human-in-the-loop editing (e.g., "The doll is facing the wrong way" or "The samurai scene isn't stealthy enough").
This example demonstrates consistency of scene, character, and story arc rather than perfecting every detail. Think of it as a proof-of-concept storyboard - the framework can iterate and refine from here.
Why show unpolished work? I want you to see the real output. Some details don't quite align, but the scene, character, and story do. If you had just prompted Nano Banana (or any image model) without this framework, each scene would look completely different - no character consistency, no story flow. That's the difference.
Discovery
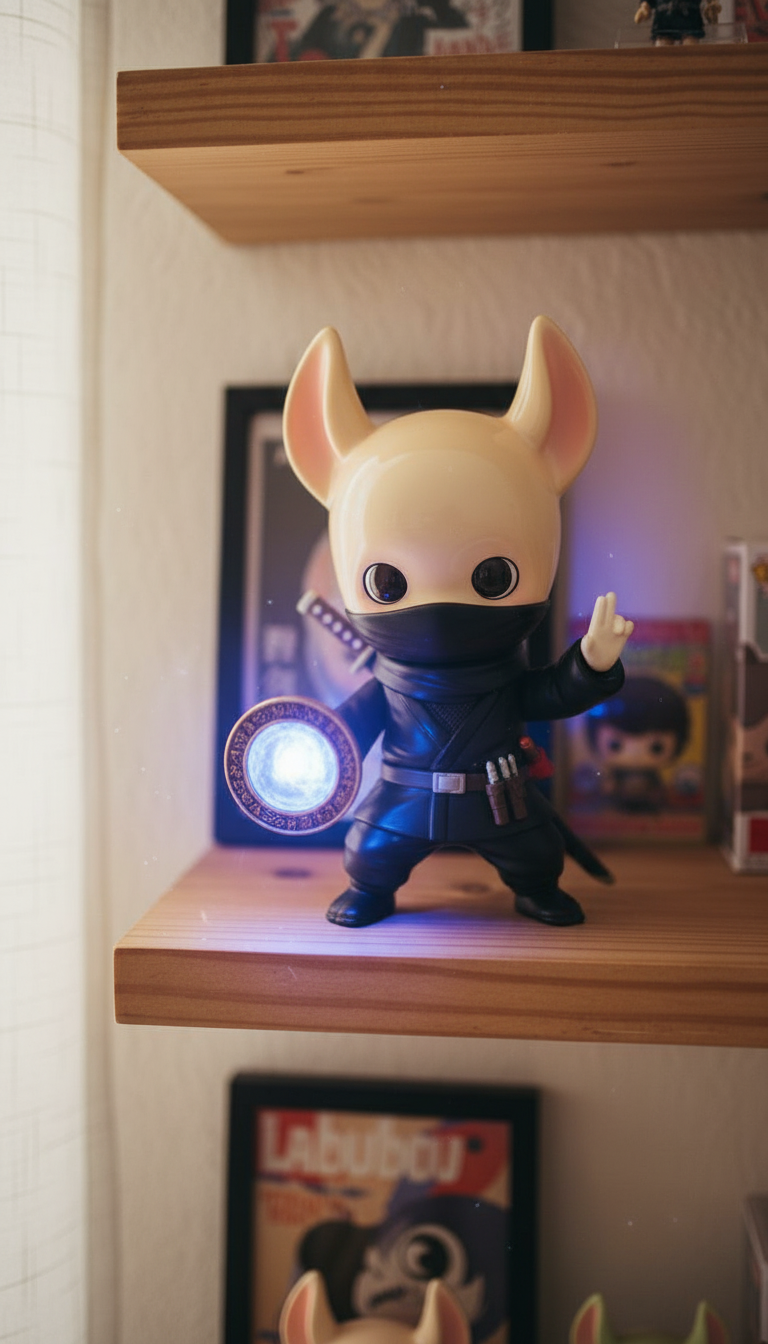
Portal
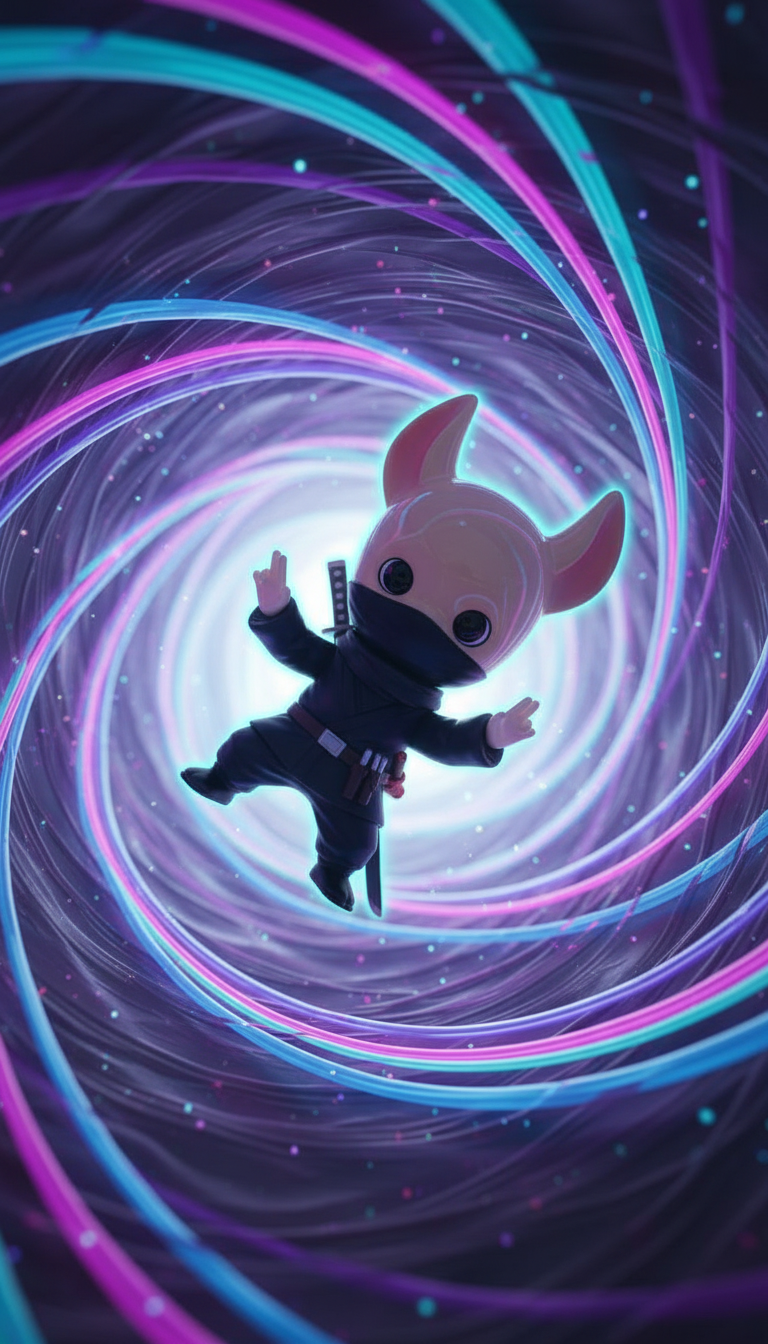
Vortex
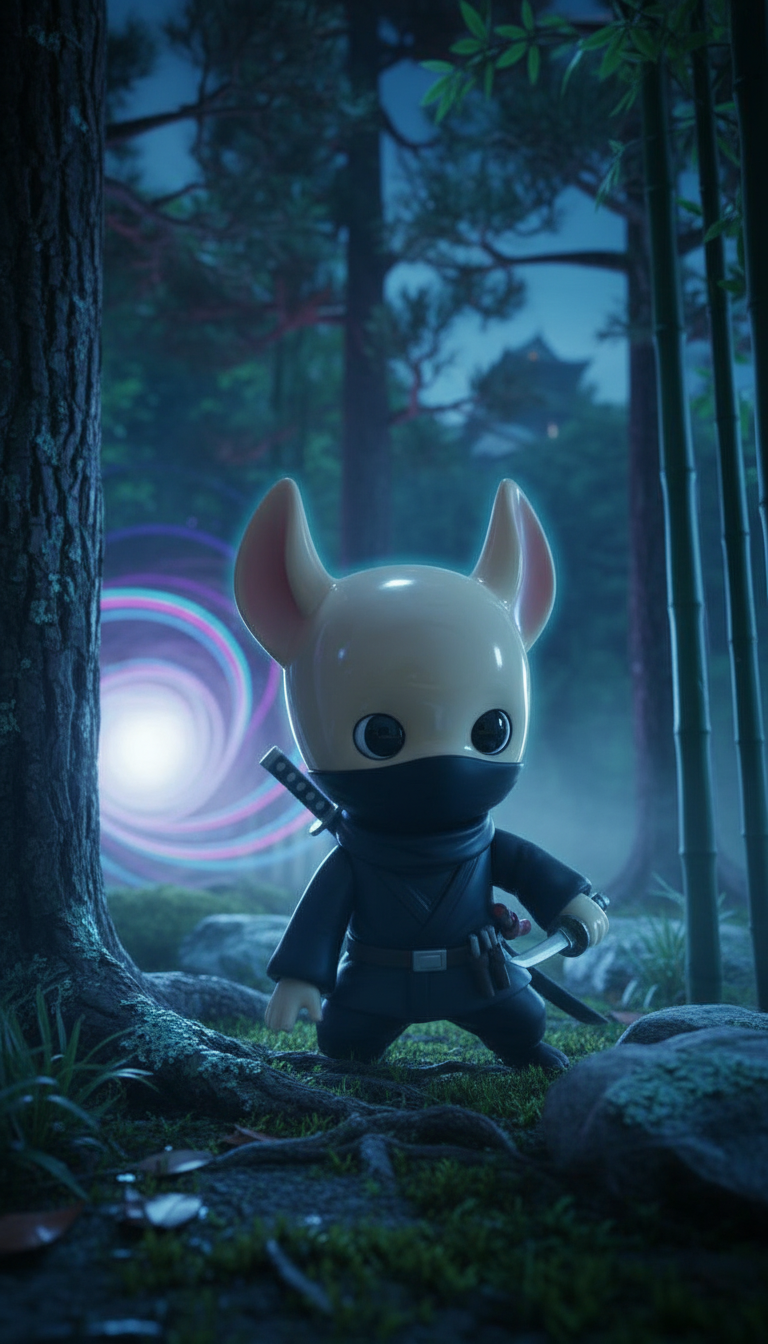
Arrival
Castle recon
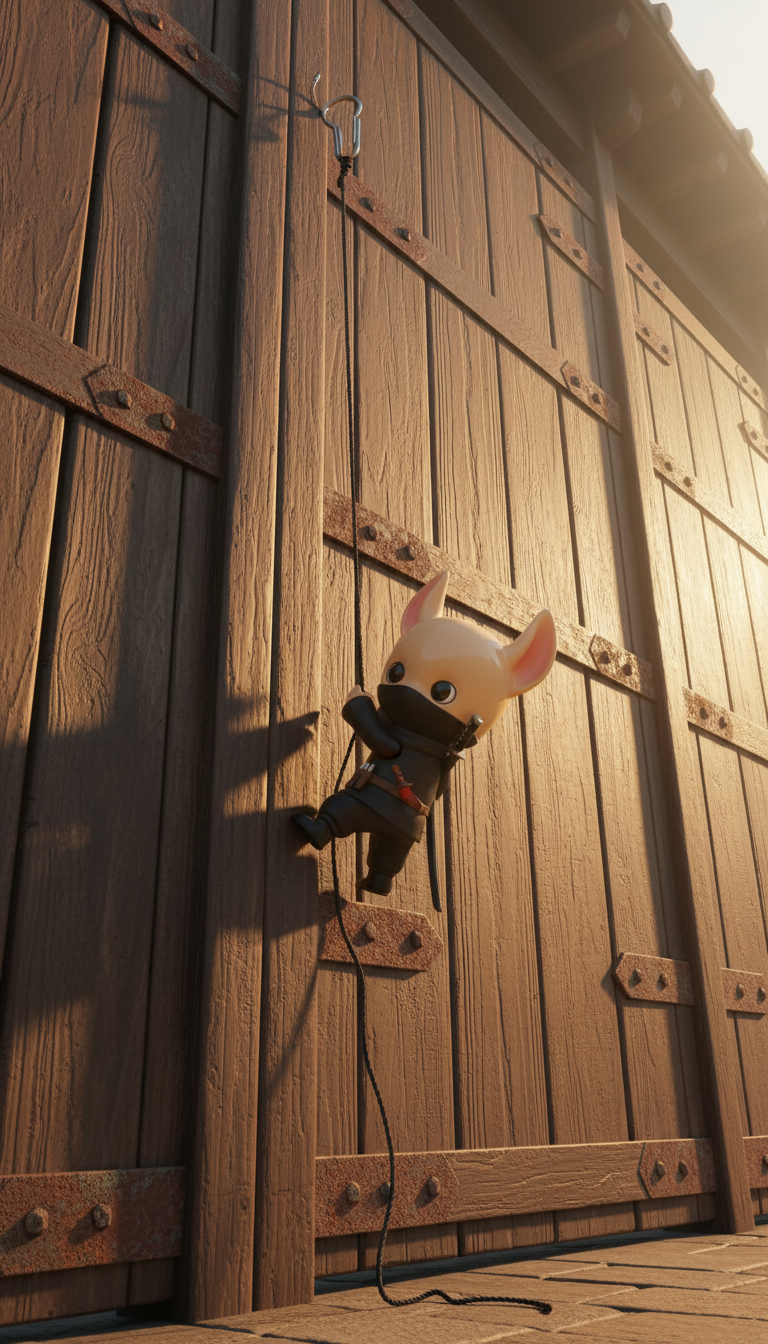
Gate climb
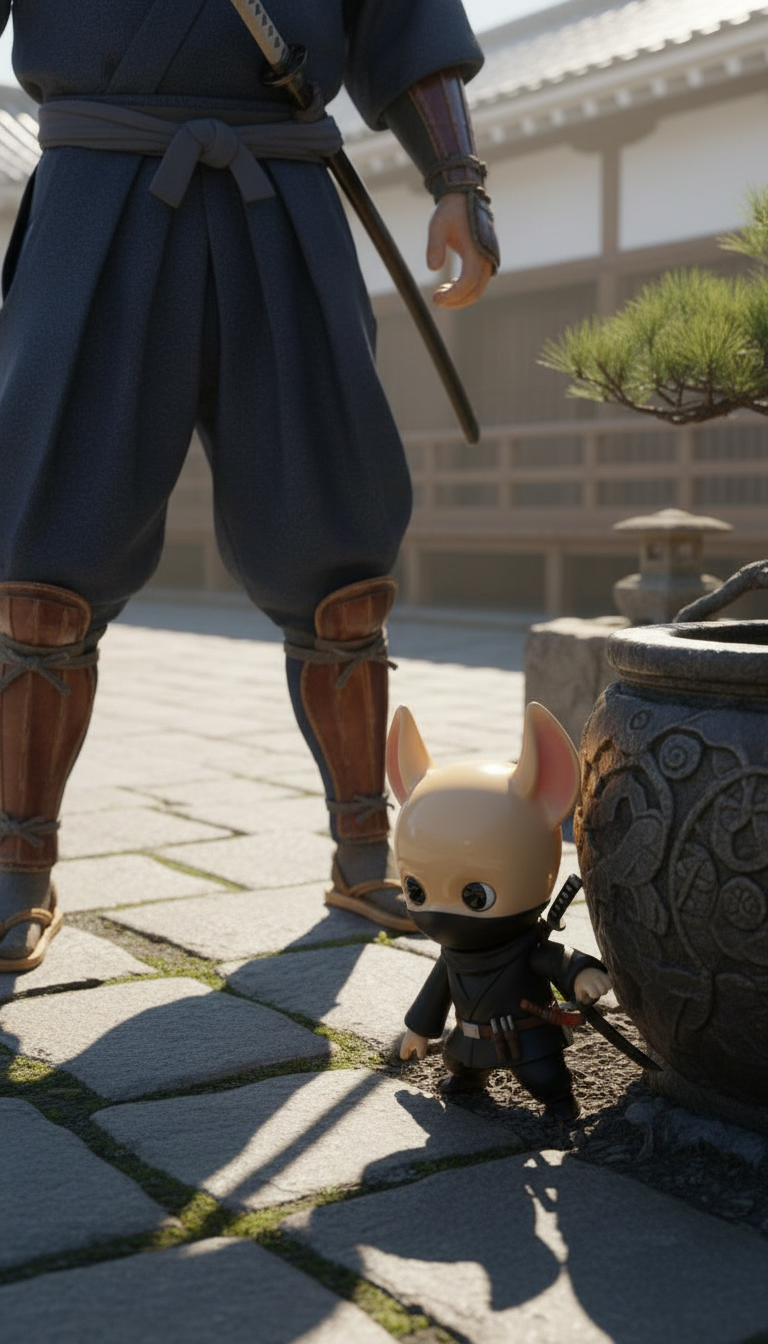
Samurai stealth
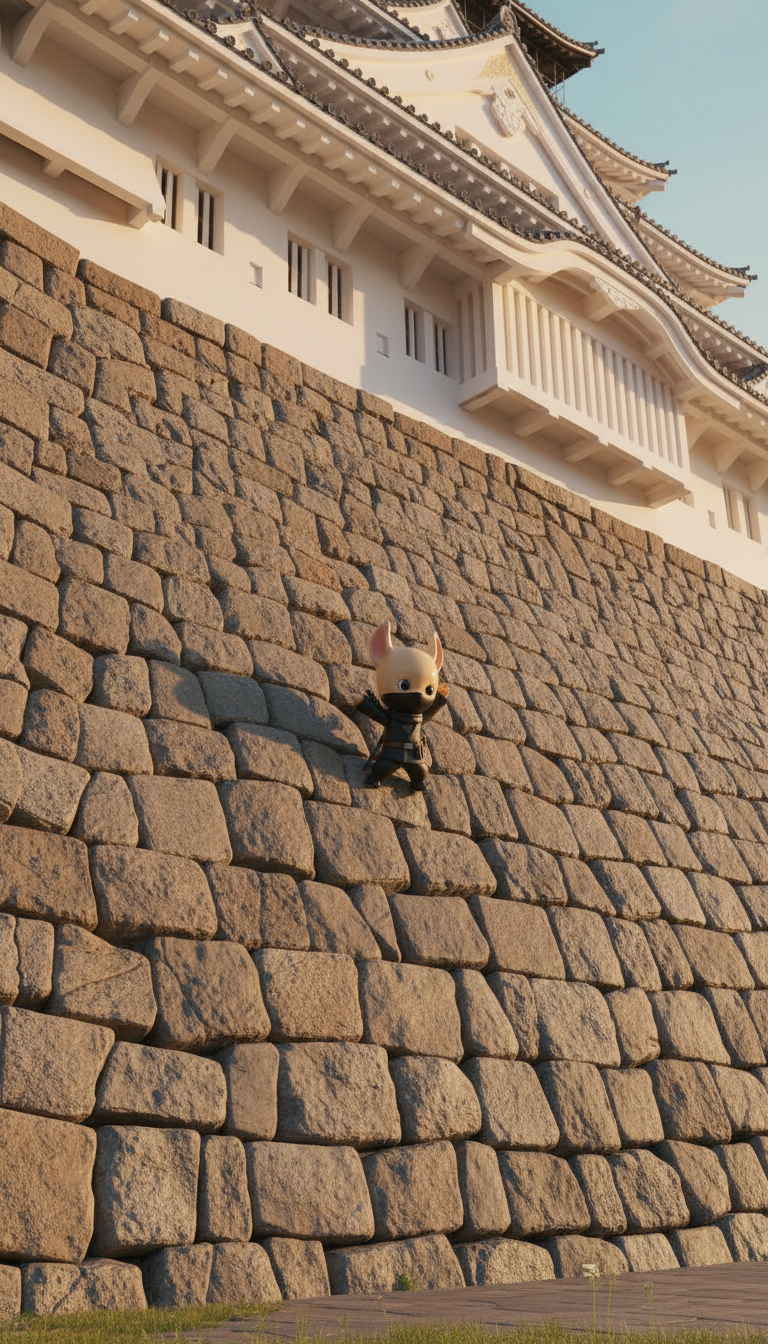
Wall climb
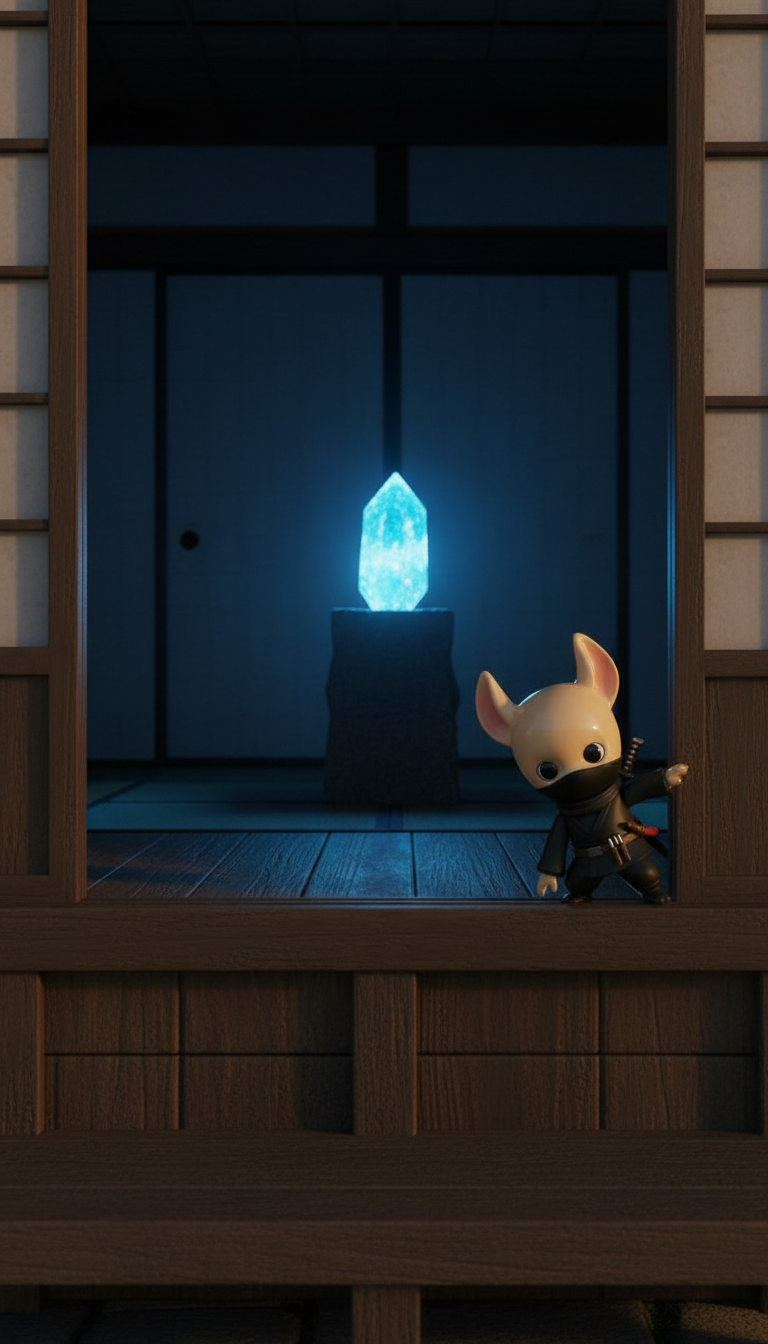
Discovery
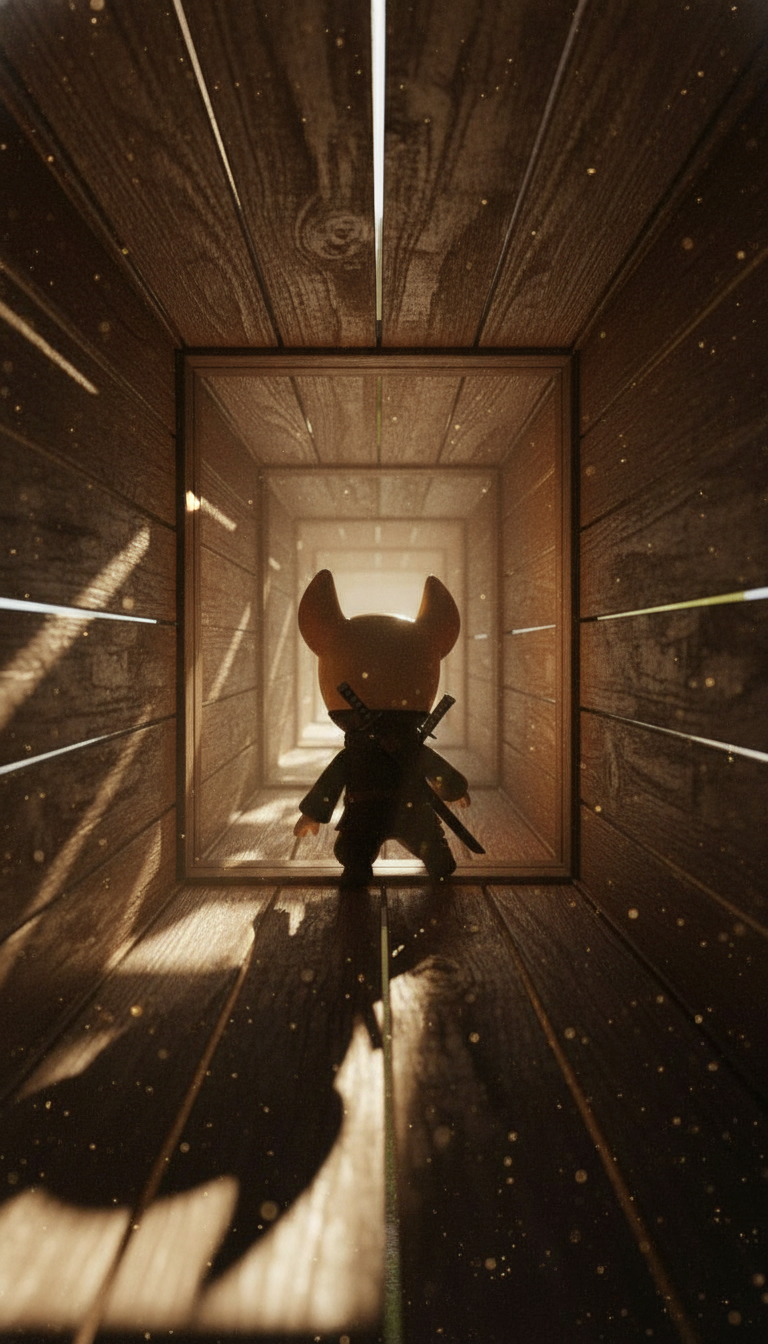
Vent entry
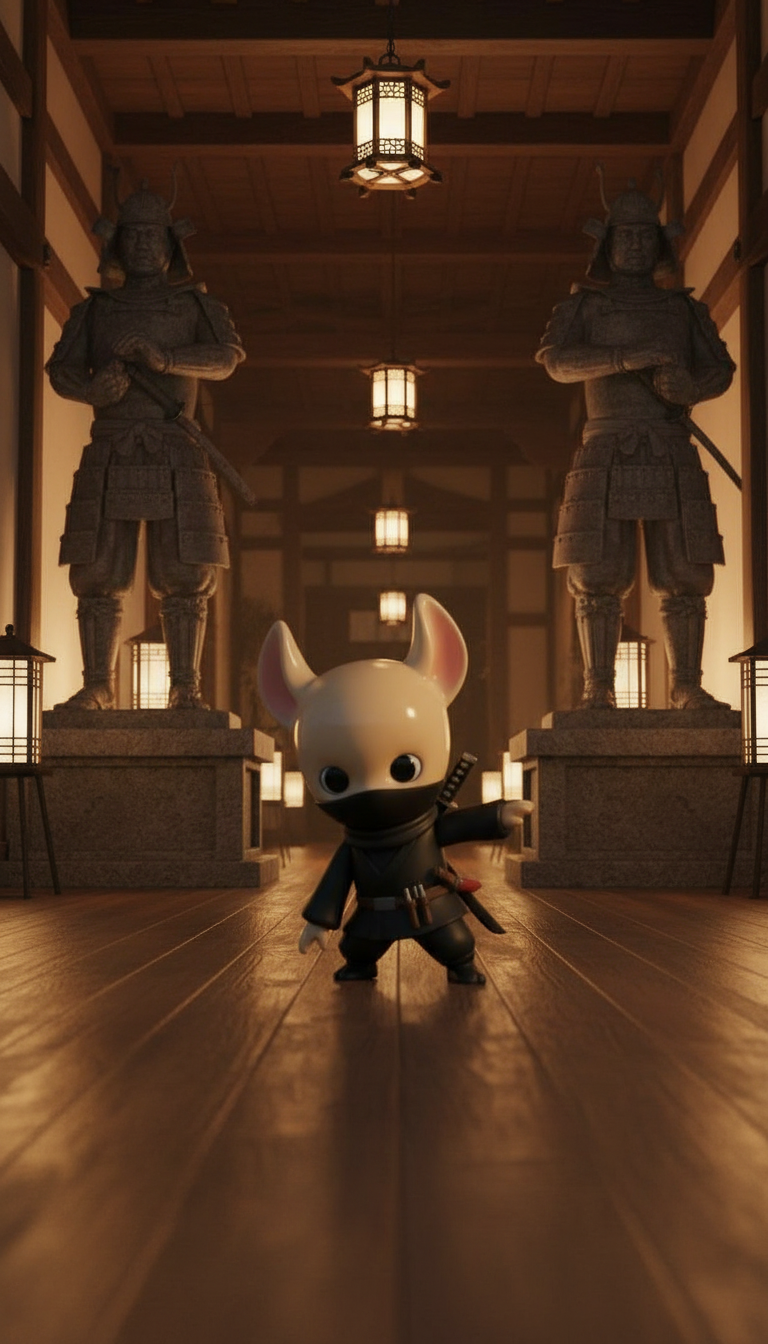
Guardian statues
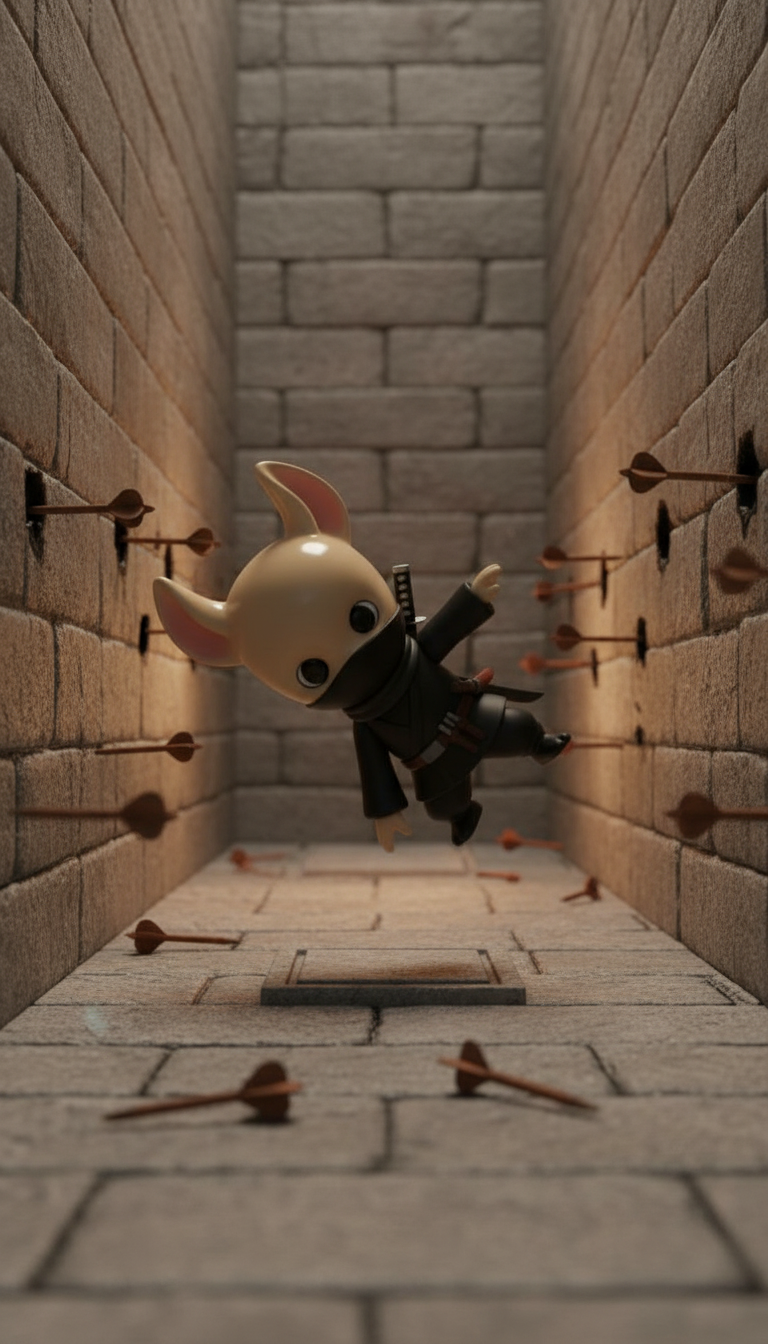
Trap dodge
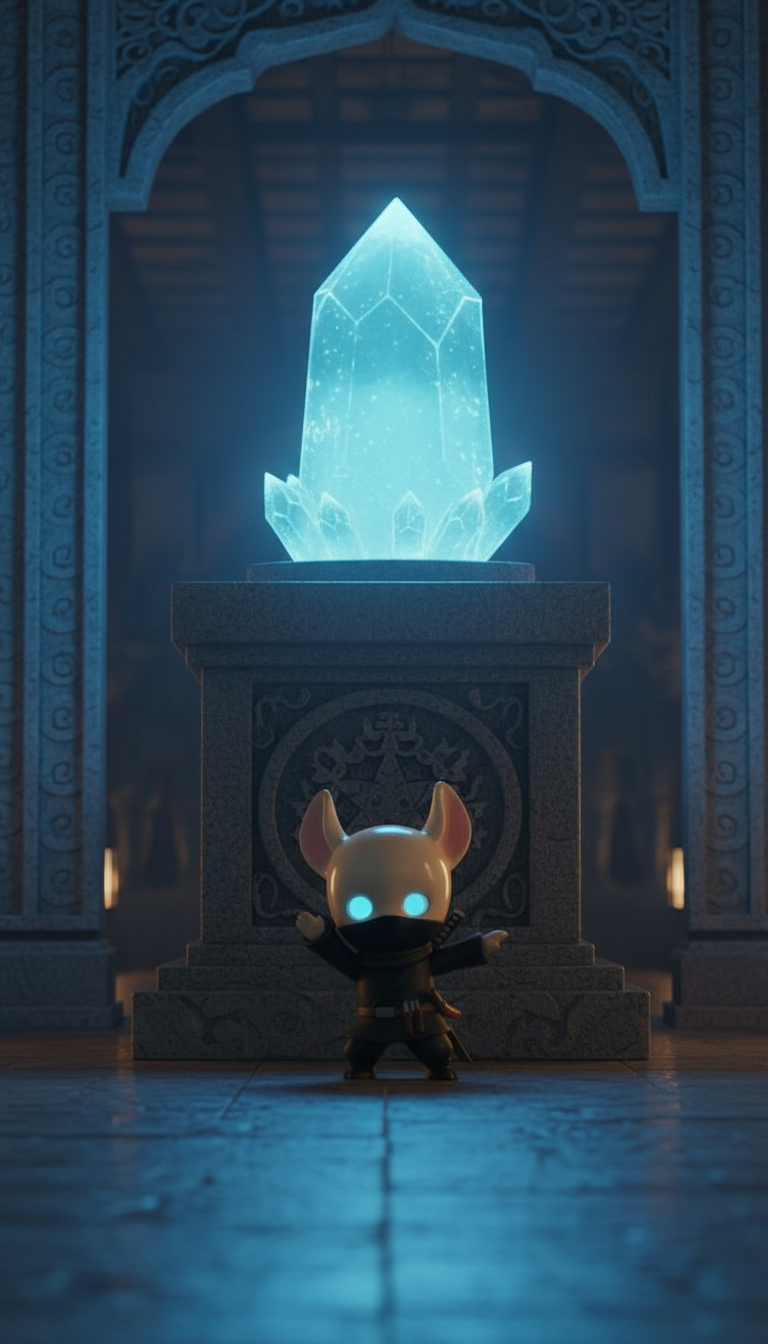
Sacred chamber
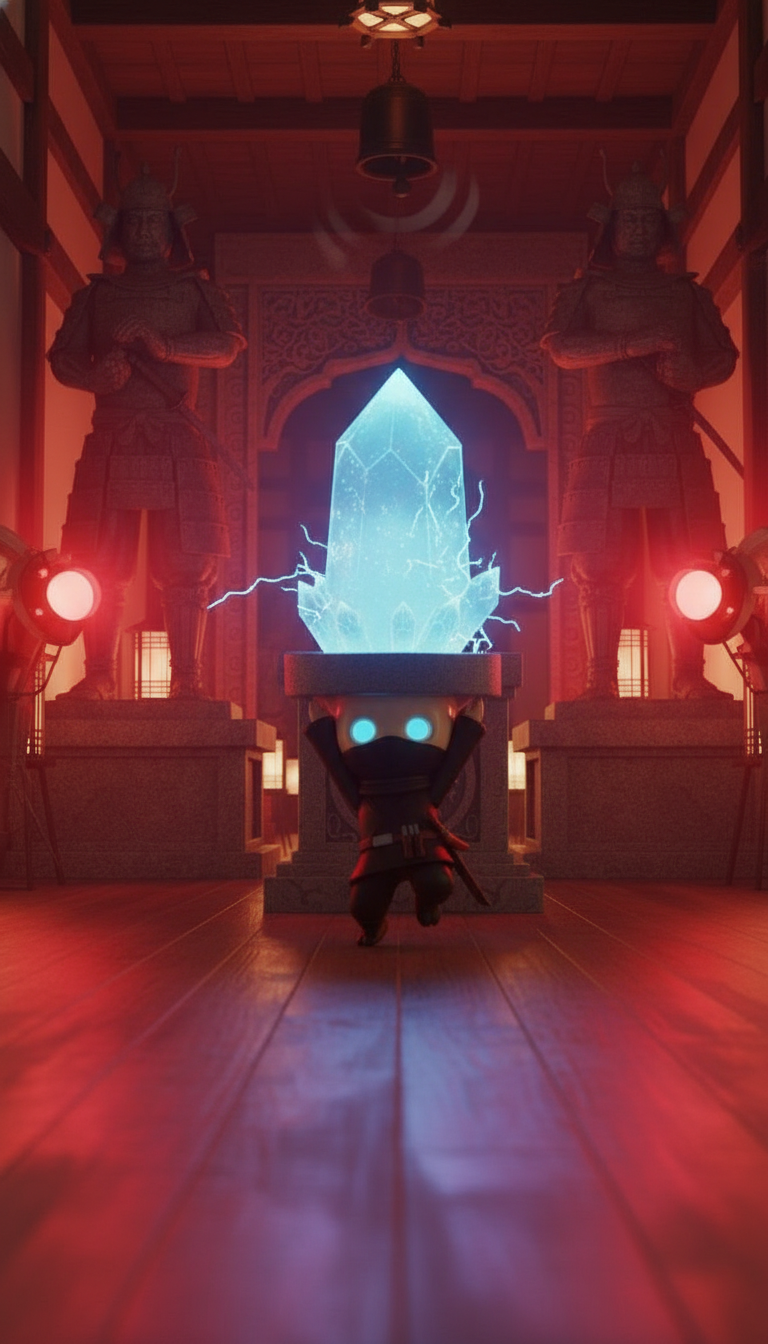
Alarm triggered!
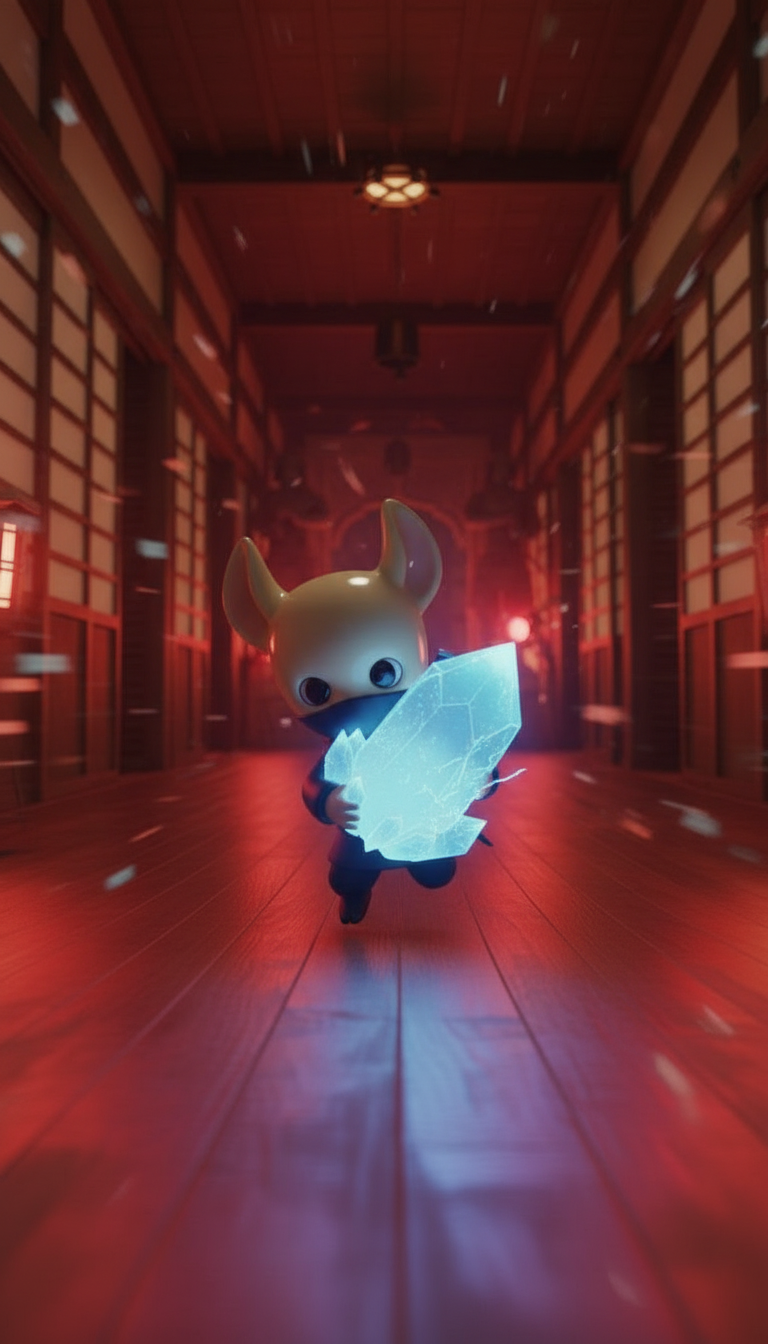
Corridor sprint
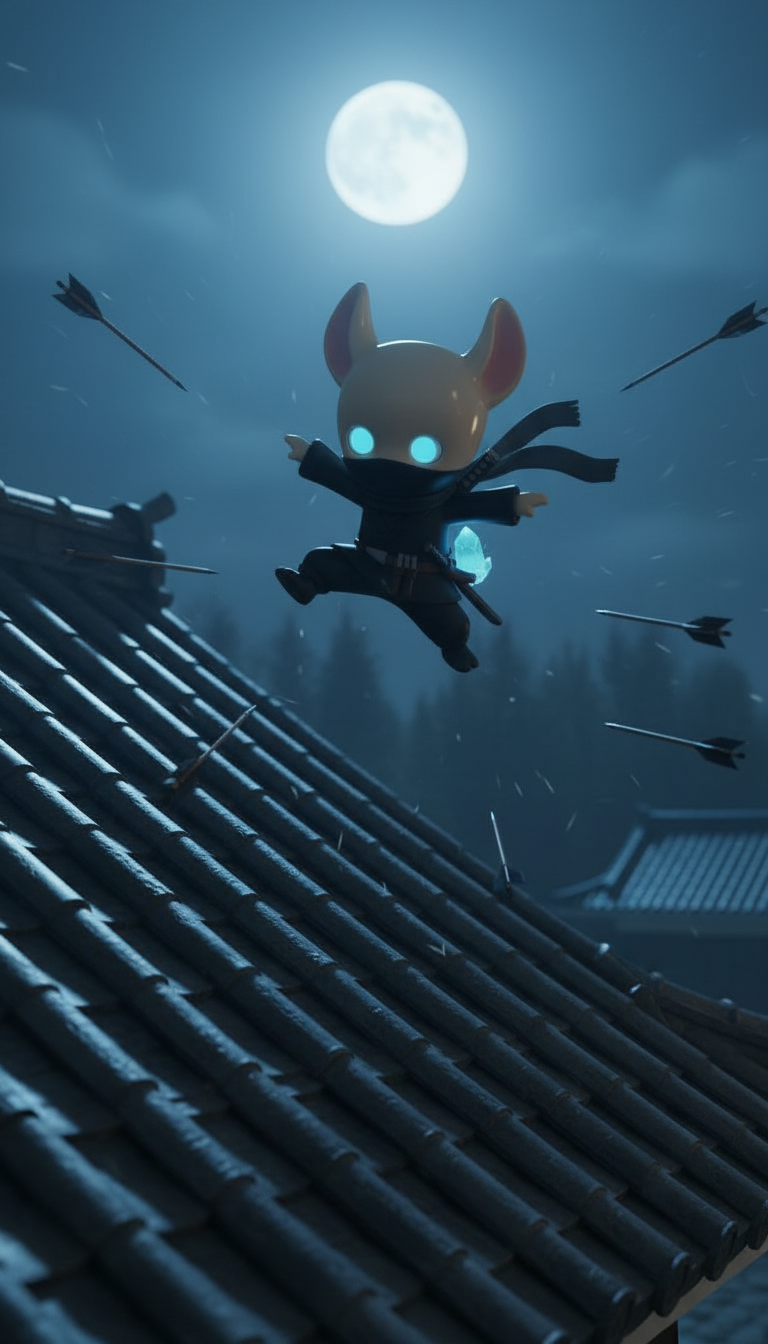
Rooftop escape
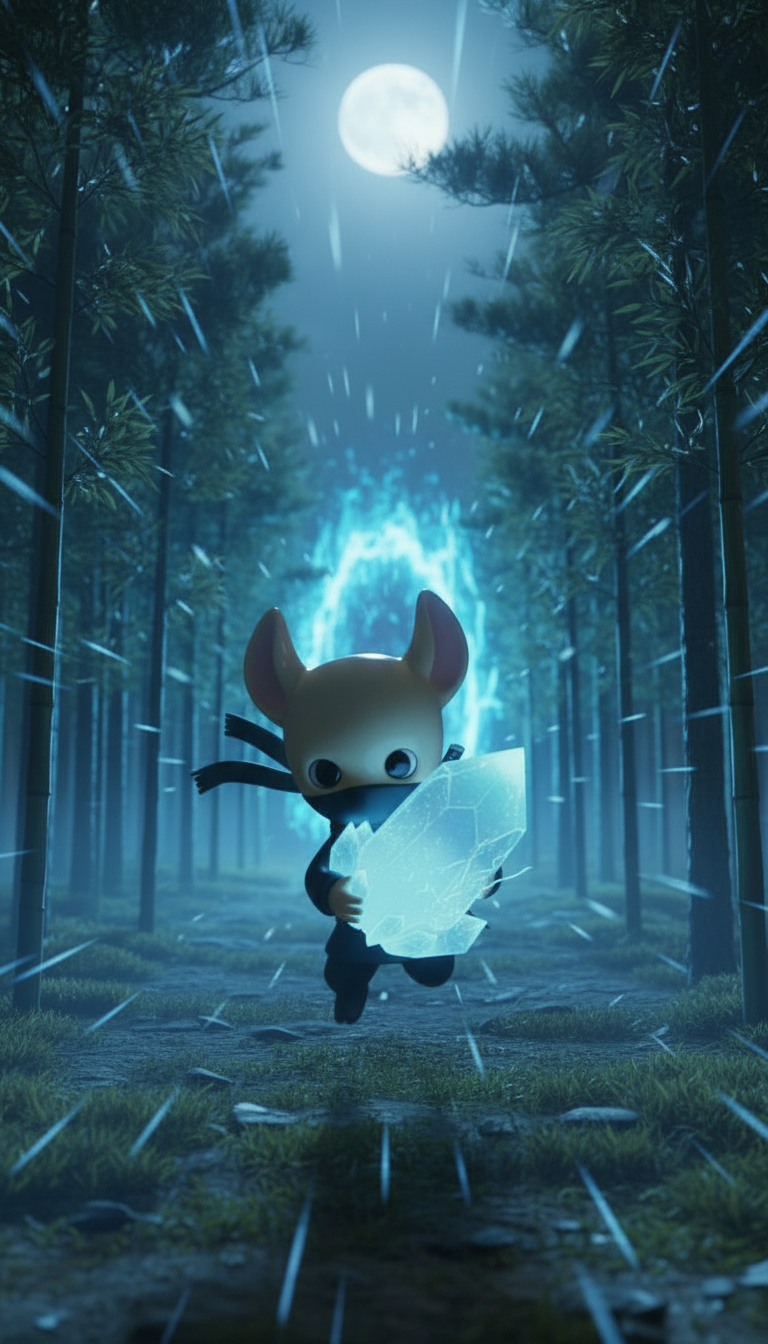
Forest sprint
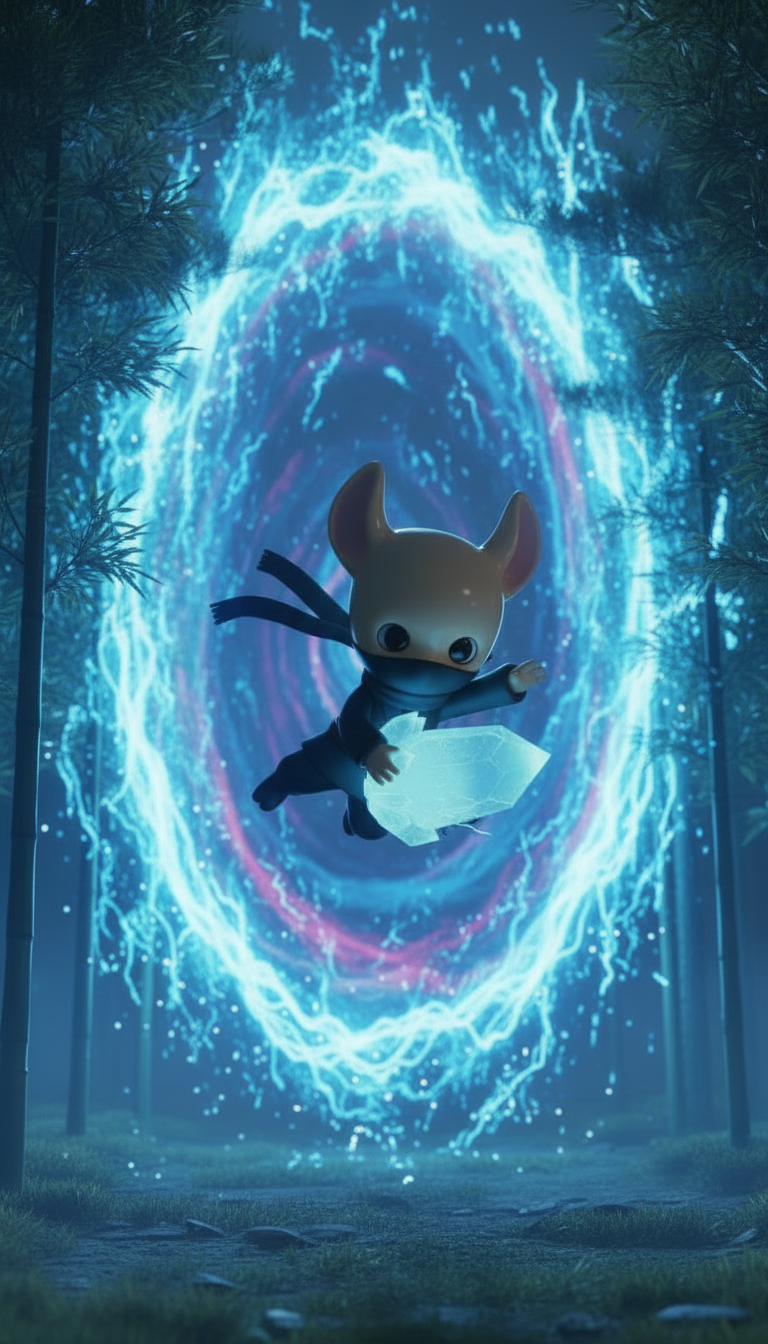
Portal dive
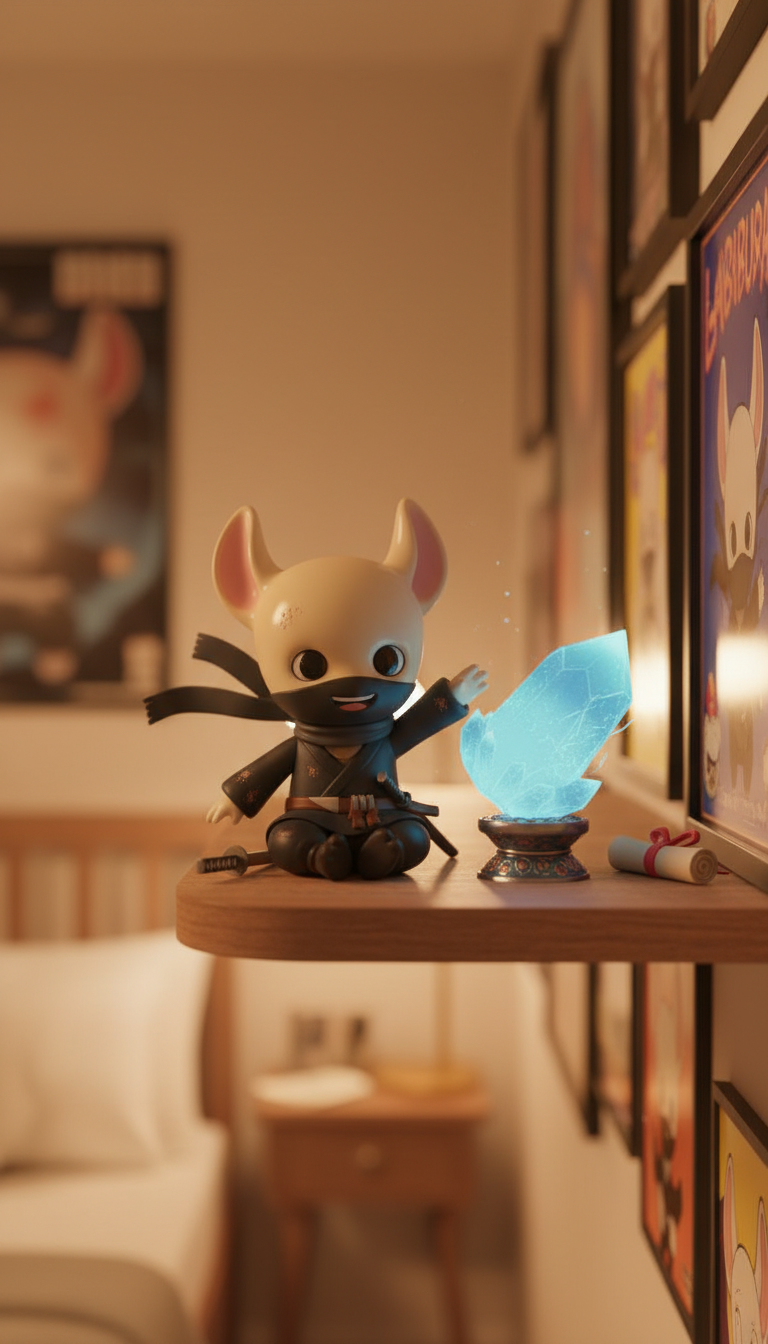
Mission Complete
Back home on the shelf - the crystal now displayed as a trophy next to the ancient scroll.
What This Storyboard Demonstrates
Complete visual narrative: 19 scenes tell a cohesive adventure story with clear act structure, ready for video generation or animation
Character consistency across environments: Multi-reference chaining maintained Labubu's appearance through modern room, vortex, feudal Japan, and back
Cost efficiency: $0.67 to validate entire story structure vs. $4.56-$15.20 if generated as video (24-76x cheaper)
Creative iteration: Could regenerate any scene that doesn't work without blowing the budget
Production-ready blueprint: Each scene has detailed 7-layer prompts ready for video generation with Runway, Pika, or Kling
How It Was Made
Fully Automated
An AI agent generated all 19 scenes from a simple instruction: "Generate The Crystal Heist story." It designed the scenes, wrote detailed descriptions, and generated each image - all automatically.
Scene Planning
Agent writes detailed descriptions for each scene covering character pose, camera angle, lighting, environment, and mood. Think of it like writing a detailed shot list for a film.
Batch Generation
Generates multiple scenes at once (3-6 at a time) to speed up the process. All 19 scenes completed in ~12 minutes.
Character Consistency
Each new scene looks at the previous 3 scenes to keep the character looking the same. This is why Labubu looks consistent even though the environments change drastically (modern room → vortex → castle → back home).
Cost Tracking
System tracks costs automatically - $0.035 per scene, $0.67 total for all 19 scenes.
Bottom Line: You focus on the creative idea ("ninja toy steals crystal from feudal Japan"). The automation handles planning scenes, generating images, and keeping everything consistent - all for under $1.
Model Version Context
The examples below were created with the V2 character model. Since then, I've trained V4 (better likeness, improved consistency) and V5 is currently in development. The storyboarding technique works across all model versions - the workflow stays the same, quality just improves with each iteration.
Earlier Example: Developer Burnout Scene
He types slowly at his triple monitor setup, then pauses mid-keystroke. Leans back in his ergonomic chair, hand coming up to rub his face. Glances from the code on screen to the Bangkok skyline through floor-to-ceiling windows. Takes a deep breath, then transitions to another workspace.
What Doesn't Work: Too Many Keyframes
My initial instinct was to create multiple frames upfront - one every 2-4 seconds - thinking this would give precise control over the motion.
0s: Typing
4s: Pausing
6s: Leaning
8s: Standing
The result? Stop-motion animation. The video tried to hit each exact pose, creating jerky, unnatural transitions. The AI was too constrained.
What Works: Start + End Only
Instead, generate one segment at a time with just two frames: where it starts and where it ends. Let the AI figure out the natural motion in between.
Segment 1: Opening (0-4 seconds)
Start: At desk
End: Leaning back
What I told the AI:
"A software developer typing slowly at his triple monitor setup, then pausing mid-keystroke. He leans back in his ergonomic chair, hand coming up to rub his face. Smooth natural motion, afternoon lighting."
✅ Result: Smooth, natural motion between the two frames
Segment 2: Transition (4-8 seconds)

Start: From video

End: New position
What I told the AI:
"He takes a deep breath, slowly pushes back from his desk. Stands up from his chair with tired movements, walks to another workspace. Camera follows his weary movement. Natural motion, consistent lighting."
✅ Result: Smooth transition, though pacing could be slower